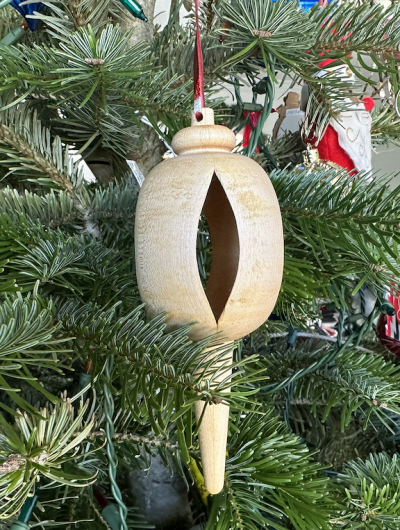
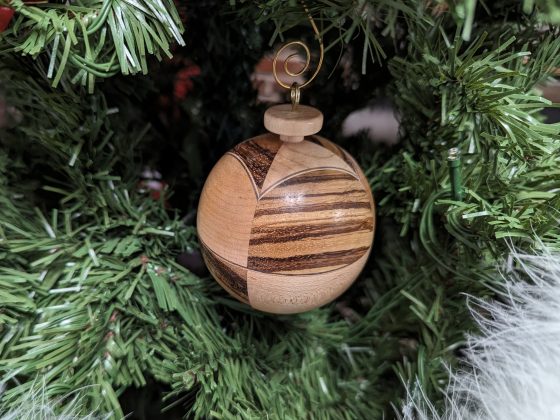
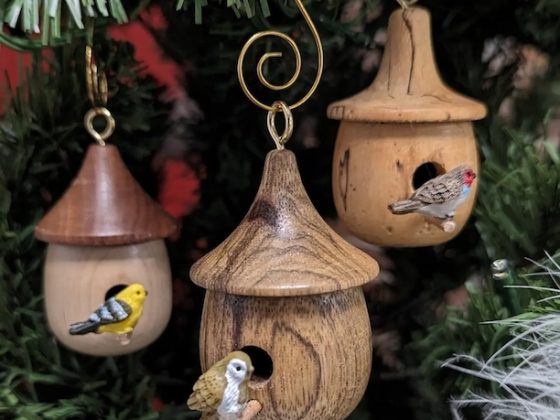
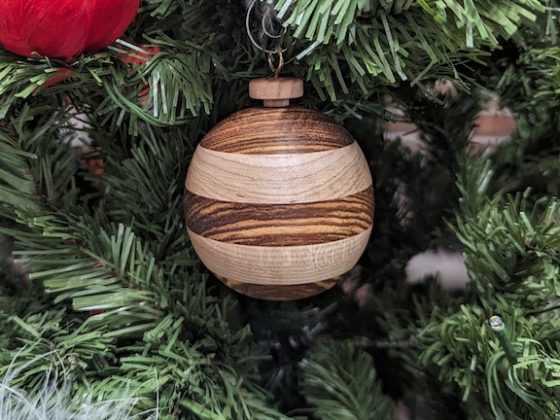
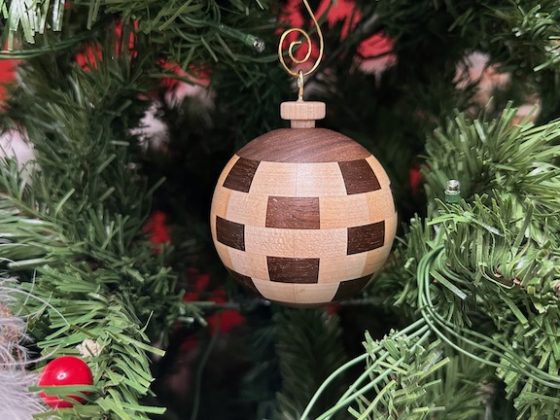
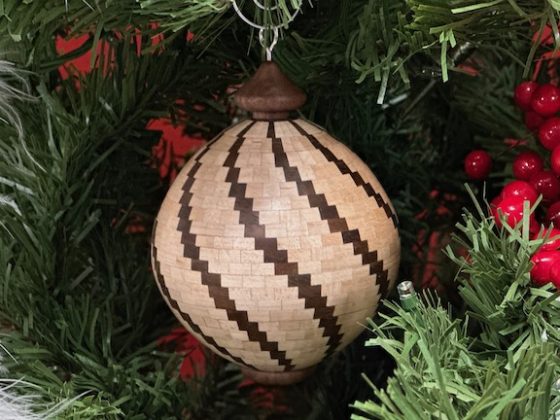
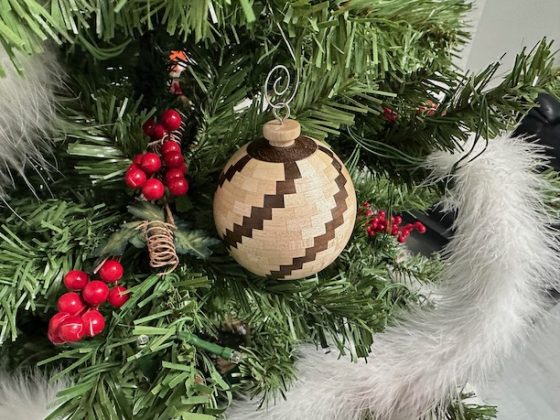
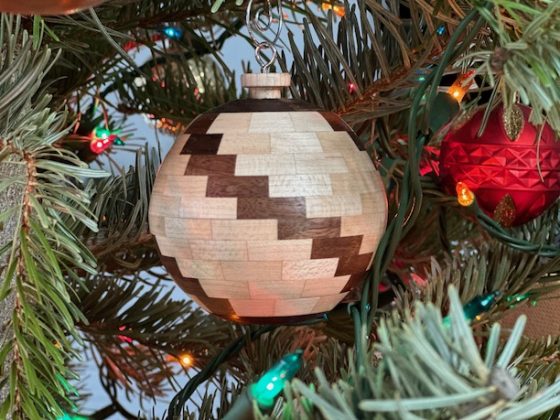
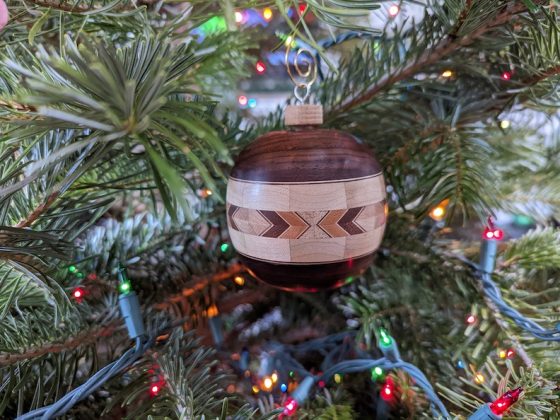
Inside-out ornaments have always been very interesting to me. They are also very difficult for me to imagine what they will look like when they’re finished. The concept of an inside-out ornament is that you temporarily put four blocks together and turn a shape that will eventually become the inside of the ornament. Then, you take the blocks apart and permanently glue them back together, turning each piece 180°. I have tried several inside-out ornaments but the best one so far was my first one.
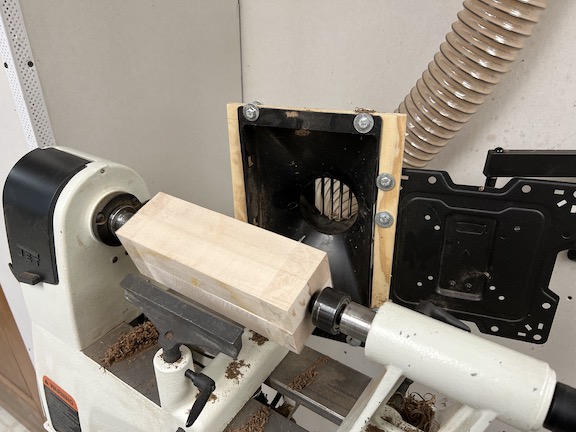
I made this ornament out of maple. To start, I cut 4 identical blocks. It was very important that the block’s sides were exactly the same size. If not, when I glued them together permanently, there would be issues, as they would not line up properly, and the design would look bad.
I put these blocks together with a bit of hot glue at the ends and reinforced them with packing tape.
Next, I turned the shape that would become the inside design. Once it was turned, I finished the inside area with linseed oil and shellac. I had to be careful not to get the finish on the uncut wood or the glue would not have held properly when I glued the blocks back together.
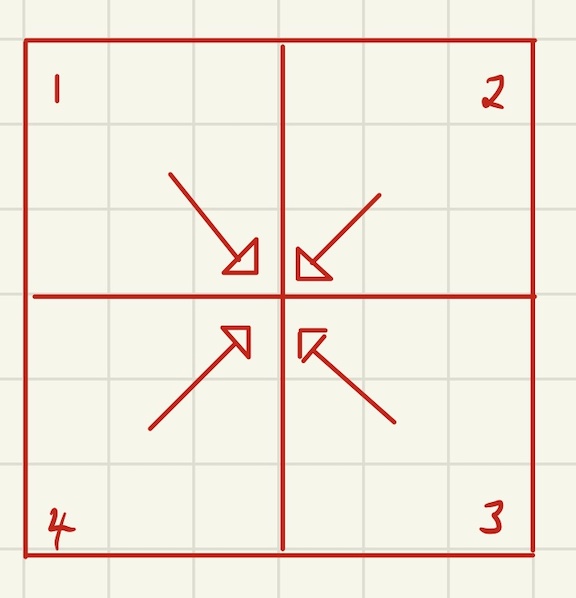
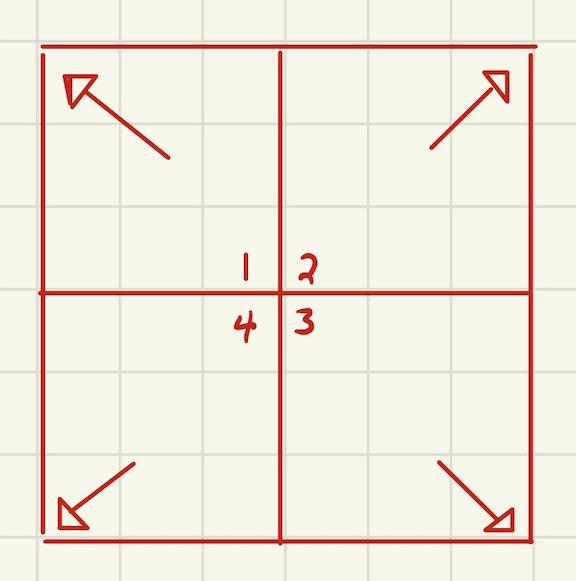
I’ve created these figures to help you see the position of the wood blanks during each step of turning. Figure 1 shows the wood when it is tacked together for turning the inside design. I marked the wood as shown in Figure 1. This made it easier to keep things in the correct orientation. Once I had completed the inside turning, I broke the pieces apart and flipped them 180° around. (See Figure 2.)
I failed to get a photo of all four pieces once the inside was turned, but you can imagine the shape by looking at the “Inside View” photo.
Next, I glued the first two pieces together. Again, I had to be careful not to get glue close to the inside-out turning. It is nearly impossible to clean out once the pieces are glued together. I repeated this step with the other two pieces so that I had two halves.
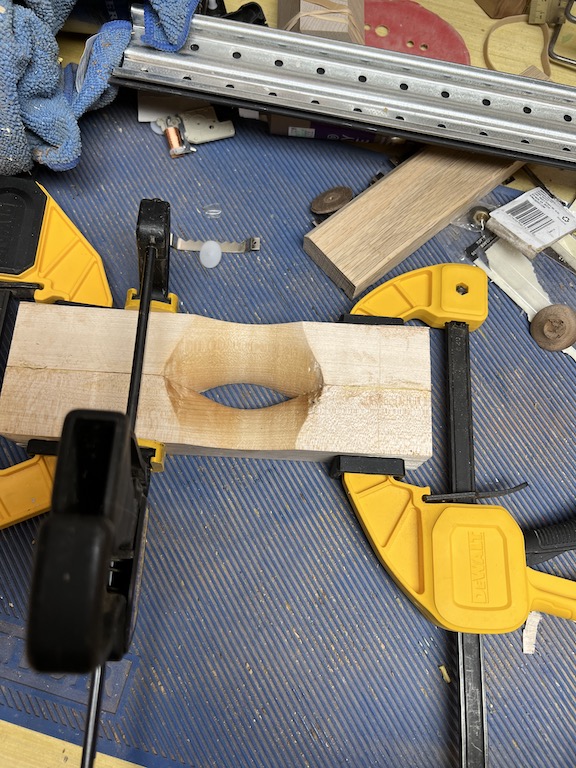
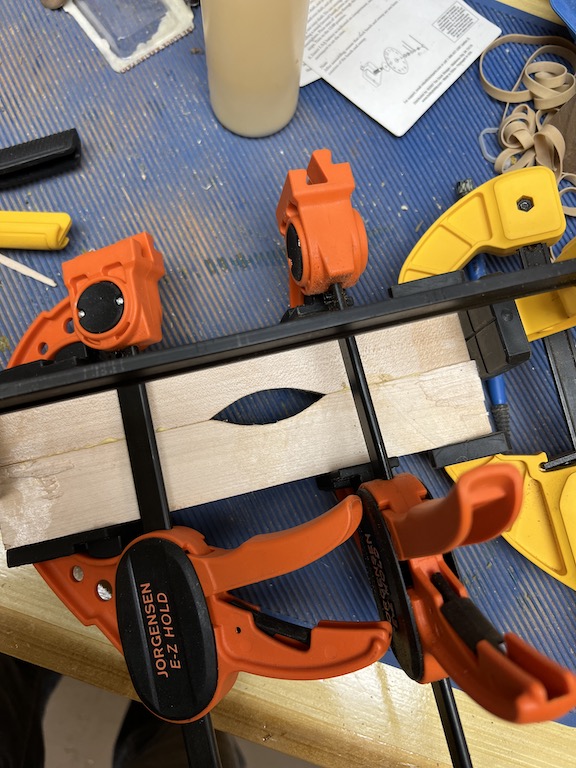
I then glued the two halves together to create the wood blank I used for the final ornament.
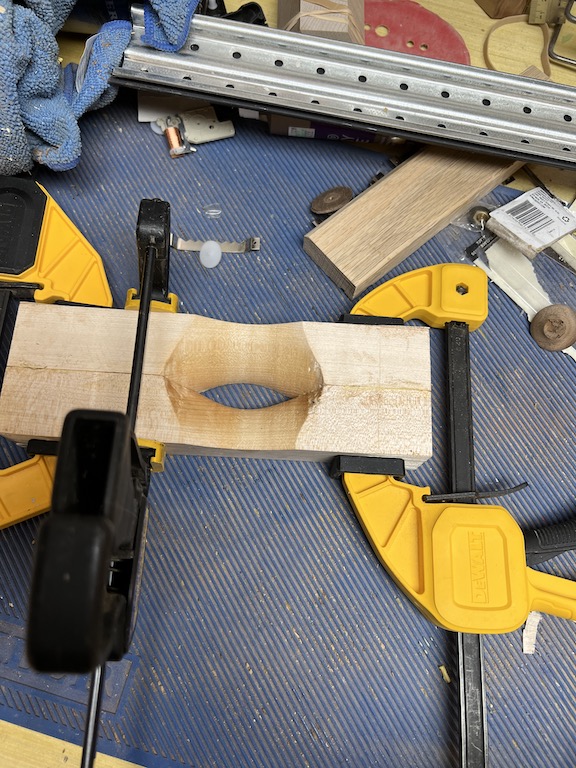
Next, I turned the outside shape. Then I sanded it and finished it with linseed oil and shellac.
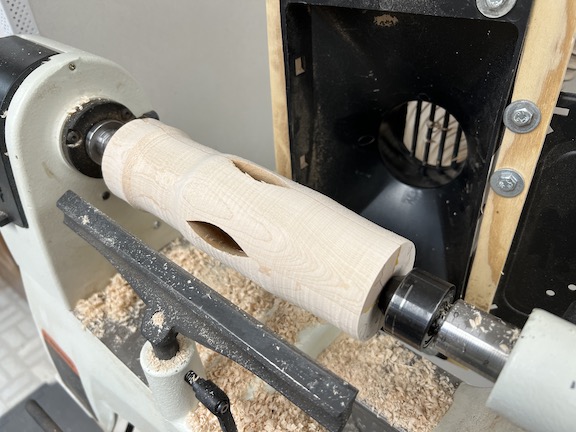
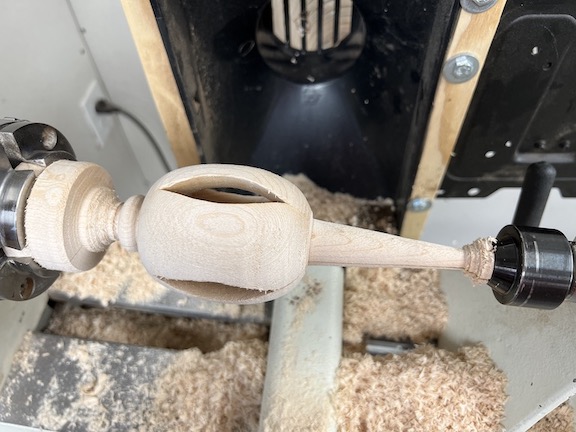
If you try to make one of these ornaments, be careful when you sand the turning. As you can see from the video there are lots of places to get your fingers into trouble.
I finished my design by putting a ribbon on the top so I could attach it to the tree.
