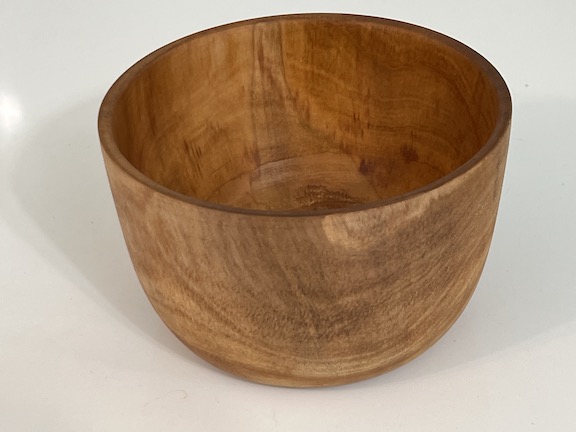
This weeping cherry bowl is one of the few wet wood turnings I’ve done. Apparently, I am too impatient to wait six months to a year to turn bowls.
The wood for this project came from my own yard. My wife had a weeping cherry tree that she planted several years ago that she didn’t want to cut down. I wanted to expand our driveway and the tree was in the way. In the end, we compromised, I got my driveway and she got a weeping cherry bowl (and 3 new trees.) This is the finished bowl after the first attempt failed.
Warning: If you have never turned wet wood, it definitely turns different than dry. When you’re done, you’ll most likely find chips all over your shop.

I had two bowl blanks to work with from the small tree. I began turning the first one, and after I completed the outside shape, something came up and I had to leave the shop. I didn’t think it would be a problem and assumed I would finish the inside the next day. But when I woke up the next morning and went to the shop, I found that the bowl blank had cracked almost halfway through. (This picture doesn’t really show how bad the crack was.) I threw this blank into the scrap pile and started over on my second bowl blank.

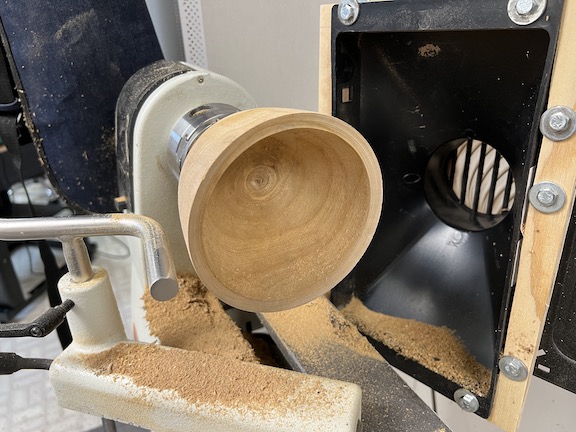
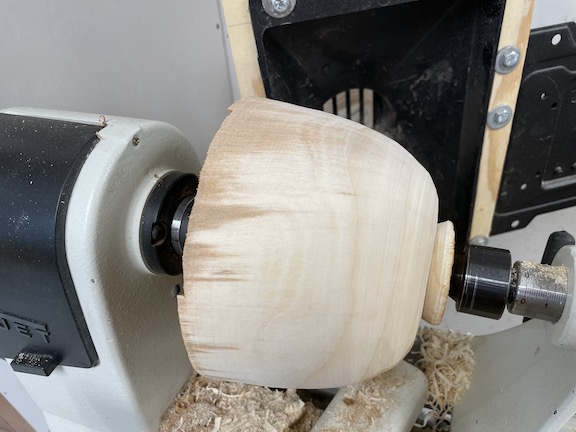
On my second attempt, I turned both the inside and the outside before stopping. The piece was turned between a screw chuck and a live center.
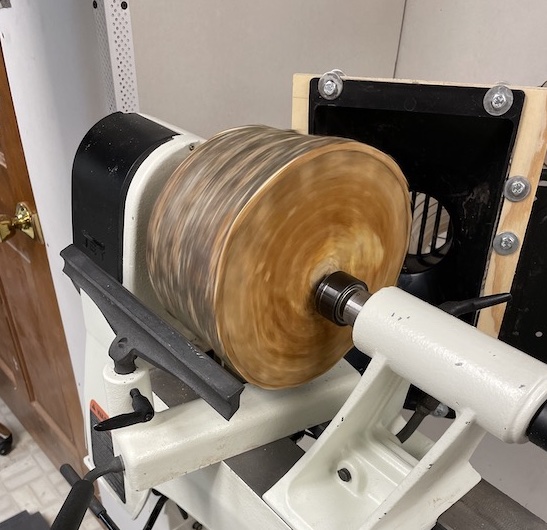
After getting the bark cleaned off, I turned a tenon on the live center end and formed the outside shape of the bowl. Next, I chucked the bowl up by the tenon and hollowed out the bowl. I turned the bowl wall thickness to about one inch. I placed the turning in a cardboard box filled with the shavings that I had made turning the bowl and left it for about 9 months.
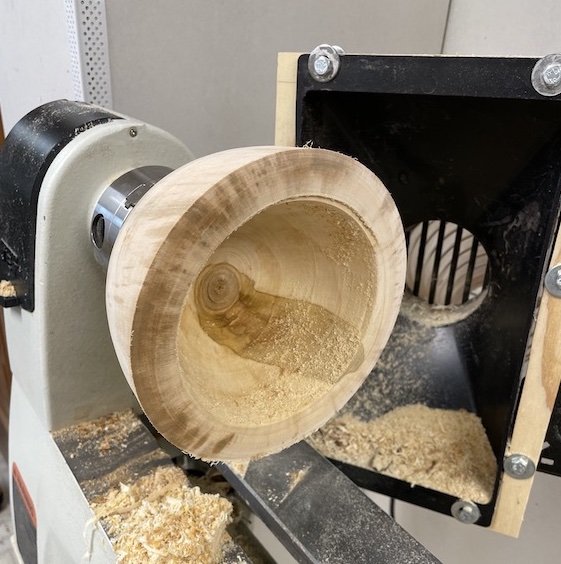
Once the 9 months were up, I used the tenon to chuck up the bowl. I trued up the outside of the bowl to make it round again, as the bowl had become warped during the drying process. Then, I cleaned up the outside and applied linseed oil. Last, I completed the inside of the bowl and applied the finish there as well.
Notice how different the shavings looked after the bowl had dried.