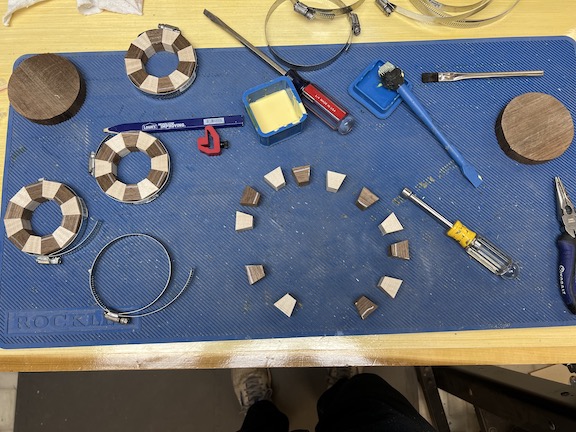
This is the second box that I turned. On this box I used walnut and maple segments and made the top and bottom with solid walnut.
To start, I cut the segments for the four rings and two solid walnut pieces for the top and bottom. I glued them up and waited for them to dry. I used hose clamps to hold the segments together as they dried.
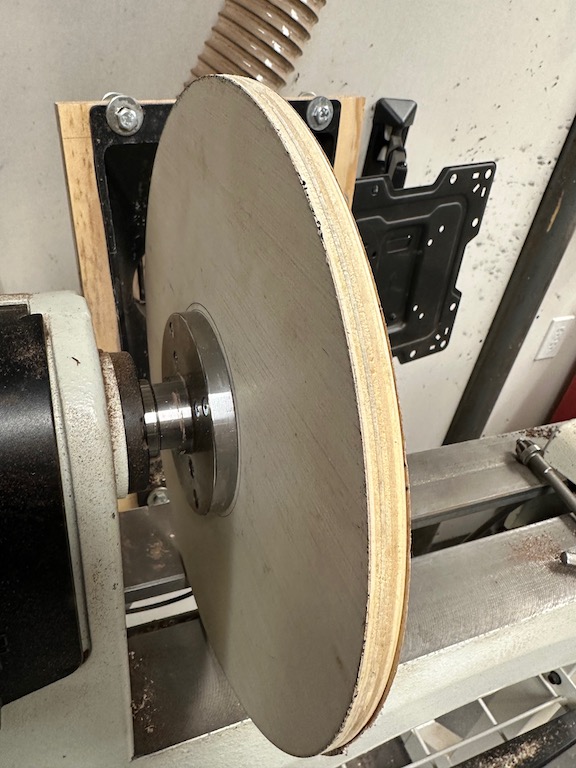
Then, I sanded the rings using a homemade sander I chucked up in the lathe.
I built the sander with a 12″ piece of plywood and a 12″ sanding disk. I attached the plywood to a face plate so I could mount it to the lathe. The sanding disk worked well but I had to be very careful and apply even pressure on the rings to keep them flat.

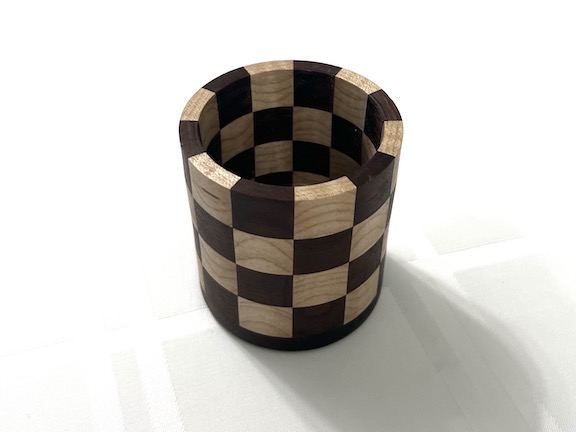
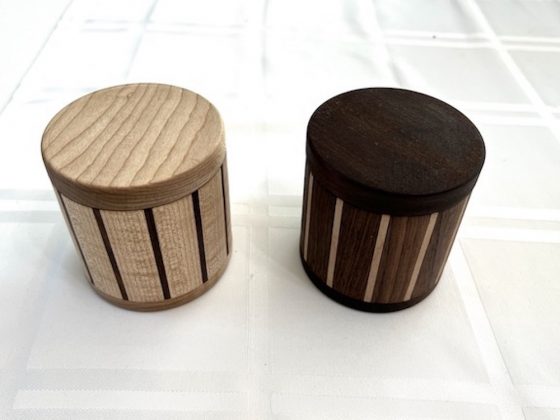
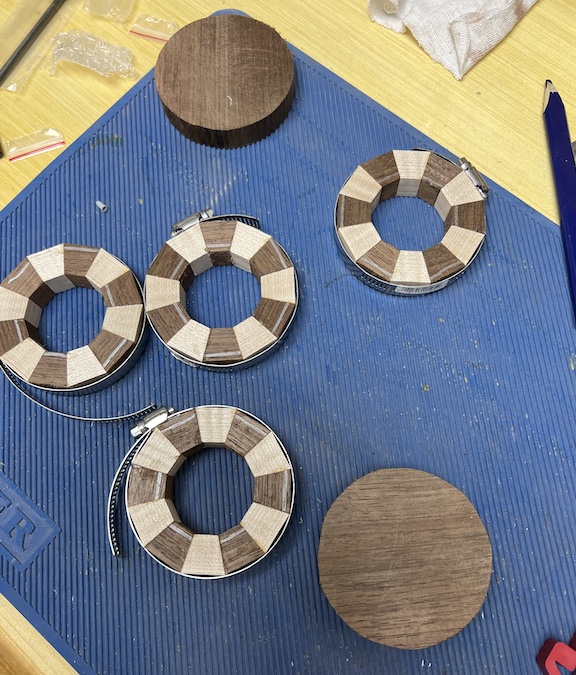
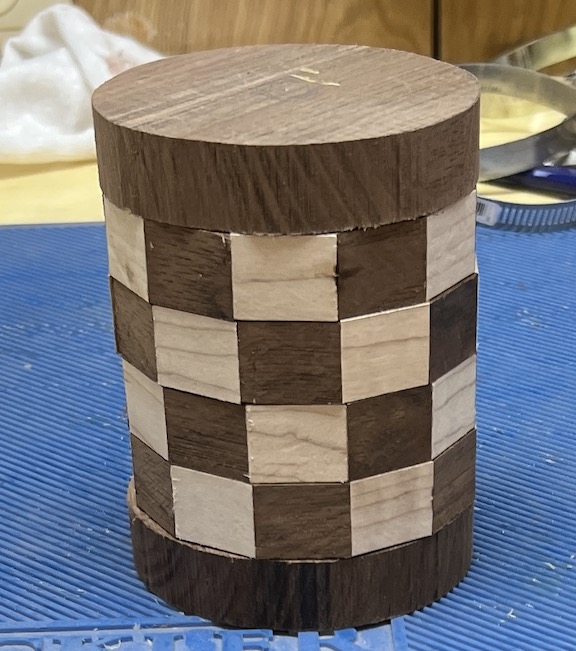
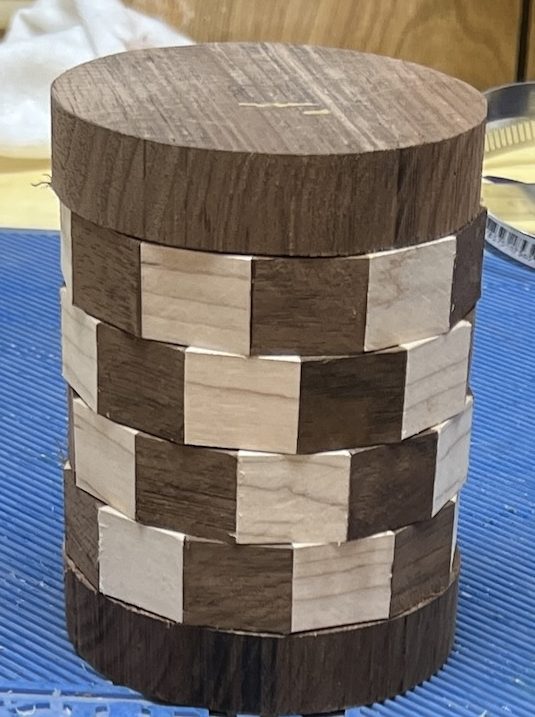
I dry-stacked the rings to see which pattern I preferred and decided to go with the checkerboard pattern.
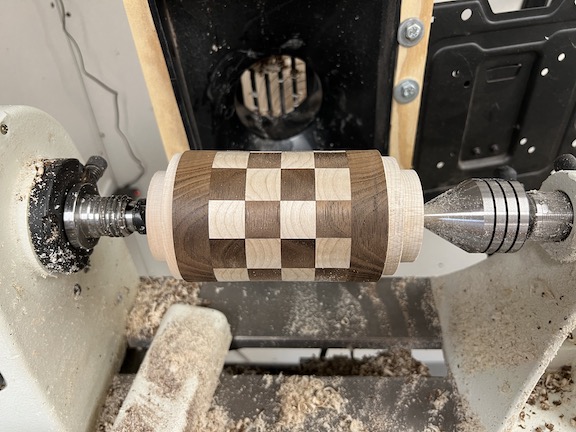
In order to cut tenons on both ends I attached a sacrificial maple ring. Then I used the lathe as a clamp to hold the pieces together while they dried.

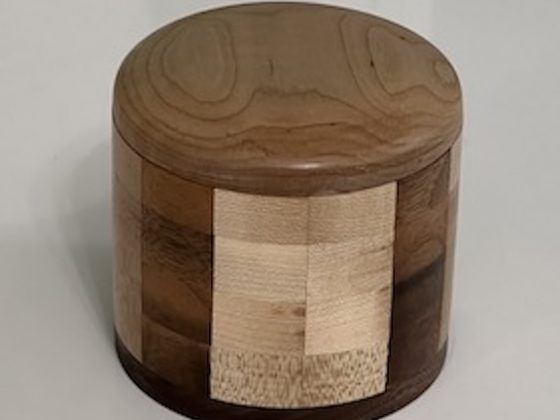
Next, I shaped the box and turned tenons on both ends. I don’t have a picture, but then I cut the top walnut piece off with a parting tool. At this point, I figured out that I had messed up. There was not enough walnut for me to be able to make the top and bottom the same size and still have enough walnut to form a tenon to fit into the box.
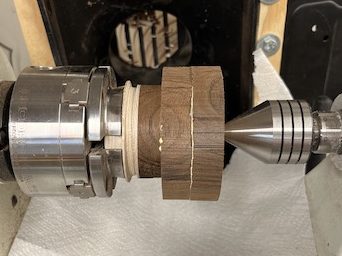
I mounted the bottom in a chuck using the tenon and hollowed the inside of the box out. Once I had cleaned it up, I finished the inside.
To get around my mistake, I glued a piece of walnut onto the top that I had parted off and once the glue had dried, I turned a tenon that would be used to chuck the piece up on the lathe. After chucking it up on the lathe, I turned the top to the correct size. Then, on the bottom, I turned a tenon that matched the opening size of the vessel and finished it.
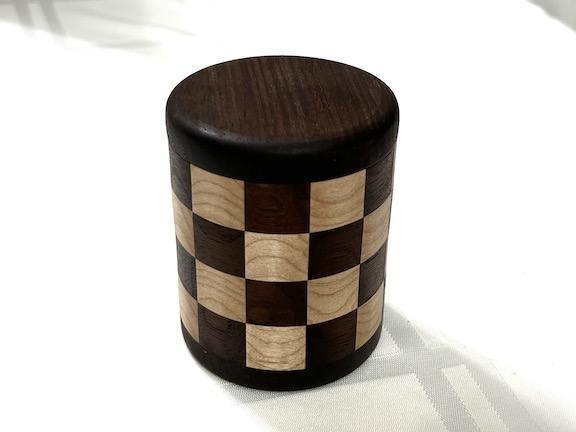
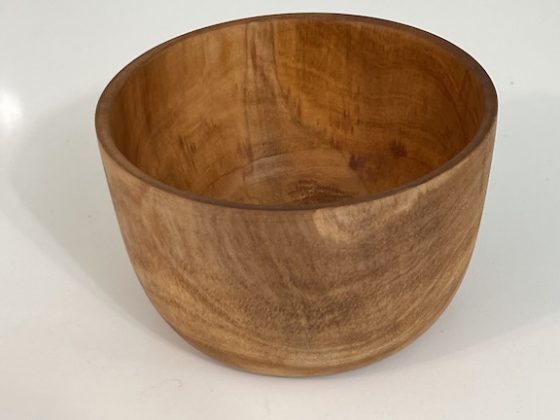
The finish product: