I attended the Tennessee Association of Woodturners symposium in January 2022 and saw a turner by the name of Jason Swanson. Jason is known for his pepper mills. The way he makes the pepper mills is by cutting long slices of wood and putting strips between them. I wanted to try the pepper mill design but decided to start small. (Why waste a lot of wood on the first try?) So I started by making a small salt box and a pepper box for my daughter. This meant using shorter pieces of wood which would result in less waste if things went wrong. I also thought it would be easier to work with short pieces on my first attempt.
Note: Pepper Box was my thought but someone ask if anyone put pepper in a box. I thought good question and asked my daughter what she had in the pepper box? It wasn’t pepper. So that box ended up an my house with salt in it!
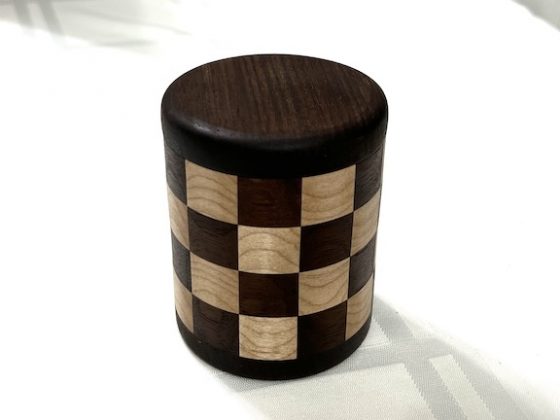
Jason showed us how he likes to cut long strips of one type of wood and place different colored wood strips between them. In my pepper box, I used strips of walnut and maple. This box used 12 main strips.
To determine the table saw blade angle, I took 360° and divided it by 12. That gave 30° per section. Since there were two cuts on each piece I divided 30° by 2 to get 15°.
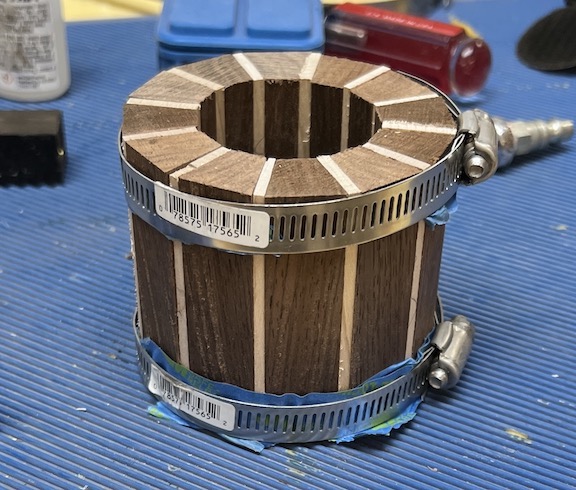
The maple pieces are flat (no angle) I made them 3/16″ thick.
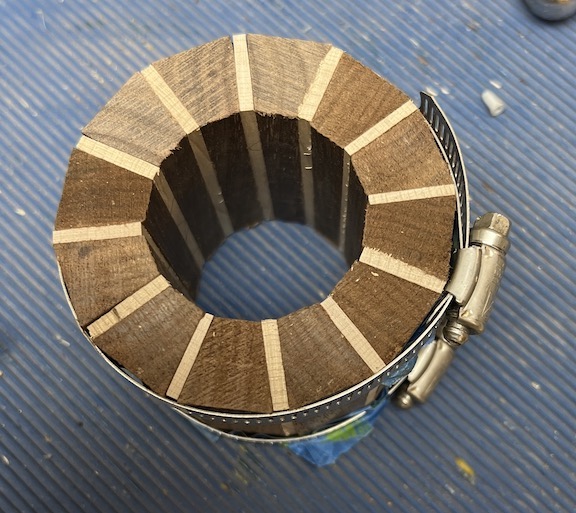
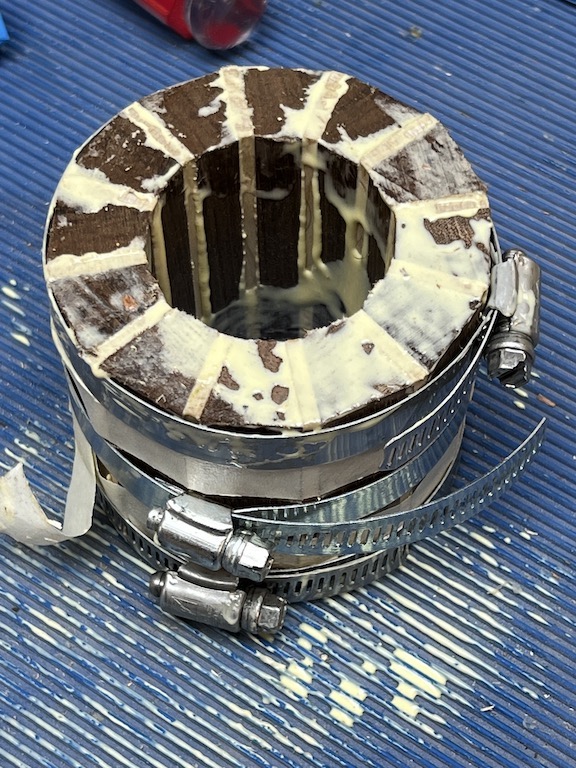
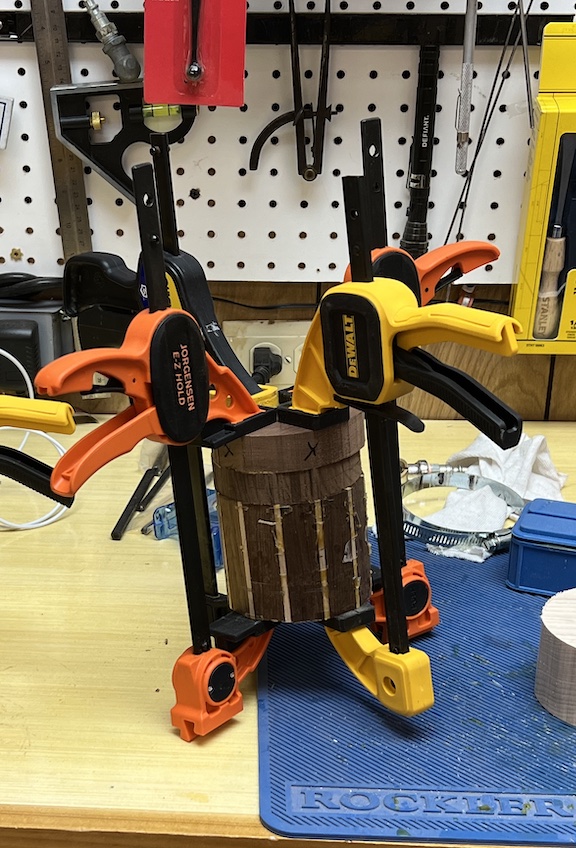
Gluing the pieces together was very messy. (If you attempt this, make sure you are working on a nonstick surface. I used a Rockler mat but wax paper works well too.) Jason showed us his technique where he lays the pieces out on the cheapest, stickiest masking tap he can find. With the pieces lying on the tape, it is possible to fold the box up and dry-fit it. I followed his instructions and it worked well for me.
Once I was ready to glue, I put a bead of glue at the bottom edge between each piece of wood. (You don’t need to spread it out on the side because when you squeeze it together, it will force the glue to go everywhere. See the photo.)
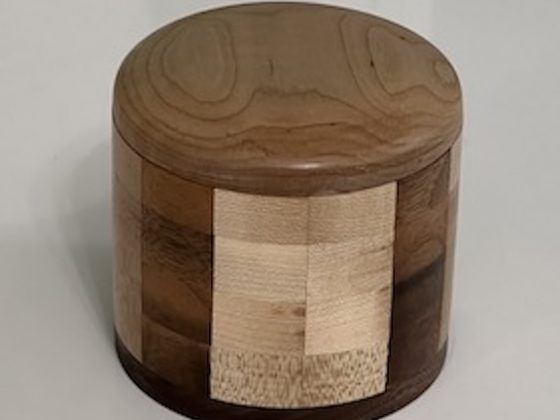
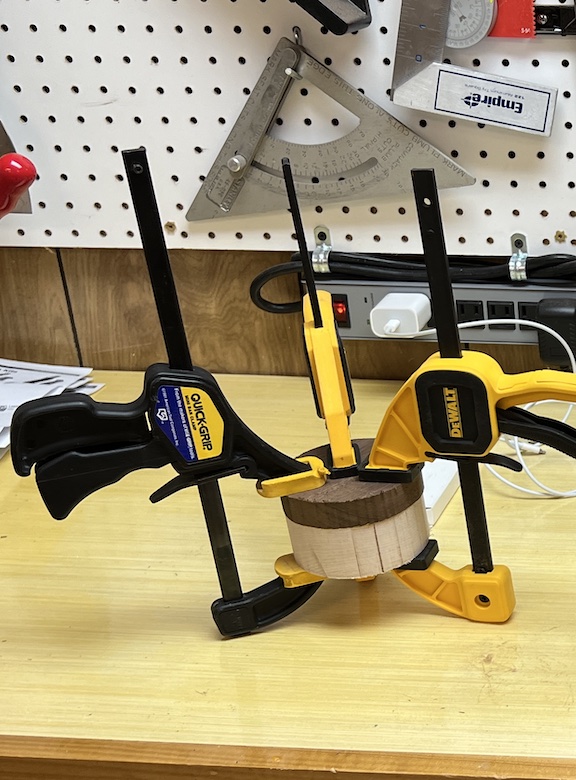
I then repeated this process with maple as the primary strip and walnut as the thin strip. This one was to be the salt box.
Next, I cut two circles. The first was out of walnut to be the bottom of my pepper box.
I also cut a piece of sacrificial wood that I glued to the solid walnut. Later I would make the sacrificial wood a tenon.
Then I cut a walnut ring which would be the top of the box, and attached another piece of sacrificial wood that I would later make into a tenon.
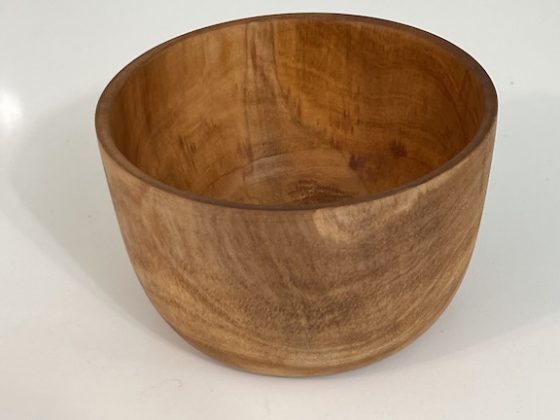
I made a jam chuck by cutting a cone on the end of a piece of scrap wood. I used the jam chuck and a live center to turn the outside and to make a tenon on the scrap piece. I used the tenon later to hollow out the inside.
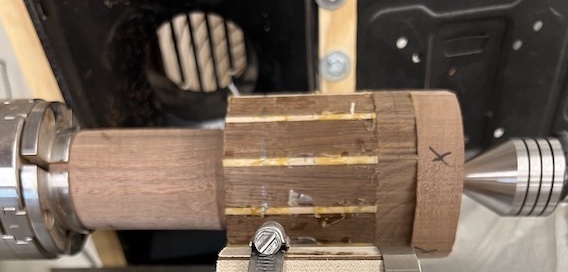
I don’t have a picture, but I also turned the top of the pepper box. (See Top of Pepper Box photo) Since these are salt and pepper boxes, they should be easy to open, so I made the lid fit loosely into the box.
I finished the boxes with butcher block oil so that they would be food safe.
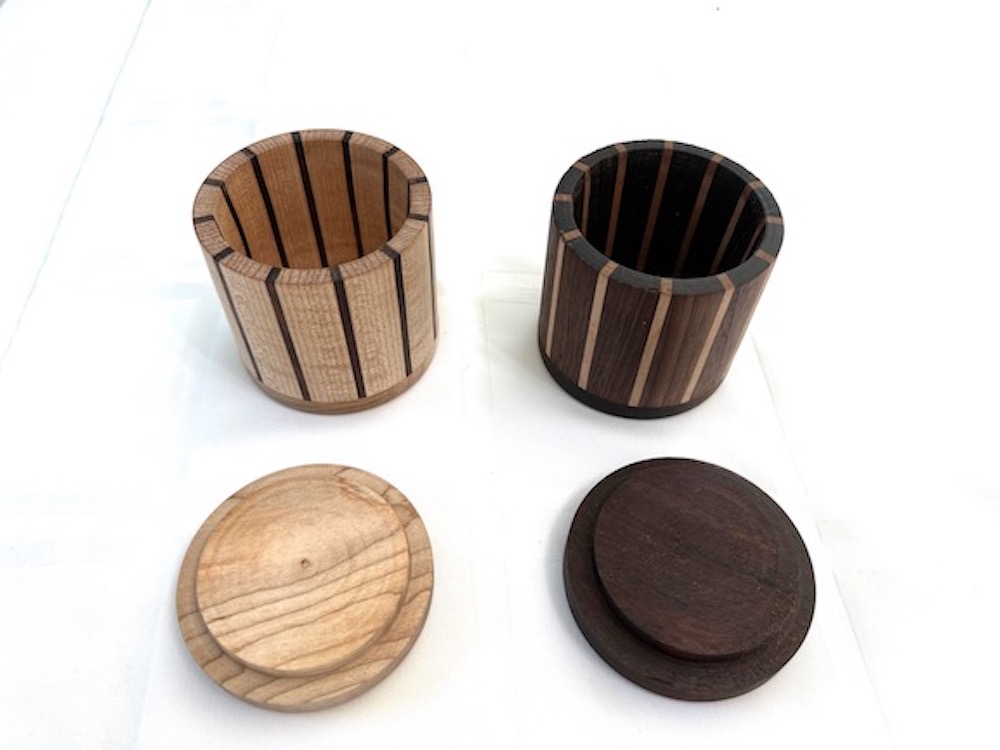
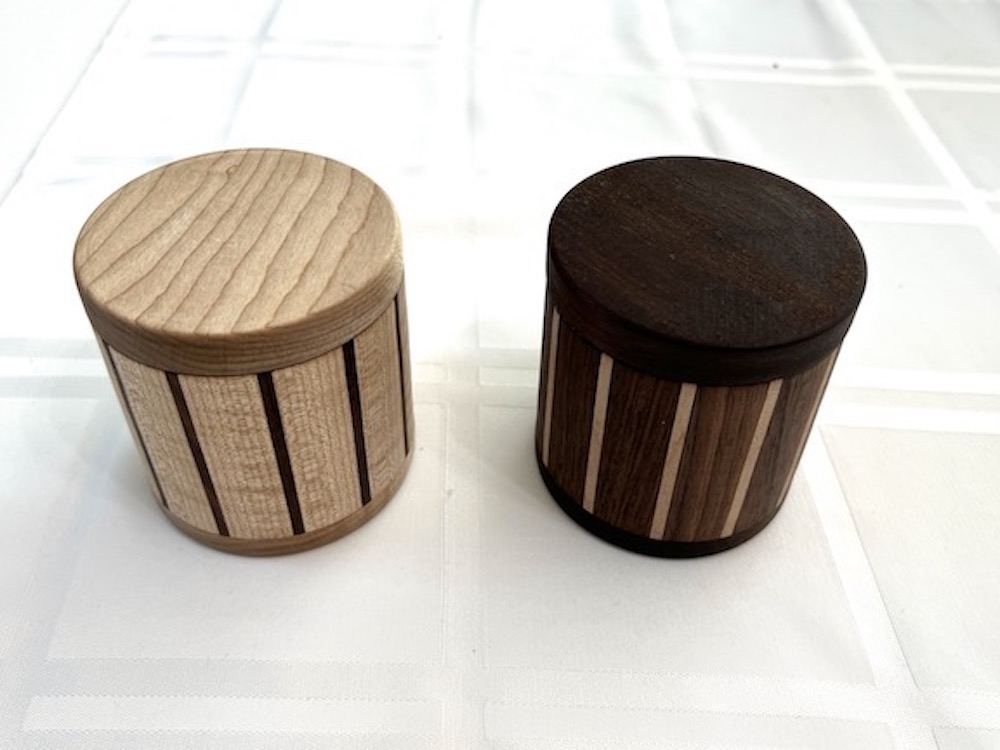
They turned out pretty good for my first try at this process, and they look good on my daughter’s countertop. I consider this project a success!