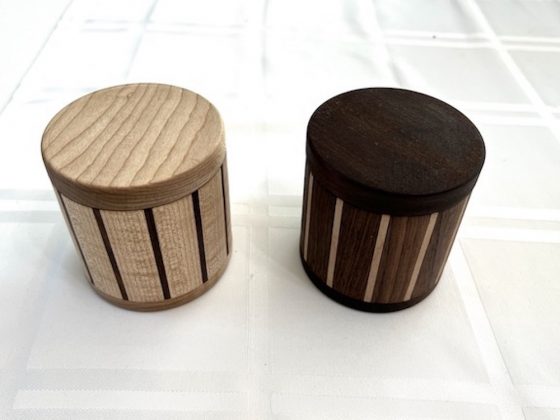
When I decided to try my hand at making a turned box, I knew I would need some practice. As an experiment to figure out how it would work, I made my first attempt with some maple and walnut I had lying around.
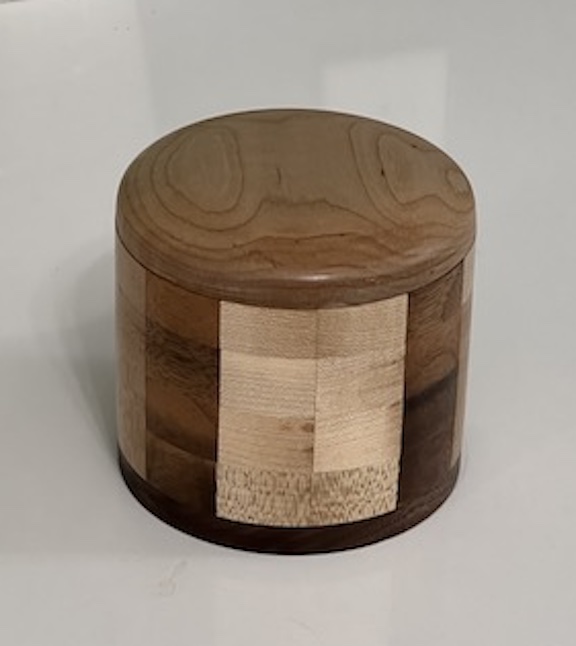
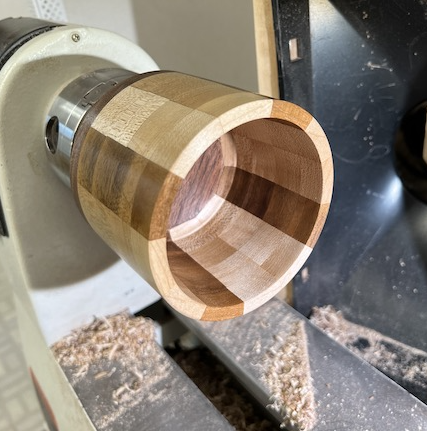
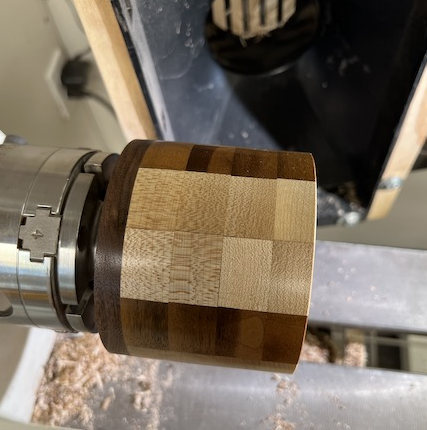
I began by cutting my segments and gluing them up. When gluing the rings, I used hose clamps to ensure the joints remained tight. These segments were cut on my homemade wedgie sled. (See the article Using a wedgie sled for more details) I used 12 segments per ring, with a walnut segment every third. I made four rings and used solid walnut for the bottom and solid maple for the top.
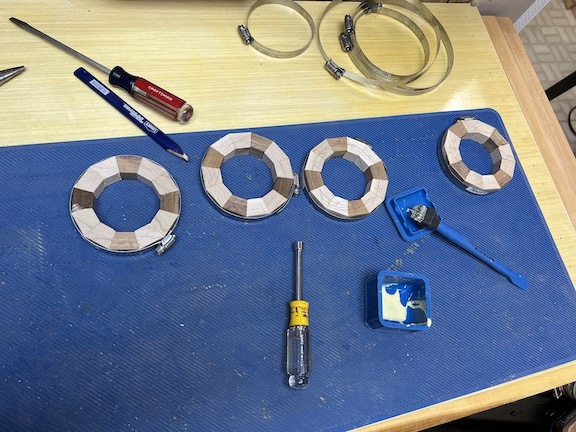
I stacked the rings together in two different ways to decide which pattern I preferred. At this point, only the rings were glued together, so I could stack them however I chose. In the end, I went with the straight walnut pattern.
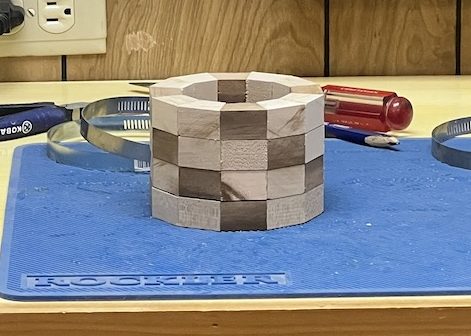
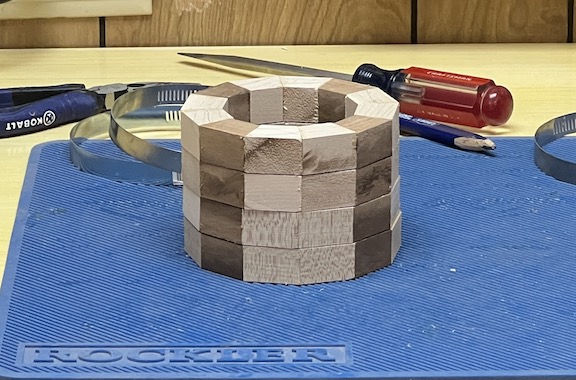
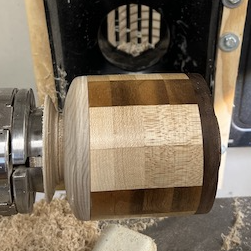
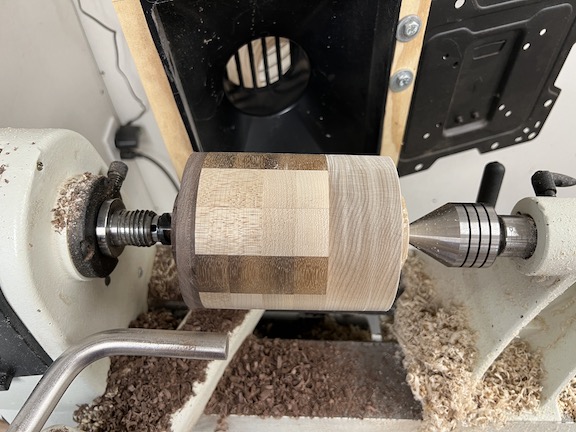
Next, I cut a solid piece of walnut for the bottom and a solid piece of 8/4 maple for the top. Then, I used the lathe as a press to hold the pieces together while the glue dried.
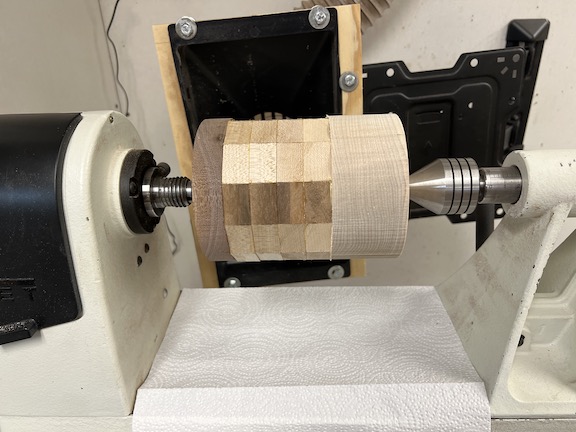
Once the glue was dry, I turned the piece to be round. Then, I turned a tenon on the top and bottom so that I could work on both pieces once they were cut apart.
Next, I took a parting tool and cut the top off. After thinking about this, I probably didn’t need to glue the top on it. I could have just used pressure to hold the pieces together while turning, but you live and you learn.
I finished turning the inside of the piece and rubbed butcher block oil onto the finished box.
According to everyone I had heard that turns boxes, when you remove the lid, it should pop. Well, this one didn’t pop. I made one more pass and then it was a bit loose, but it was not bad for my first attempt.
