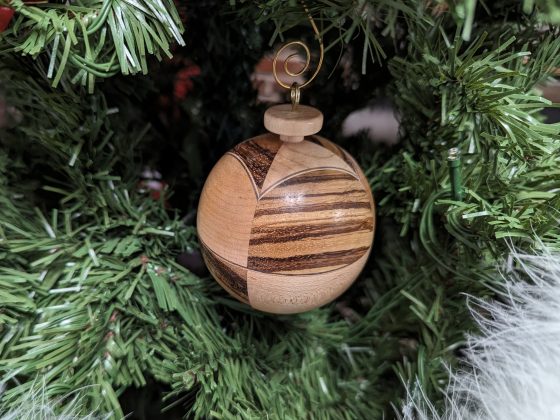
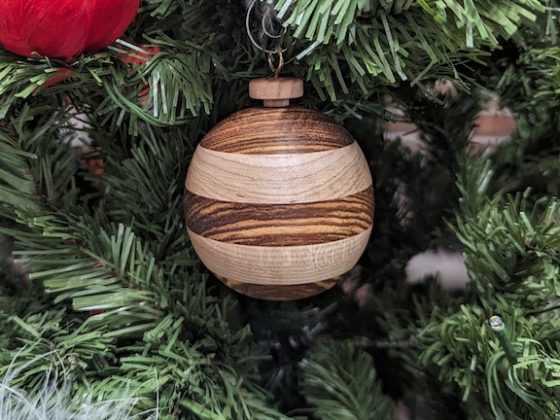
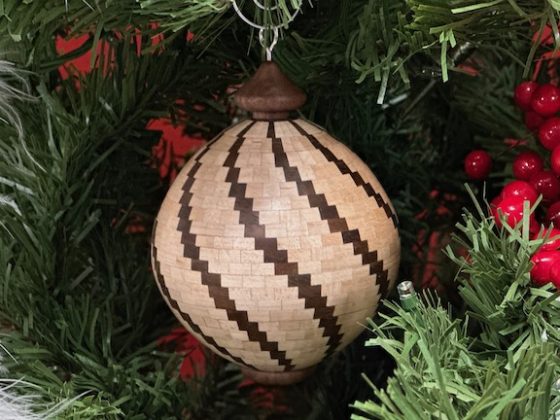
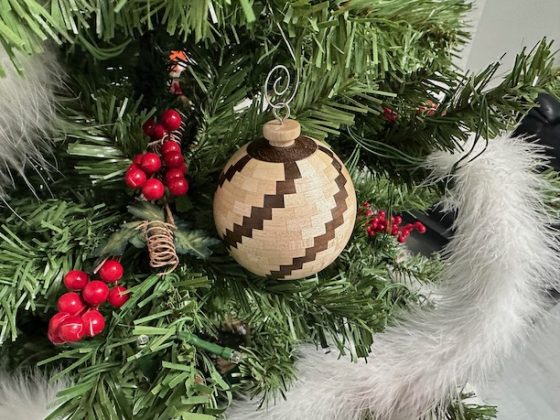
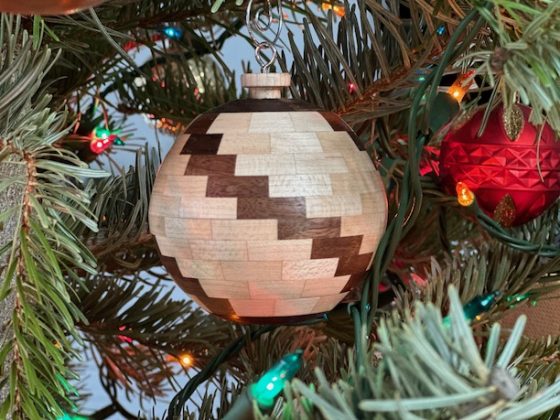
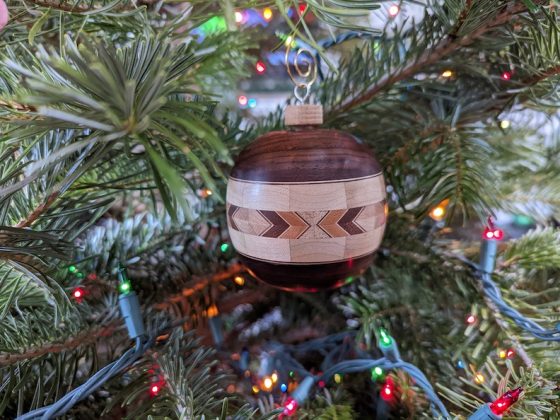
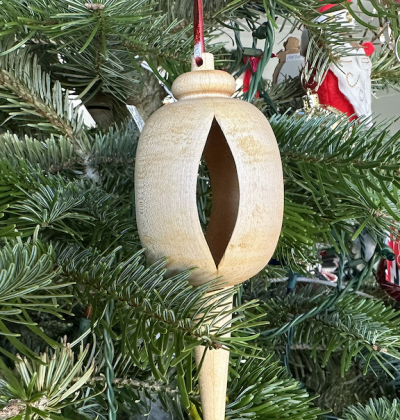
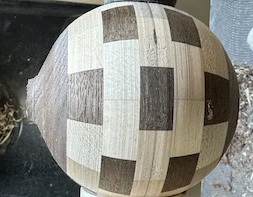
For those that do not want to spend hours and hours cutting segments I designed a simple ornament. This pattern is a 3″ ball that is made up of walnut and maple segments. In order to cut down on the number of segments and rings I chose to use 7/16″ thick rings made up of 12 segments. That means there are only 5 segmented rings, 2 solid walnut pieces on the top and bottom and a topper which makes this ornament have 63 pieces. This article will walk through the process I used to create the ornament.
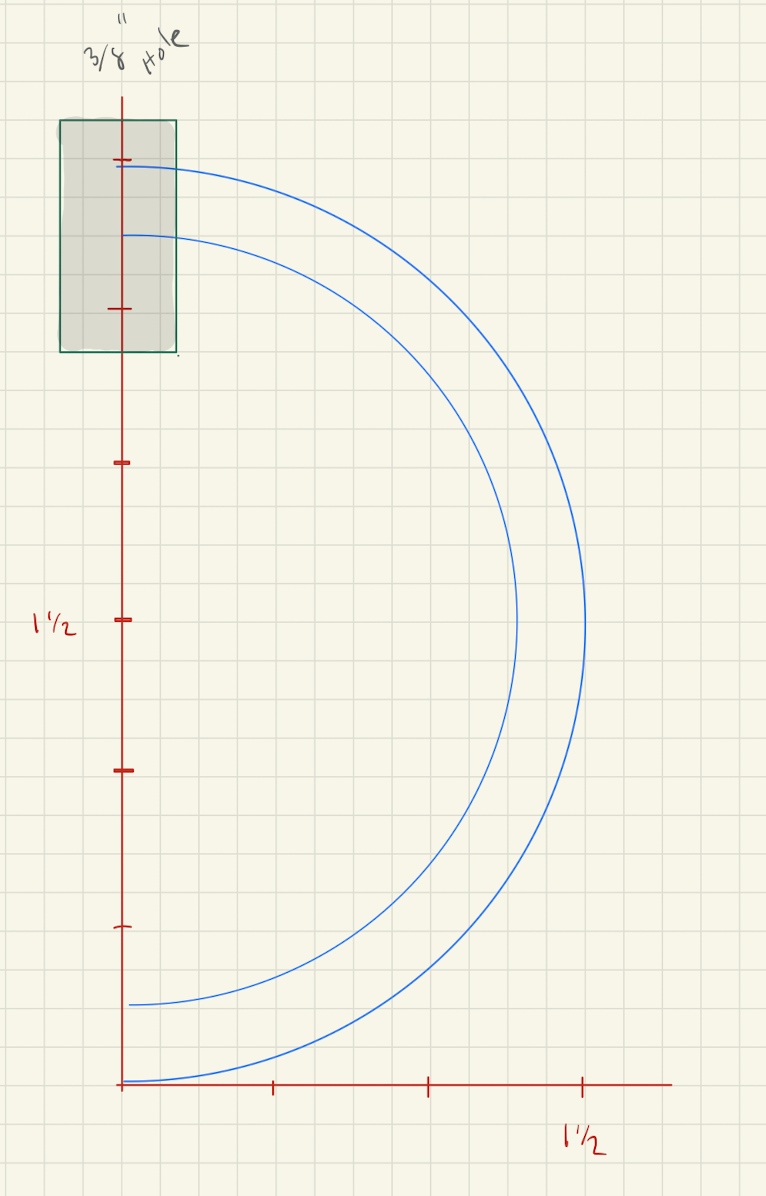
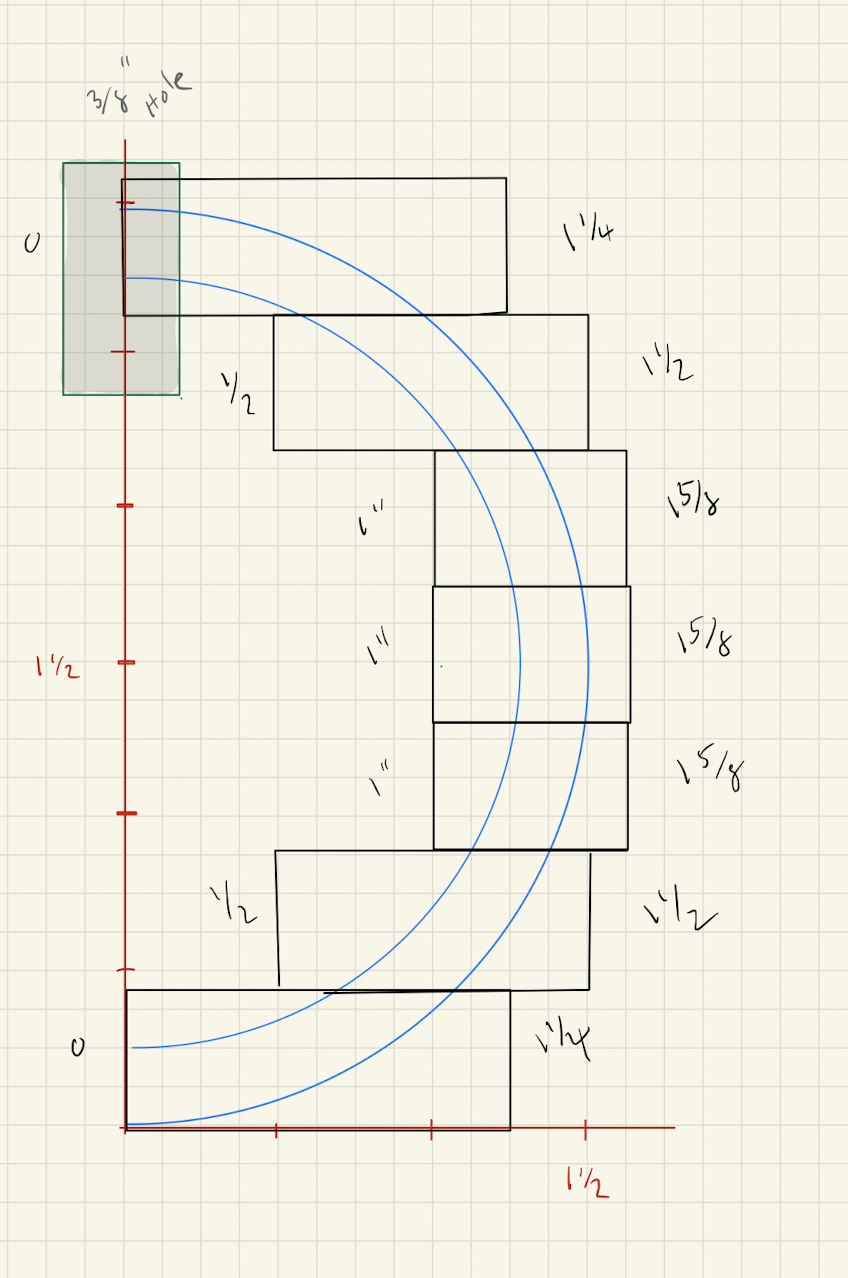
The first thing I did was design the ornament. I began by drawing out the shape I wanted to use on graph paper. (Figure 1) Once the shape was defined I drew in the 7/16″ tall segments. This resulted in 5 segmented rings and a solid top and bottom. In order to determine the individual segment dimensions I obtained the inside and outside radius of each segment. This would be used later. (Figure 2).
Before we continue let’s define a few terms:
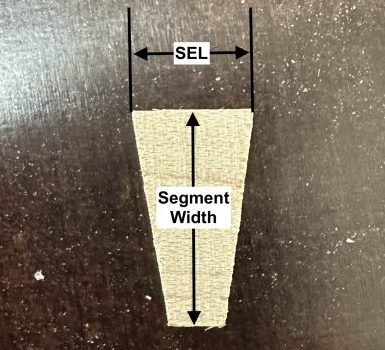
Segment Thickness = This is the thickness of each segment; thus, the thickness of the ring.
Segment Width = This is the width of the strip of wood from which you will be cutting the segments.
SEL = The SEL is the length of the front of the segment (also referred to as Segment Length.
In order to calculate the Segment Width and the SEL I created a spreadsheet. The spreadsheet uses the inside and outside radii that were obtained from Figure 2. Table 1 below shows all of the calculated details.
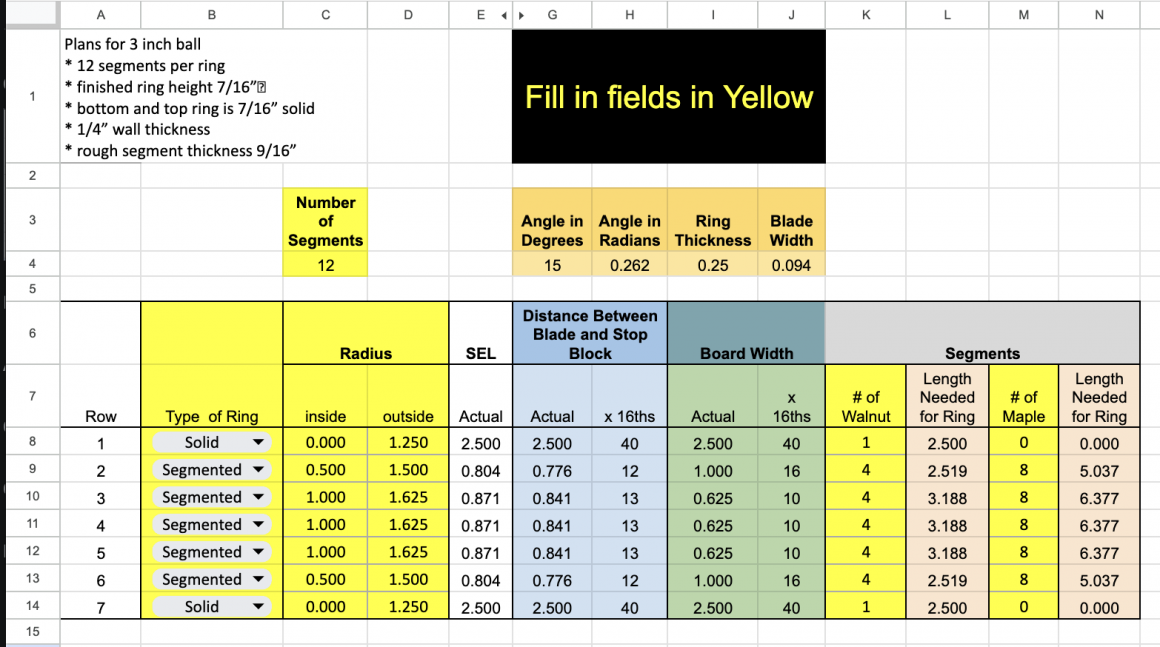
- the SEL is shown as its actual value
- the Distance Between Blade and Stop Block sets up your saw so that the correct SEL is cut.
- the width of the segment is shown in actual inches and 1/16 inches
- the amount of wood needed to cut all the segments in a ring is displayed in inches
The spreadsheet above is available for download here: 3″ Checkerboard 63 piece excel spreadsheet
I used the software SegmentPro to model the segment’s color design. My goal was to create a checkerboard pattern and Figure 3 shows how the segments would be oriented. SegmentPro doesn’t show the disk on the bottom and it shows the top ring as segmented ring. I filled in row 7 to make it look like a solid ring. Row 1 and 7 will be a block of solid walnut.
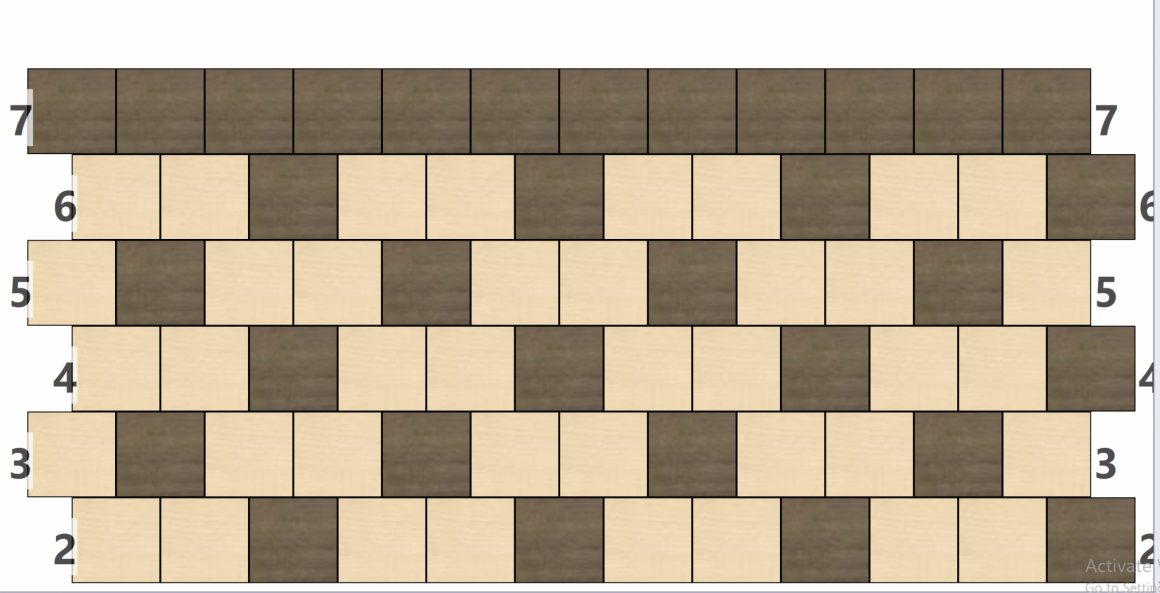
In this article I am not going to discuss how to cut segments. You can watch the video Using a Wedgie Sled or review one of the following articles on my website:
I also will not discuss in this article glueing the segments into rings. You can watch the video Glueing up Segments or review one of the following articles on my website :
In order to assemble the rings I needed two end blocks. I made these by glueing up a sacrificial block of maple to the walnut that would be the bottom. I repeated the process for the top. After the glue dried I then forced the two walnut sections together using pressure from the tail stock see Figure 4. (The walnut pieces are not glued together.) Once forced together between centers, I turned a tenon on both ends. The tenons will be used to mount the halves to the lathe using a chuck.
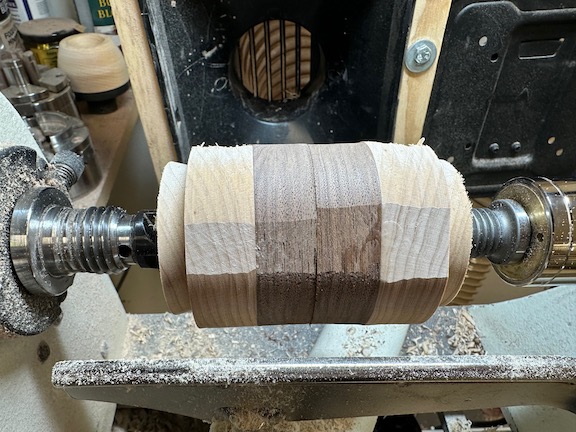
I then separated the top and bottom and placed each section one at a time into the chuck and flattened the walnut surface using a skew.
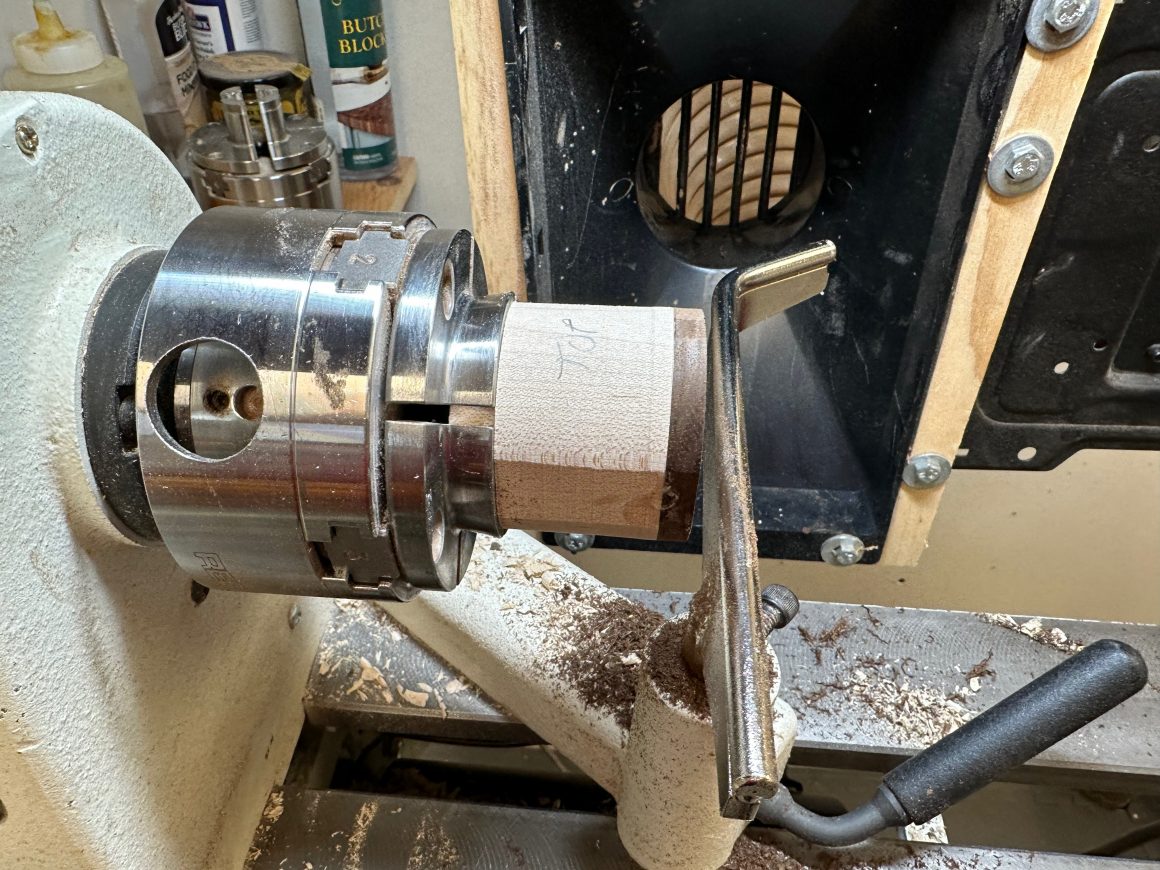
Next I mounted 3 rings to one end block to make the lower section of the ornament and then 2 rings to the other end block to make the upper section. I glued these rings on one at a time using my lathe as a press. I left each ring for 5 minutes to allow the glue to set. Then I checked the flatness of the surface of the glued on ring by holding the next ring up against it. If it was not flat I then flattened it using a skew and a sanding block before glueing on the next ring.
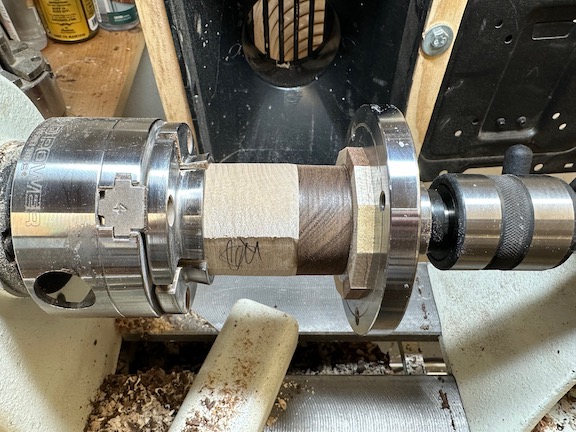
Once the glue had dried I hollowed out the bottom. The hollowing process is important to reduce the weight of the ornament so that it hangs properly on the tree. Before hollowing I marked the outside and inside diameters. This way I insured the wall thickness didn’t get too thin – at least at the joint between the two halves. (See Figure 7)
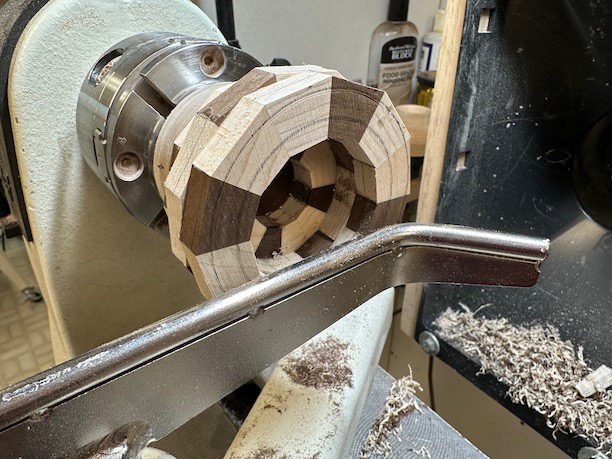
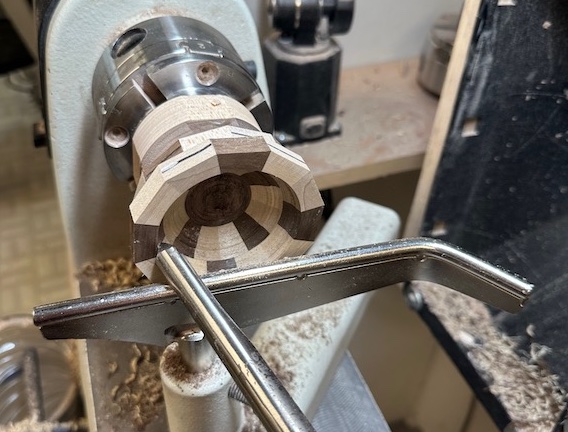
Next I hollowed out the top and drilled a 3/8″ hole through the walnut. This hole will be used to hold a topper which will have an eyelet inserted. The eyelet will be used to attach the ornament to a hanger.
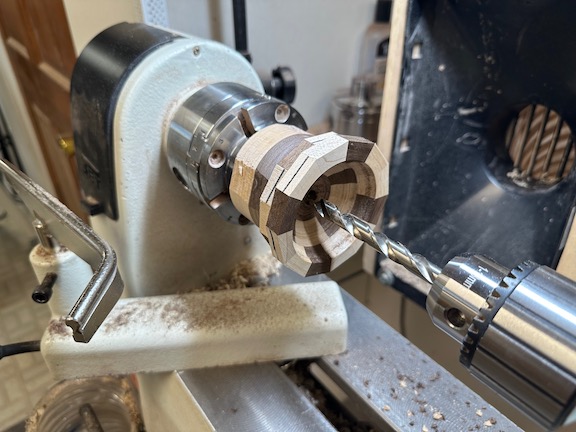
I then glued the top and bottom halves together to create the hollowed base for the ornament. I was careful when glueing the halves together to make sure the pattern was aligned correctly. Also, I place a mark on the sacrificial maple near the chuck to indicate which half was the top. (It is important to know which side has a 3/8″ hole in it when you are separating the ornament from the end blocks.)
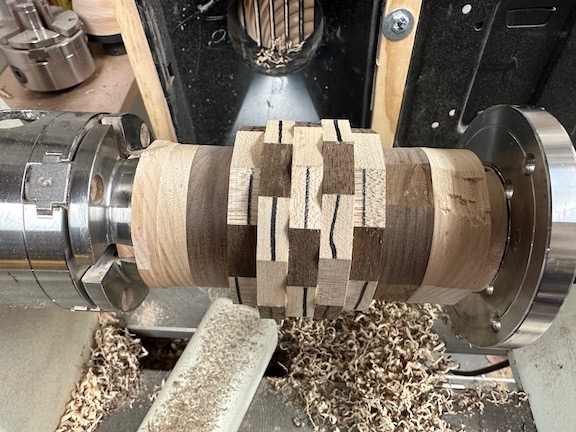
This next section explains how to use the hexagon method to turn a sphere
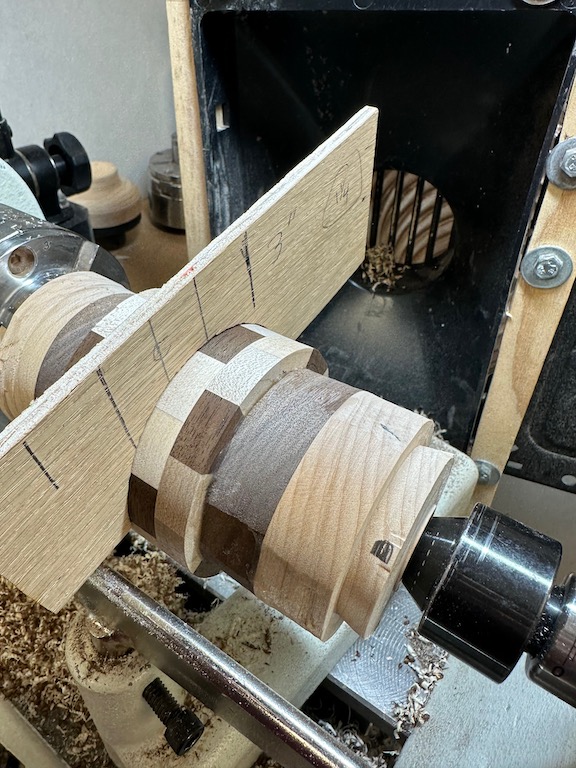
The ornament that I am making is a 3″ diameter sphere. So I begin by turning the middle of the ornament down to 3″. I checked the diameter using a template that I had created for another project. The template was made by drawing a 3″ circle with a compass on a thin piece of plywood. I then cut out the circle with my band saw and then I cut the plywood in half, see Figure 12. When the ornament is turned to the correct diameter the template will slide down on it perfectly. (I also could have used calipers to get the diameter to the correct size but I already had the template. So I chose to use it.)
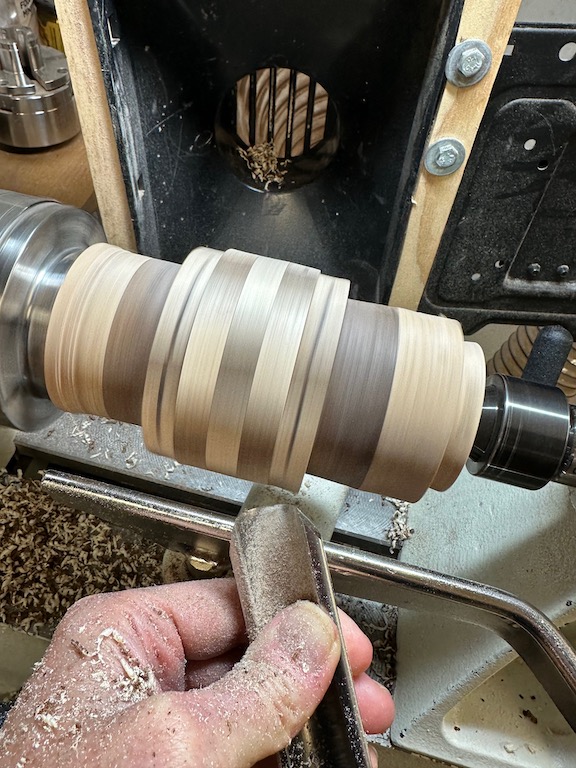
Now that the middle of the ornament was turned down to the proper size of 3″, it was time to begin turning it into a sphere. I used the octagon (or hexagon) method. I have seen this method called by both names.
A sphere can be modeled as a many-sided object. I used an octagon to model the sphere, thus the name of the method. I drew lines on the wood that corresponded to the A and B positions in Figure 13. Then the G–H line was made by turning down the end block to the proper depth. The dimension of the segment G-H can be calculated by multiplying 0.414 by the diameter, so in our case it was 0.414 * 3 = 1.242″.
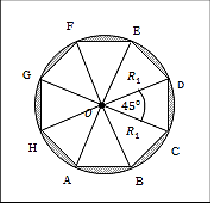
To help me layout the important lines for turning a sphere I made another template. I reused the template shown in Figure 12 to create this new template. I drew five lines on the template. The first line was the left side. The second was the right side which is 3″ away from the left line. The third line was the center line (1.5″ from either end). The center line helped me properly align the template on the ornament blank. Next I marked points A and B described above in Figure 13. They were drawn at a distance of 0.293 multiplied by the Diameter away from each end. In our example they were 0.239 * 3 = 0.879″ in from the outside towards the center. (See Figure 14)
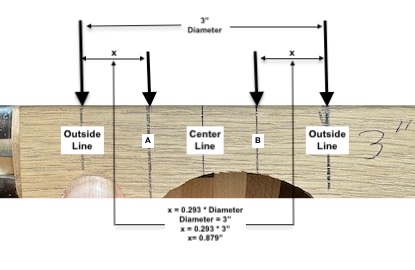
In the next step I transferred the lines from the template to the ornament block. I did this by holding the template up to the block. I placed the center line at the center of the ornament, which is in the middle of the 3rd segmented ring. Then I took a pencil and transferred the lines to the work piece.
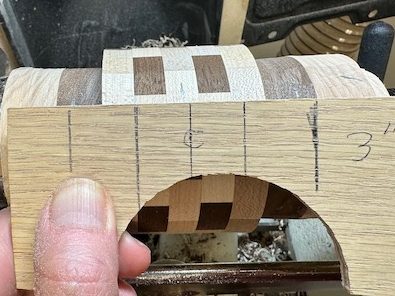
At each of the outside lines drawn in Figure 15, I turned the diameter down using the line as a guide. I made sure to turn down the wood between the outside line and the end block – not between the outside line and the lines that represent A and B. I did this using a parting tool followed by a bedan until the diameter was the same as the length of the G-H segment which was calculated above. (0.414 * 3 = 1.242″). I used calipers to gauge the diameter down to 1.242 ( I actually used 1.25″ since it is impractical to try to measure to thousandths of an inch.)

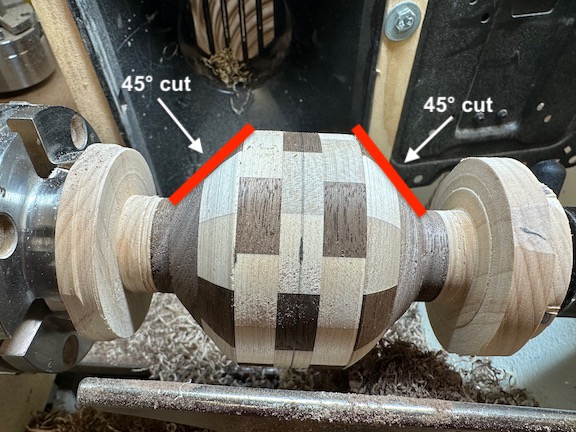
Next, using my 40/40 ground spindle gouge I cut a 45° line between the second line from the end (the A and B lines) and then reduced diameter on the ends. See Figure 17. Notice the red lines which indicate the cut that I made.
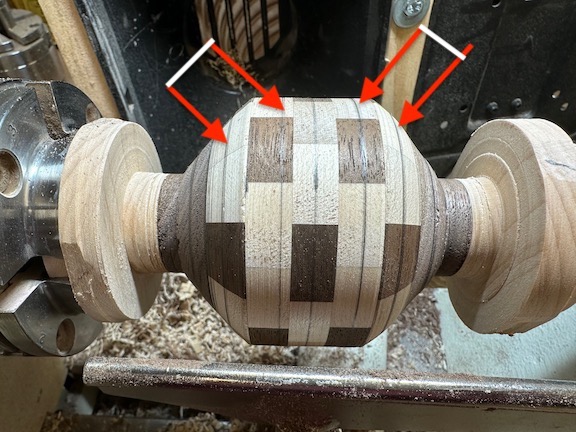
Using a pencil I marked lines halfway between the center line and the start of the 45° cut that I had just made. I divided the 45° section in two as well. Using the same 40/40 gouge I cut another line between the red arrows in Figure 18. (Note: In the picture the distances look different between the points of the arrows but they are not.)
At this point the basic shape was there. Next, I smoothed the surface between lines and worked to make the ornament look like a sphere. When smoothing the surface I was careful not to remove the center line. (The center line is the designed diameter of the ornament and if you lose that line the ornament will no longer be 3″ in diameter.)
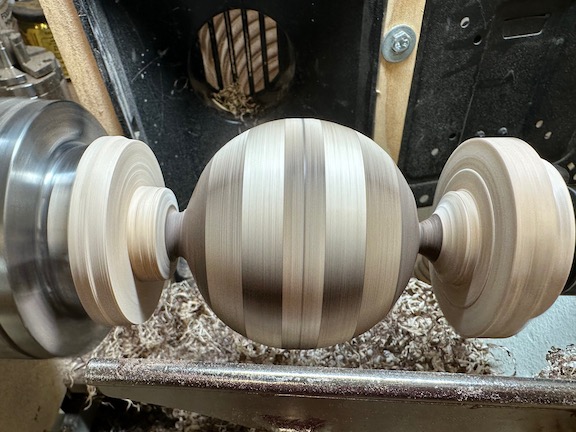
Once I had the shape “sphere-like” (at this point it will not be a perfect sphere. That will happen as we continue this process), I separated the ornament from both end blocks using a parting tool. I didn’t cut extremely close to the ornament, but instead left a bit of wood. (See Figure 20). This prevents tear-out on the ends. I was also careful to remember that the top had a 3/8″ hole in it, which is important to keep in mind since the hole will cause the ornament to separate more quickly than one expects.
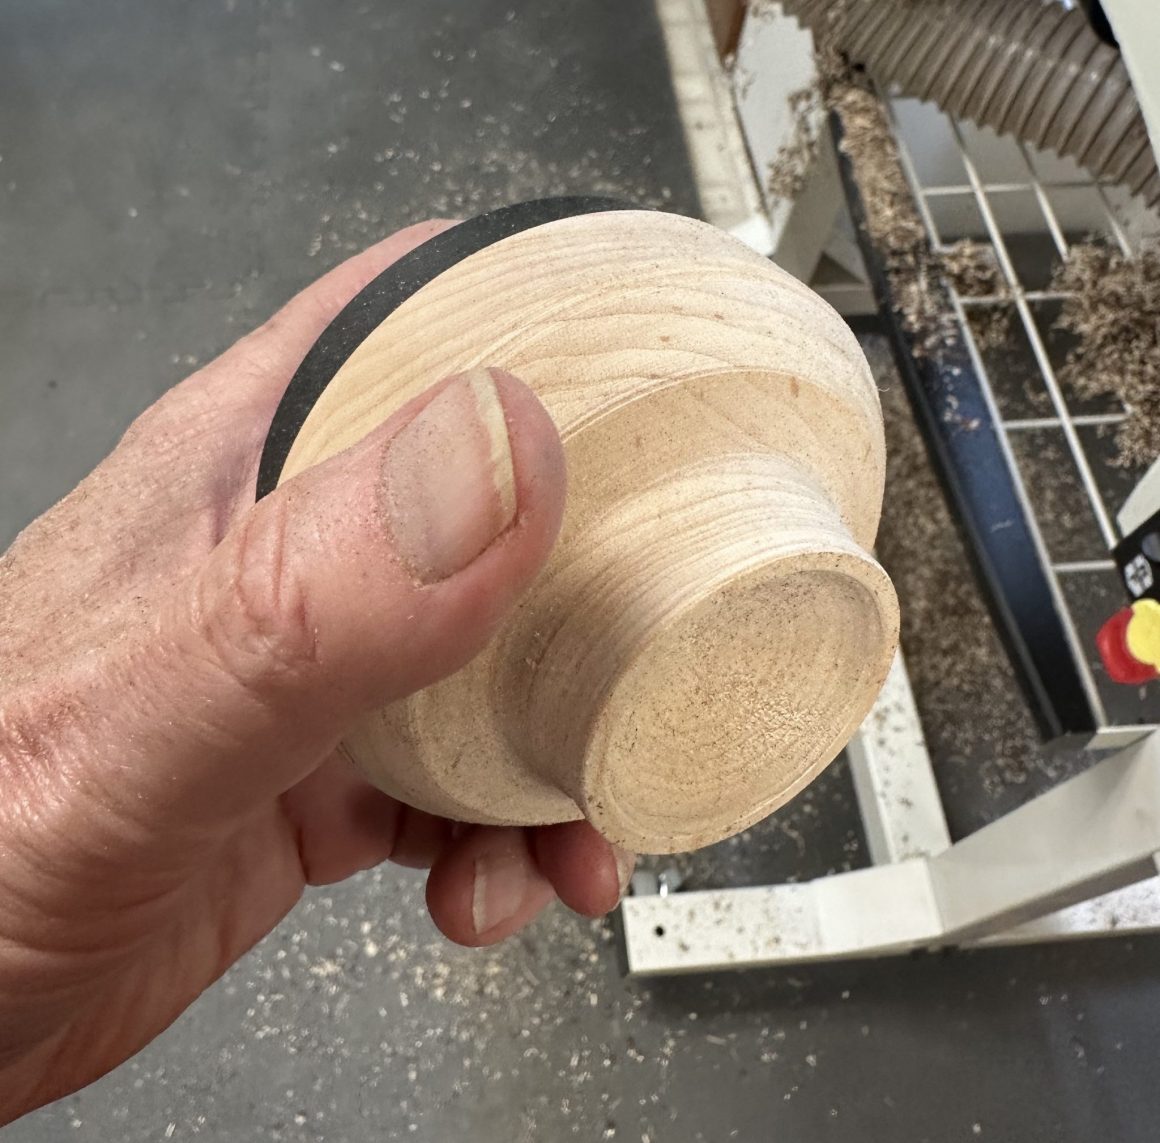
In order to finish the turning process I used Alan Stratton’s technique to hold the unfinished ornament. I made a jam chuck for the drive side of the lathe. I made the chuck using a face plate and a piece of maple. (Figure 21) On the tail stock end of the lathe, I used a live center with a drilled out rubber stopper that covered up the end of the live center. (Figure 22)
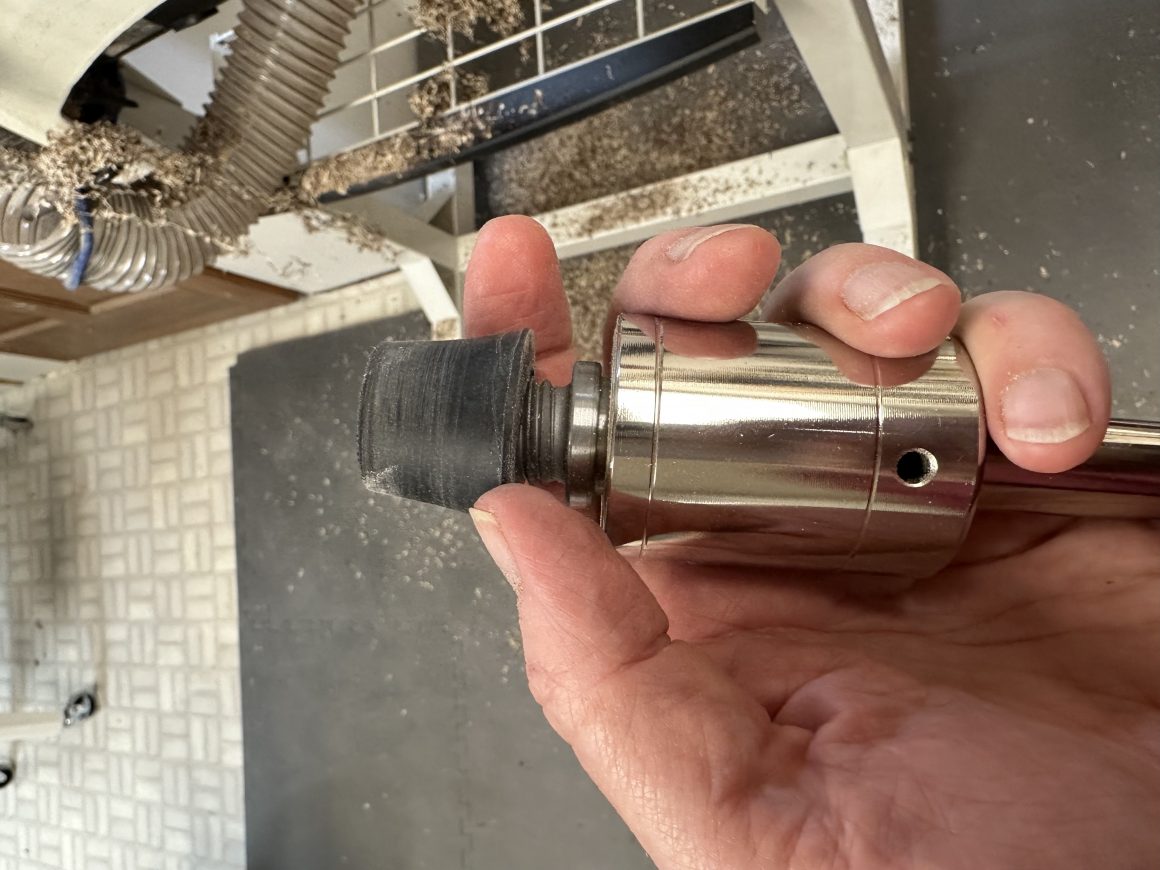
Using the jam chuck and the live center with the stopper I mounted the ornament as shown in Figure 23. I wanted to apply enough pressure to keep the ornament from slipping but not too much. (If you get it to tight it will scar the ornament. If you get it too loose and the ornament spins, it will burn a ring on the ornament.)
As the ornament spun, I could see a “ghost” image of the bumps on both ends. I gently turned the “ghost” away. I stopped the lathe often and made sure that I was doing it right. At this point the goal was to continue shaping the surface into more of a sphere. Once the shape is good, I drew a new center line on the ornament. Then I remounted it with the center line parallel to the lathe bed. Again, I didn’t turn the center line away. That line was my design diameter for the ornament. I repeated this last process by drawing another center line and remounting the ornament with the line parallel to the lathe bed and finished the shape. So all in all, I had rotated the ornament 3 times during this process.

Once the turning was completed, the sanding process followed the same 3-step process. I sanded the ornament with 80 grit sandpaper. Using the 80 grit sandpaper I was able to continue shaping the sphere removing any issues that existed. I then remounted the ornament by turning it 90°. I sanded it again, then remounted it by rotating it 90° again. Then I sanded it one last time. I repeated this entire sanding process with 180, 240 and 600 grit sandpaper.
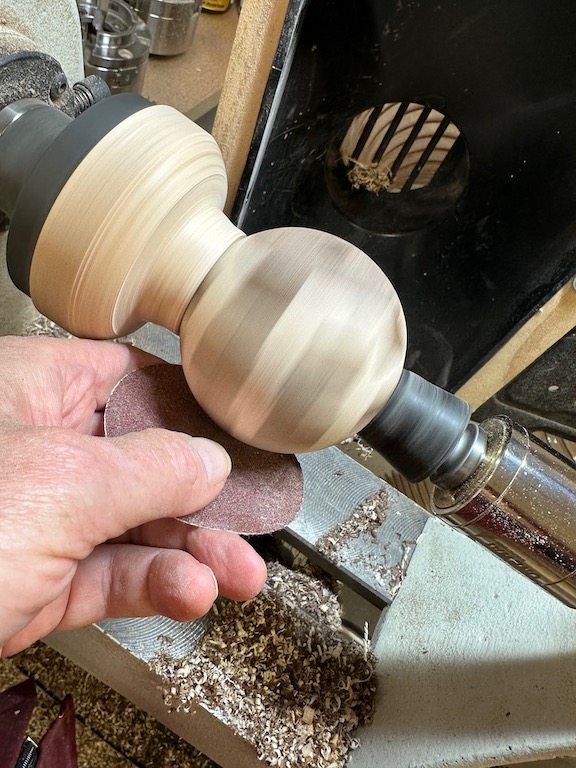
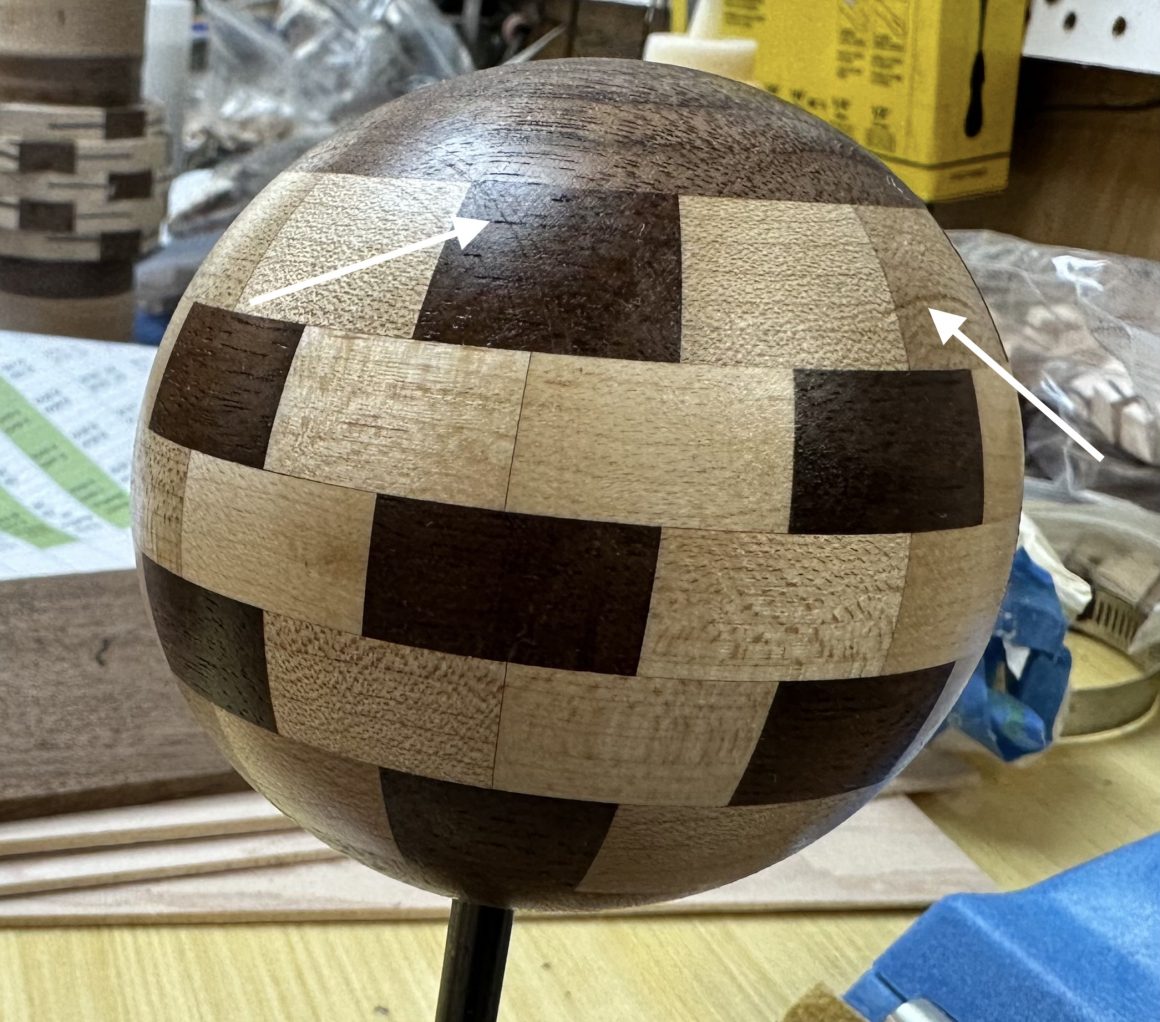
I used the same 3 rotation process to apply finish to the ornament. While applying the finish I found that the rubber stopper marred the ornament. Also if you look closely at Figure 25, I have highlighted with arrows two places where I scarred the ornament with the jam chuck. The scars were hard to see until I put the finish on. The finish I used was a 50/50 mixture of shellac and linseed oil.
Since the sphere turning process used jam chucks, I was able to remount the ornament and re-sand it to remove the scars and reapply the finish.
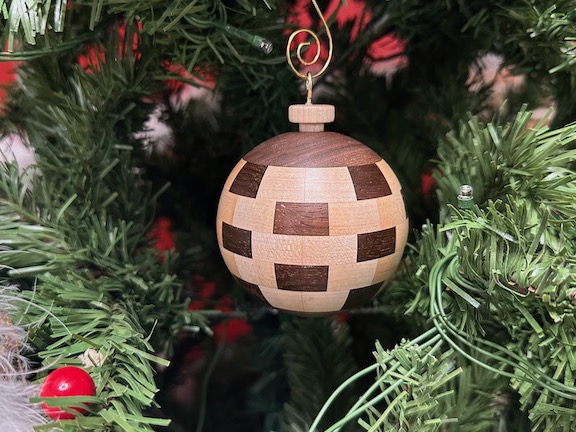
To finish out the ornament I turned a topper out of maple that fits into the 3/8″ hole that I drilled when hollowing out the top.
In the end, the Checkerboard 63 Christmas ornament turned out exactly as I desired.
Lesson Learned
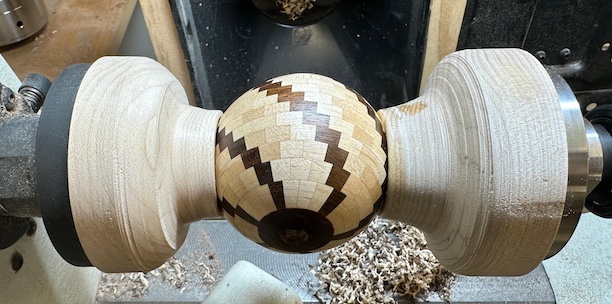
After turning this ornament I started thinking about a better way to hold the tail stock side of the work piece. I had trouble with the rubber stopper/live center. It was difficult to properly line up the ornament which resulted in a bad wobble. Also the stopper left a black mark on the surface while I was finishing it. I decided to created a second jam chuck to replace the rubber stopper/live center assembly. Figure 27 shows the new jam chucks on a different ornament. This chuck seemed to remove most of the issues I had with the rubber stopper/live center. I still get a little bit of wobble if I don’t properly align things but over all it performs much better
Leson Learned #2
I continued to make indentions on the ornaments when sanding. If you tighten the jam chucks to tightly it happens.
To prevent this, I have found that placing a small piece of neoprene between the ornament and both jam chucks stop the indentions. My neoprene pieces are currently square but at the time of writing this article it dawned on me that making the pieces round would make it easier to sand. The edges of the squares have a tendency to get in the way.
Another Resource to help with the “octagon/hexagon” method
Alan Stratton of As Wood Turns has a great video that describes the math behind the octagon method of turning a sphere. I have included his video below.
