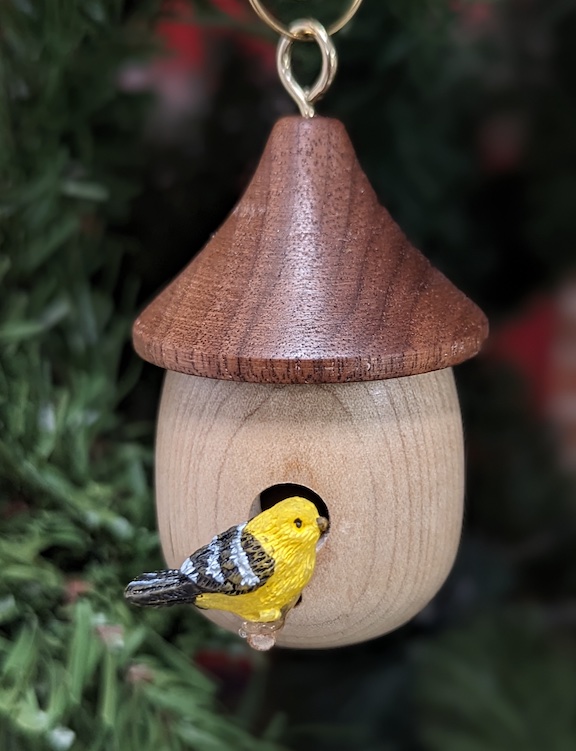
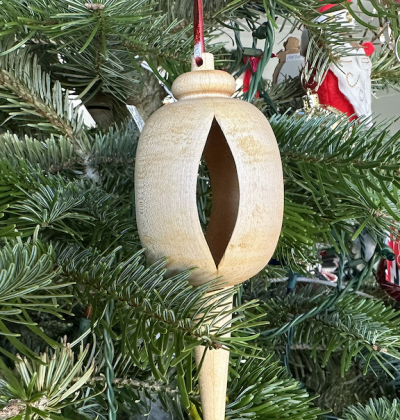
The Birdhouse is a simple Christmas ornament I made of walnut, maple, a wooden dowel rod, and a small bird I purchased at Hobby Lobby.
The first thing I did was to prepare the wood. I prepped a maple blank to be 2″ by 2″ by 4″. This will be the birdhouse body. In hindsight, I could have made this block much shorter, 2 1/2″ would have been sufficient. I also cut a piece of walnut 2″ by 2″ by 2″. This will be the roof of the birdhouse. Next, I turned both pieces of wood into cylinders using a roughing gouge. While turning the cylinder, I turned a tenon on one end of each block. I will use the tenon to hold the work while completing the turning process.
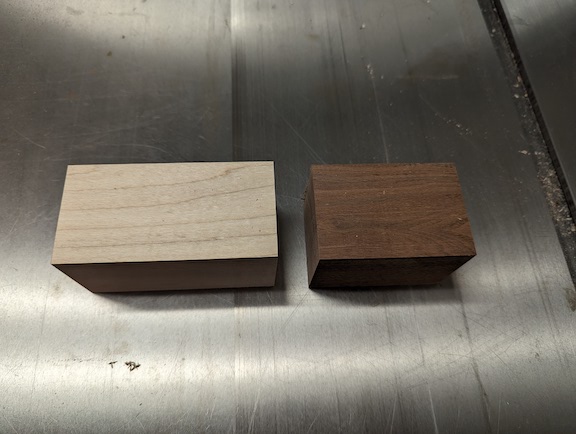
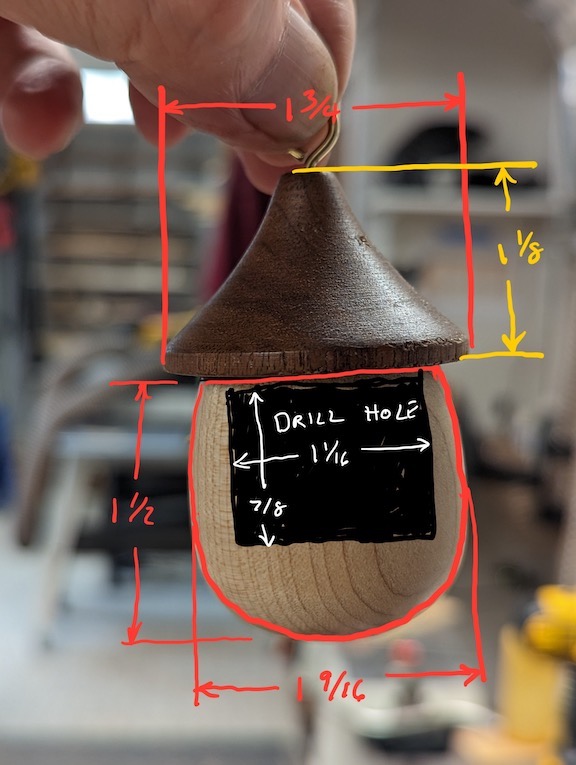
Figure 2 and 3 show the basic dimensions of the Birdhouse ornament.
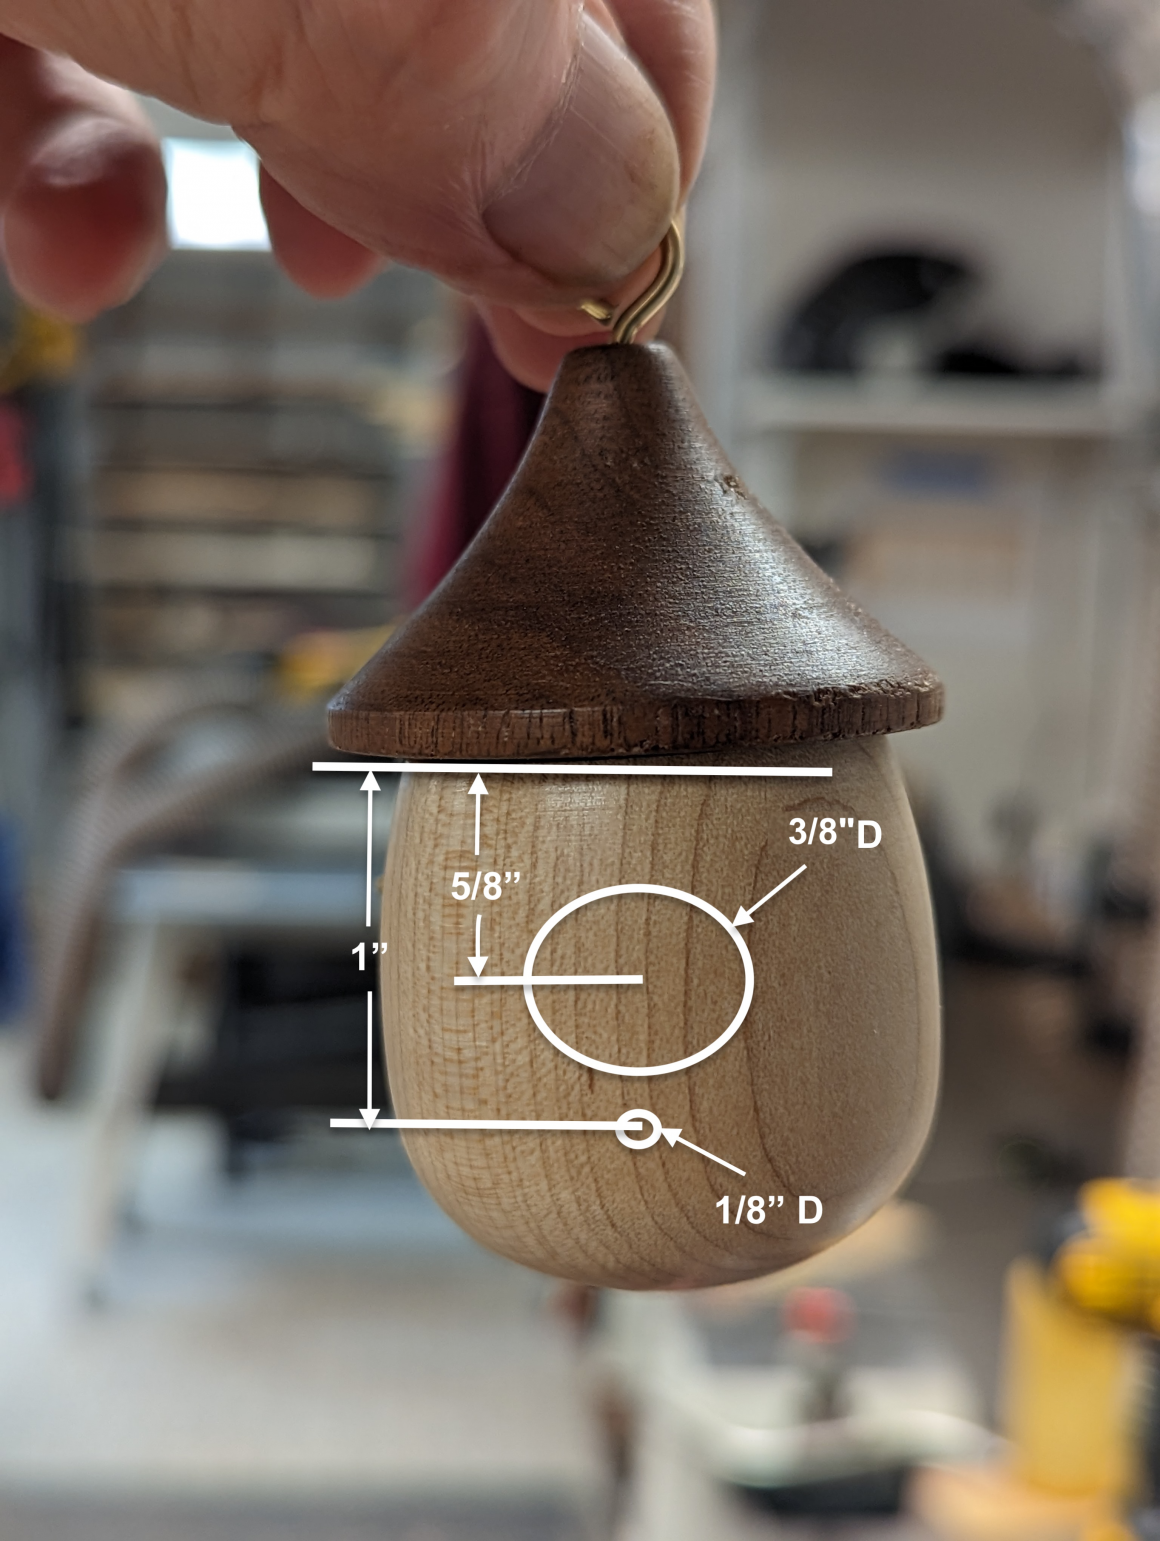
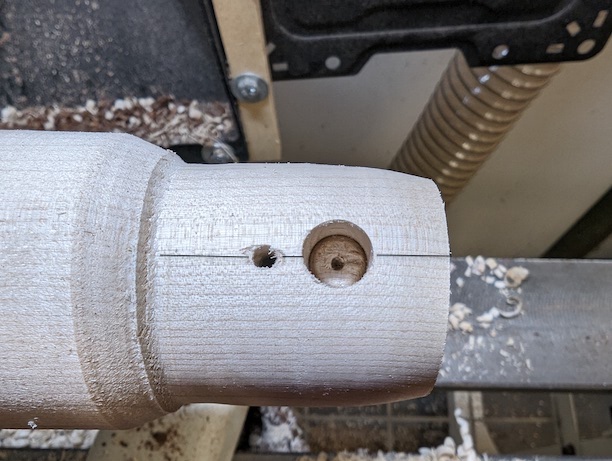
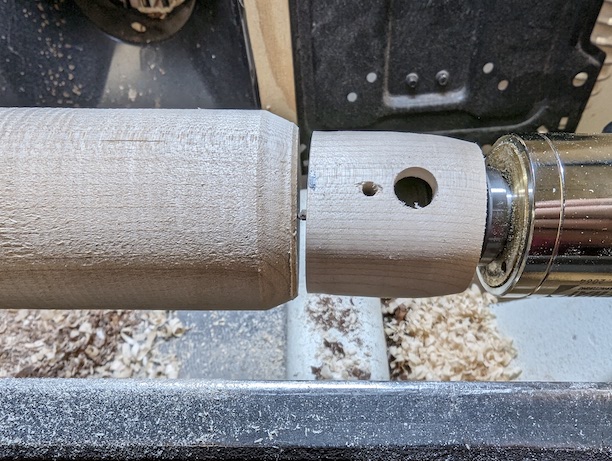
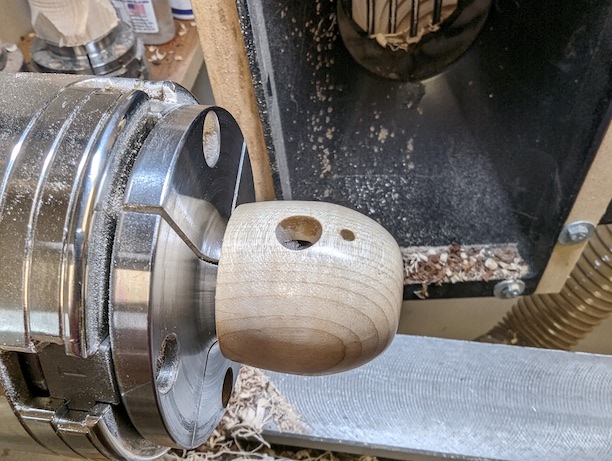
First I turned the birdhouse’s main body. I mounted the maple block into a chuck using the tenon cut earlier. I made sure the tailstock end was flat using a skew. Then, I used the skew to make the top shape of the birdhouse. Next, I locked the lathe so it could not spin and marked a straight line on the cylinder from end to end. I marked a point 5/8″ from the tailstock end and drilled a 3/8″ hole 1/2″ deep. I then marked another point 1″ from the same end and drilled a 1/8″ hole 1/2″ deep.
To reduce the weight of the ornament I hollowed it out using a 1 1/16″ frostner bit. I drilled this hole 7/8″ deep. The particular bit I used was a Bormax Fagma frostner bit. They are not cheap but they cut wood like it is butter.
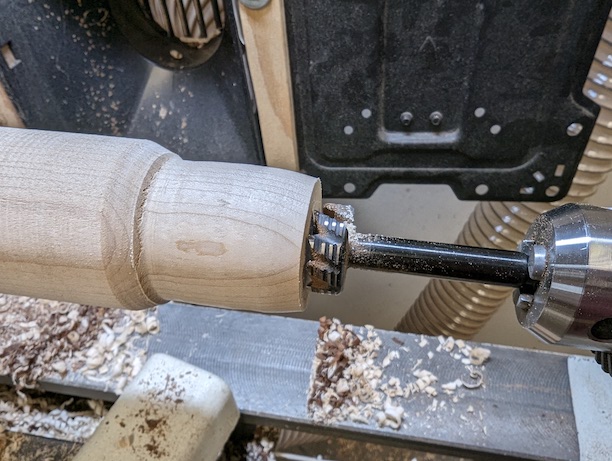
Once the hole was drilled, I placed a live center in the hole to reduce the amount of vibration in the blank while I separated the birdhouse from the wood blank using a parting tool.
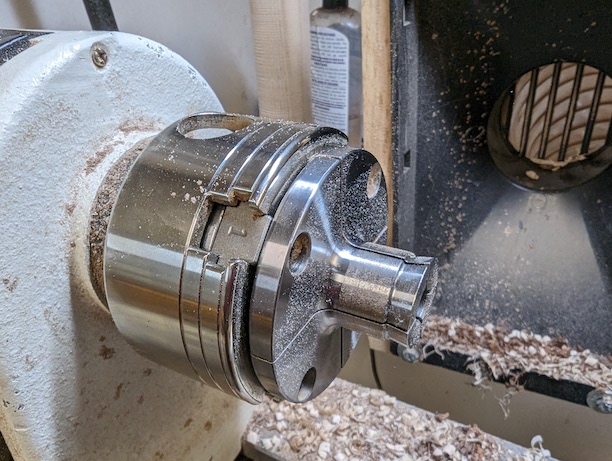
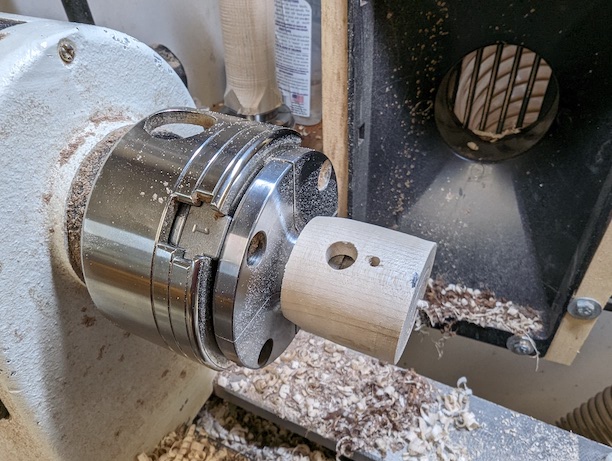
The best way I have found to hold the birdhouse while I finish the shape is using a pin jaw mounted to my chuck. This jaw fits inside the 1 1/16″ hole I drilled earlier. I placed the birdhouse on the pin and spread the pin jaws out to get a tight grip on the birdhouse. I then finished shaping the birdhouse with a skew.
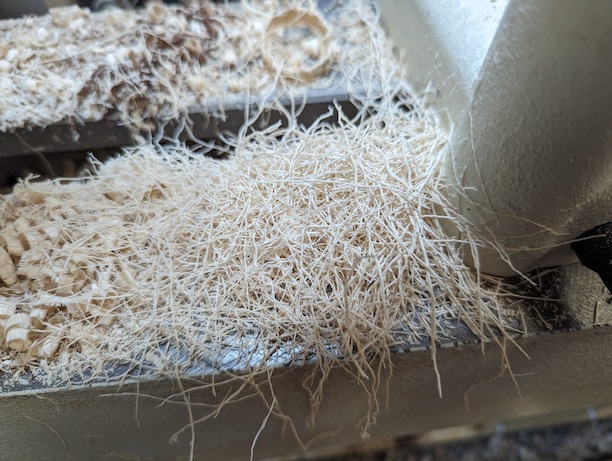
When you use the skew correctly the ornament requires almost no sanding! The chips are super cool looking, like steel wool.
Before removing the birdhouse from the jaw chuck I applied two coats of shellac.
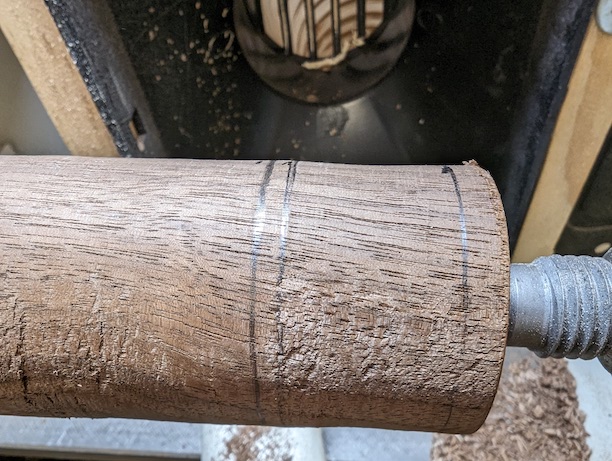
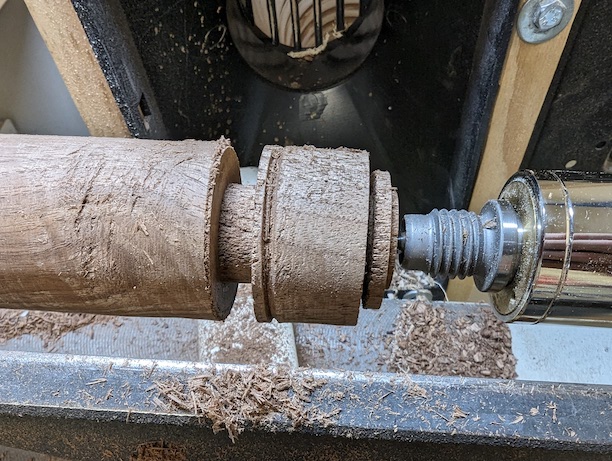
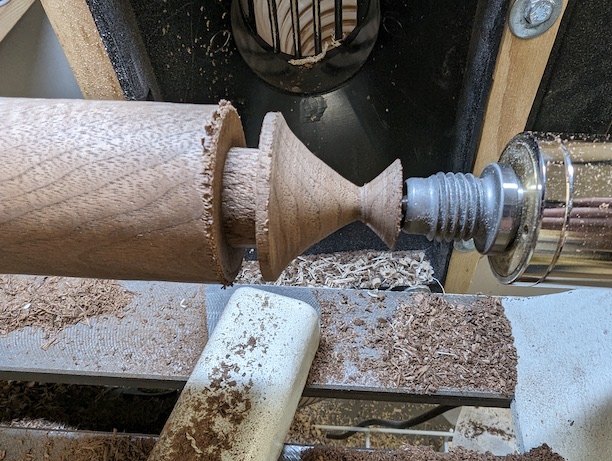
Next, I turned the roof of the birdhouse using the walnut blank. I chucked it up to the lathe using the tenon. I drew three lines: one for the top of the ornament, another 1″ below it for the roof’s starting point, and a third 1 1/8″ from the top for the lip on the roof’s bottom edge. Below the bottom line, I turned a tenon. I will use this tenon to attach the roof of the birdhouse to the birdhouse itself.
Next I used a parting tool to set the diameter of my tenon, the top of the lip and the top of the roof. I used a bedan to finish out the tenon. Then, using a 40/40 ground spindle gouge, I shaped the roof. I continued to shape the top of the roof till I removed the waste wood and left a small, flat surface. (See Figure 14)
I then drilled a 1/16″ hole in the top. Once the hole was drilled I sanded the roof and put two coats of shellac on it. After it had dried, I put an eyelet in the 1/16″ hole and using a parting tool I parted off the roof leaving about an 1/8″ tenon on the bottom.
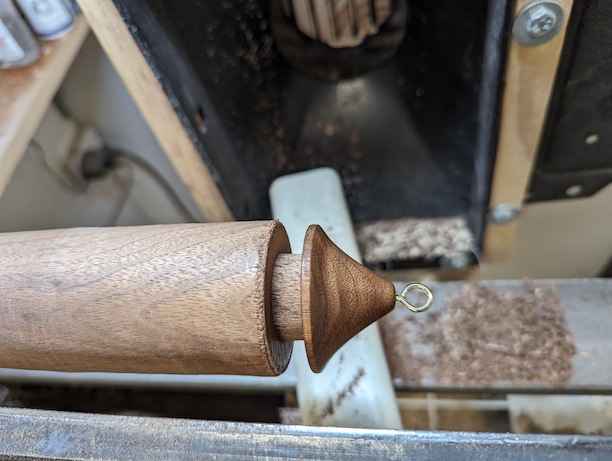
To complete the birdhouse, I inserted the tenon on the roof into the birdhouse body and glued it using Titebond glue. Then I glued a short 1/8″ dowel rod into the small hole using CA glue. For the final touch, I attached a bird to the dowel rod using a hot glue gun.
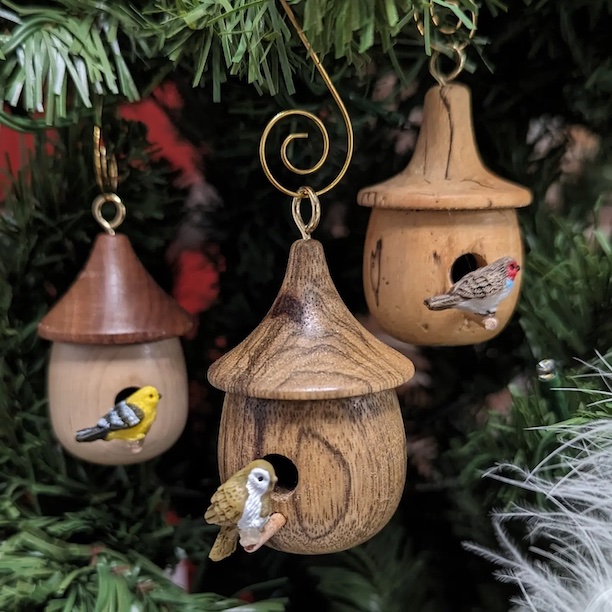
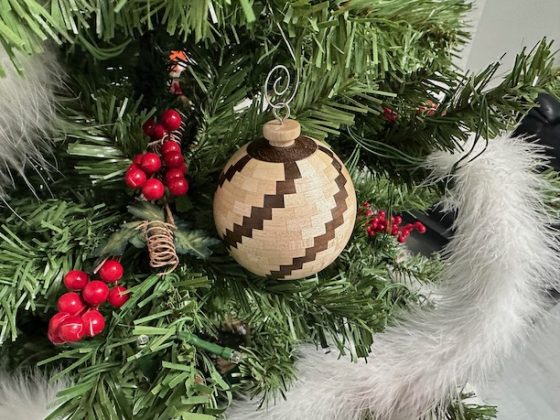
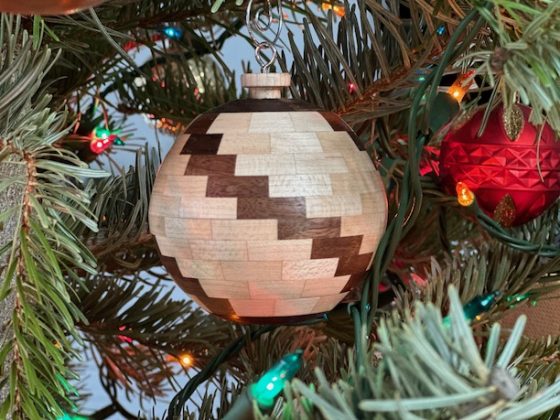
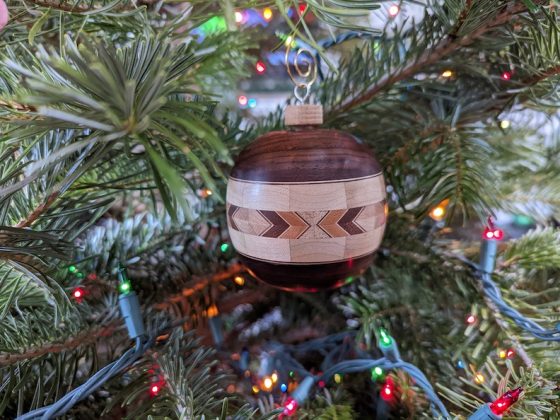
I have made a bunch of these birdhouses with many different kinds of wood. Most of the houses looked best when I used the same wood for the roof and the house itself.
2 comments
I love all things wood! I’d love to buy one of those little bird houses. Are the ones shown still available?
Gayle they are in my shop. Look at https://bebopsturnings.com/product-category/christmasturnings/birdhouses/ these are for sell. If something doesn’t catch your eye let me know, I actually have a bunch more that are in my inventory but not in the store. Gayle since you just live up the street, use local pickup at checkout instead of having it shipped to you.