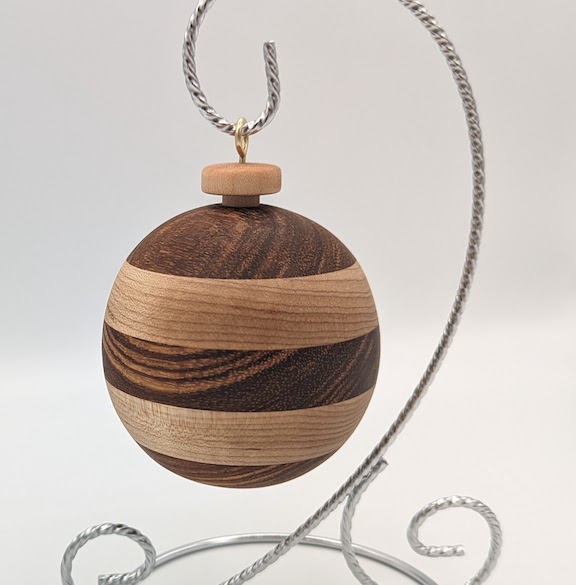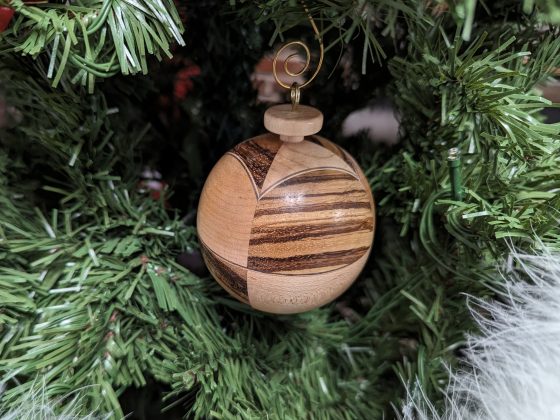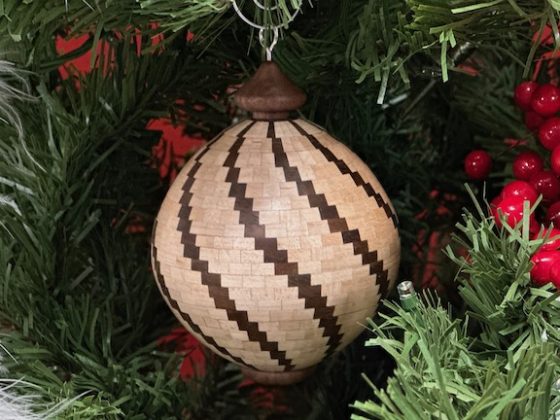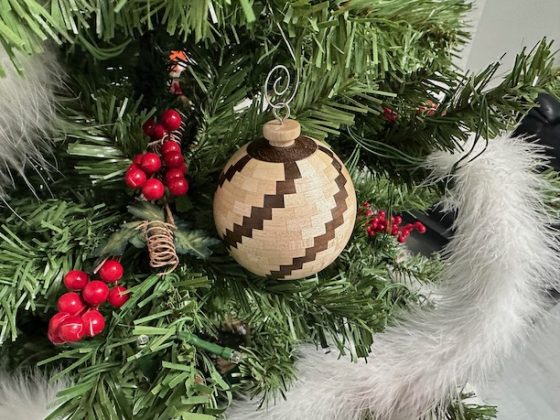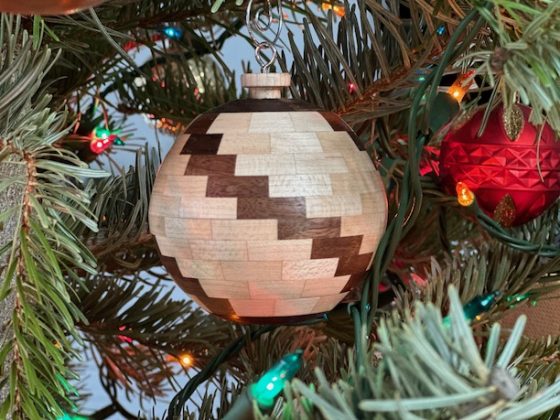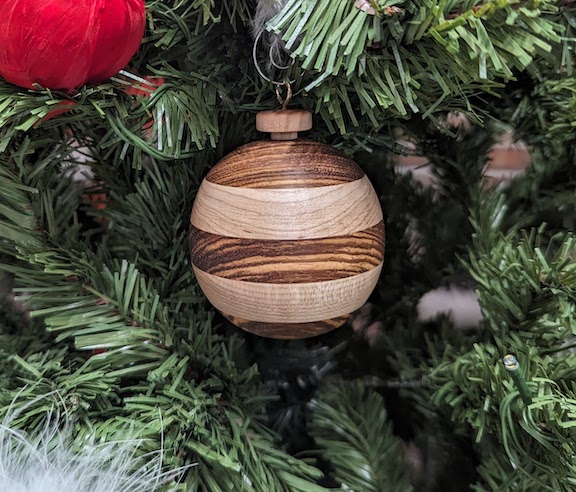
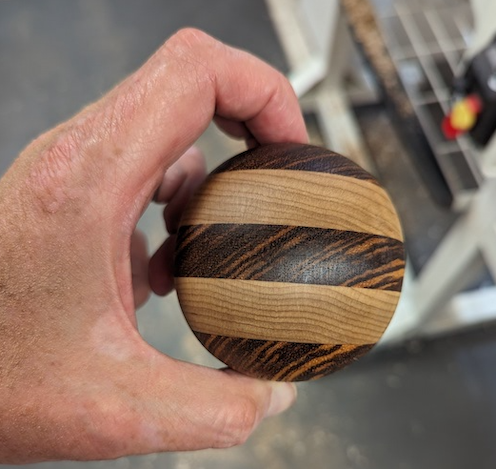
In this post, I will describe how I made the segmented ornament shown above. There are 5 rings in the ornament and each ring contains a single segment.
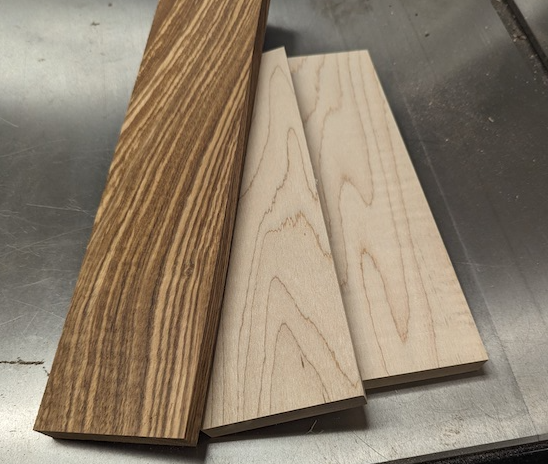
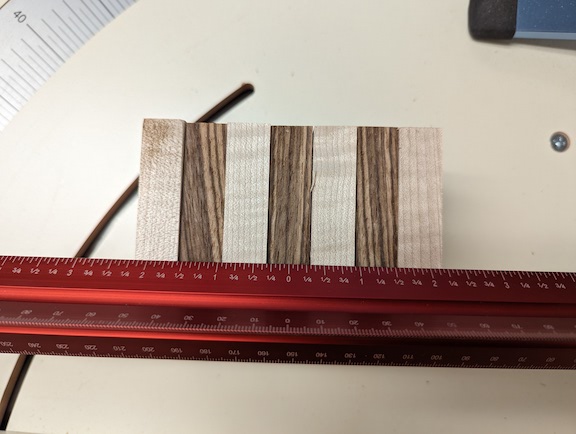
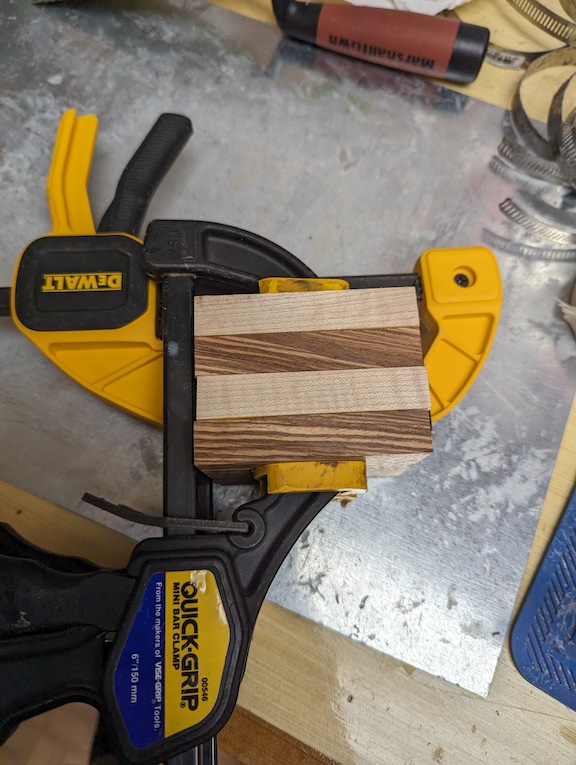
I began the ornament by prepping the wood. I needed 3 zebra wood segments and 5 maple segments, plus one additional maple segment at each end from which I will cut a tenon. (The tenon will be used to mount the ornament halves to the lathe, making it possible to hollow them out.) I cut the zebrawood and maple stock into 3 wide strips and planed them down to ⅝” thick. I then cut each segment 3 ¼ long. Figure 2 shows all the segments lined up in the correct order.
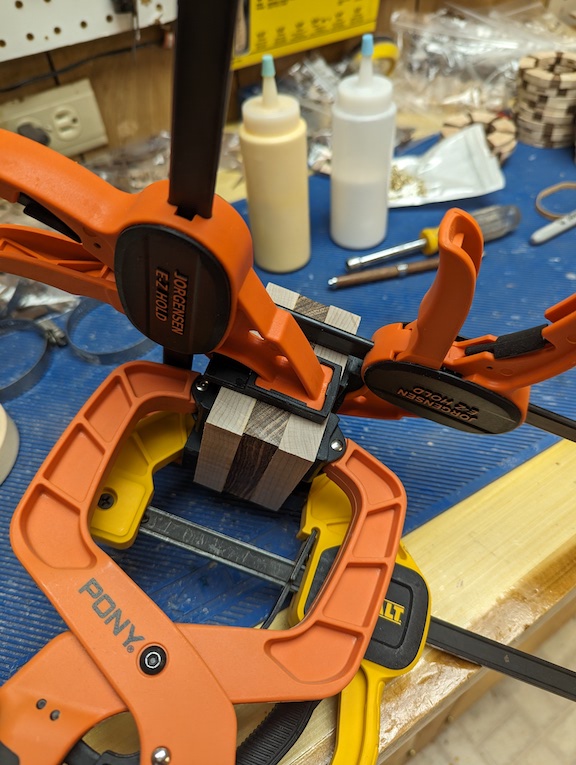
Next, I glued two maple and two zebrawood segments together as depicted in Figure 3. This will be the bottom half of the ornament.
I then glued two maple and one zebrawood segments together to make the top half.
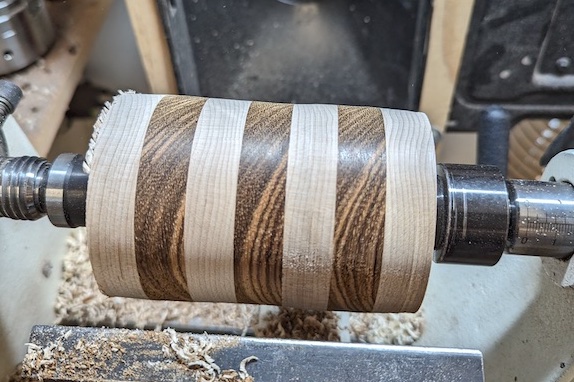
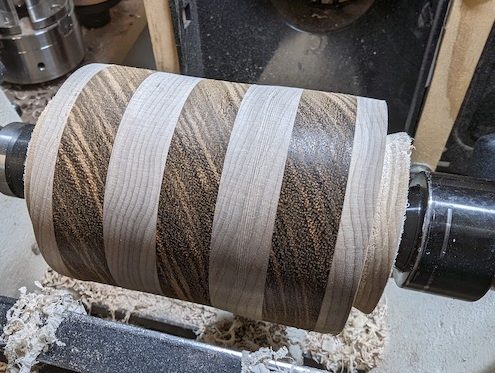
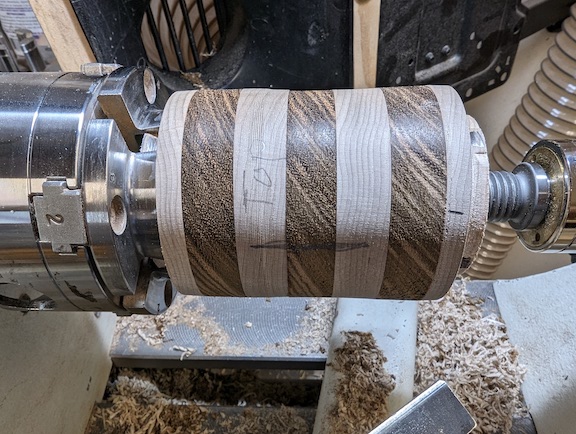
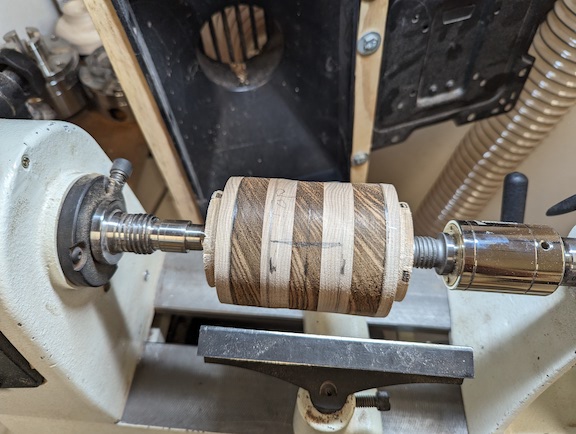
After the glue dried, I mounted the two halves on the lathe between centers, using the tailstock to force the two halves together. Note: there is no glue between the halves. I then turned the two halves into a 3” diameter cylinder, as shown in Figure 5.
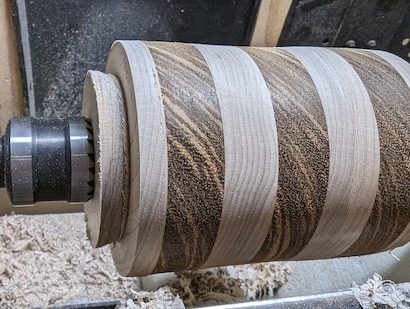
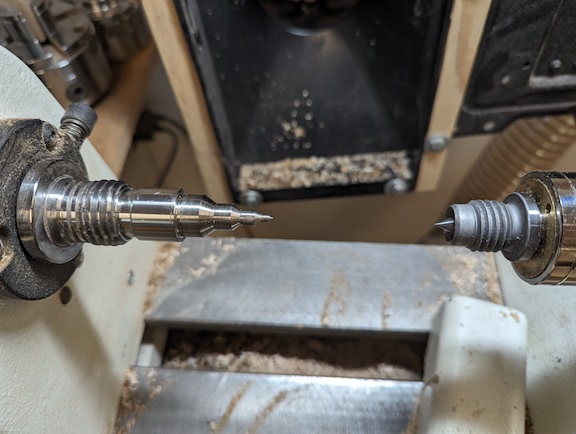
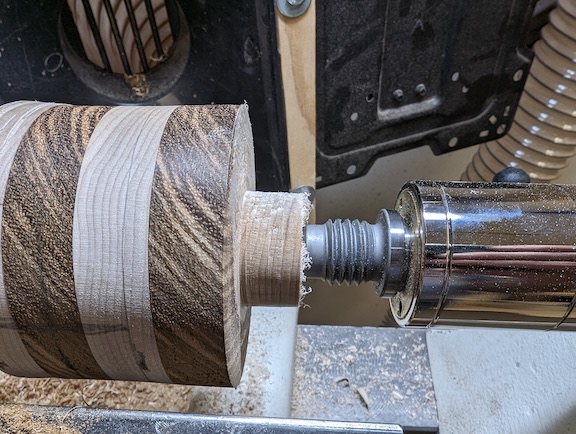
Next, I turned a tenon on both ends of the cylinder, as shown in Figure 6 and 7.
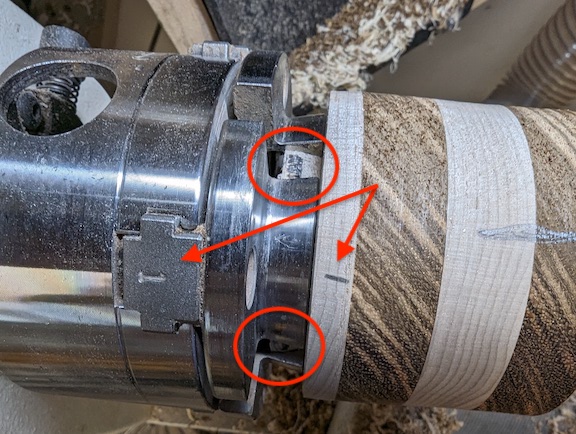
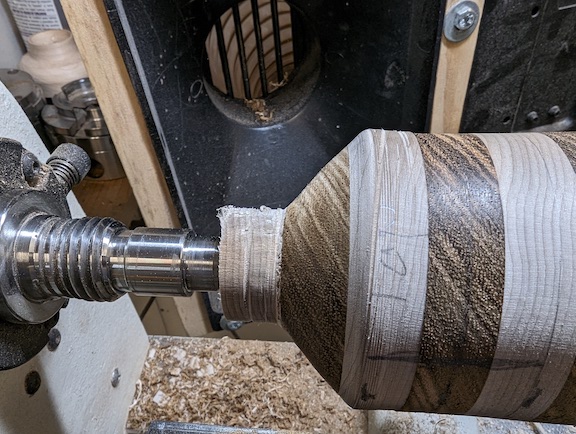
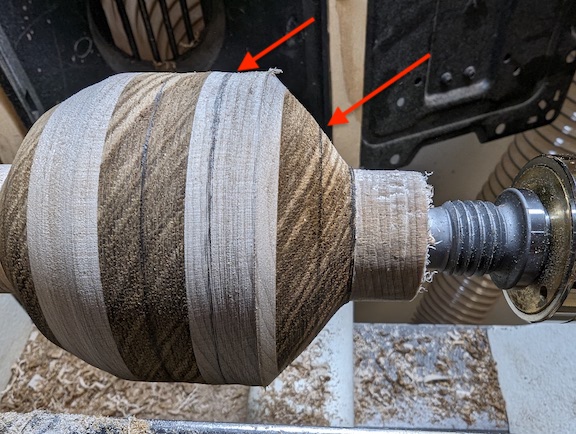
In order to be able to align the halves correctly when I glue them together, I marked a line across the area where they met.

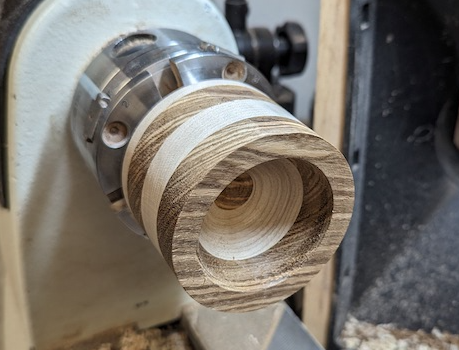
For the ornament to hang correctly on a tree, it needed to be hollowed out. To accomplish this, I used the tenon I cut on the end to mount the bottom half into a chuck on the lathe. Notice in Figure 9 that I marked the #1 position and put a black mark on the wood inside of the gaps of the chuck. This way if I needed to remount the wood, I could put it back on the lathe in the same position. (This helps prevent changing the center. If the center changes even a small amount, the wood will no longer turn true if you need to remount it.) In order to get a tight fit when gluing the two halves together, I squared up the edge with a skew before removing it from the chuck. Figure 10 shows the hollowed out half.
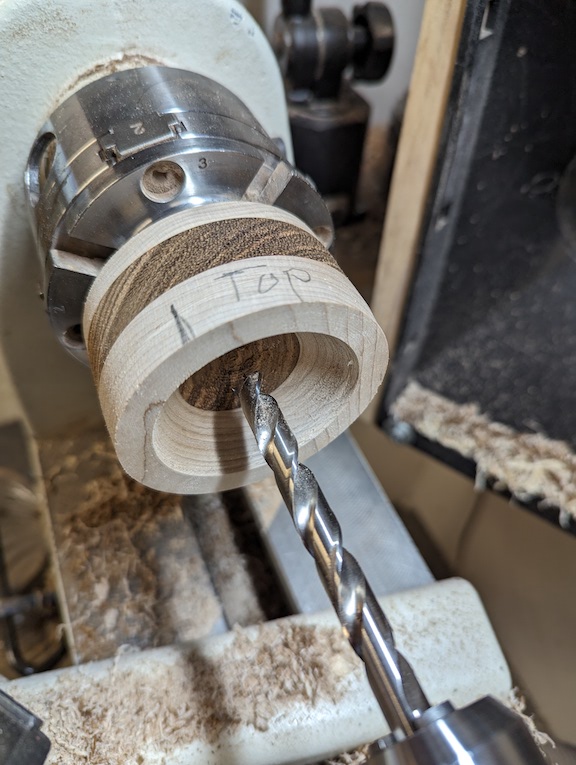
I then hollowed out the top half and drilled a ⅜” hole through the piece. I need this hole in order to place a topper in the ornament once finished. As I did to the bottom half above, I squared up the edge of the top with a skew before removing it from the lathe.
Using the lathe as a press, I glued the two halves together. I aligned the mark that I placed on the cylinder earlier to ensure that the grain orientation was correct.
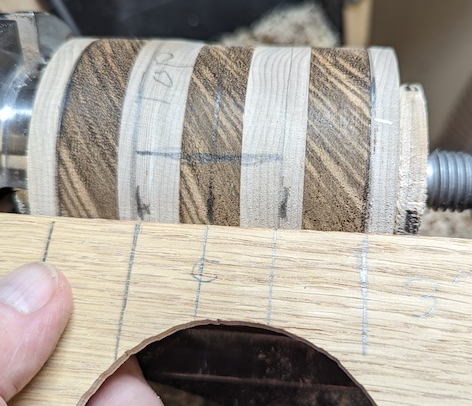
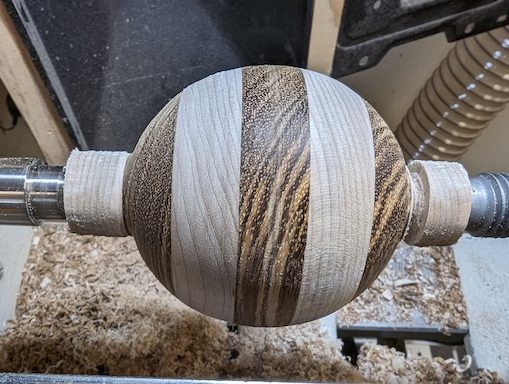
Next, I turned the ornament into a sphere using the hexagon method. (To read more about the hexagon method, see my post CheckerBoard 63.) I re-used the template that I used while making the CheckerBoard 63 ornament to put five marks on the cylinder.
I remounted the glued-up cylinder between centers using a step drive on the headstock and forced it into the ⅜” hole in the top. On the tailstock end, I used a small live center.
Using the outside lines drawn in Figure 13 as a guide, I reduced the diameter on both ends of the cylinder down to 1 ¼” with a Bedan.
The first step in turning a sphere using the hexagon method is to turn the cylinder into an octagon. I cut a line between the reduced diameter end and the second line drawn in Figure 13. This resulted in a line of approximately 45° between the two points. I made the same cut on both ends.
Next, I drew lines halfway between each of the existing lines.
I then cut a line between the second line from the center and the line that is halfway through the 45° edge I just cut. You can see this cut in Figure 18.
Next, I used my gouge to smooth the edges out to form a shape resembling a sphere. The shape will not be perfect, but the next steps will turn it into a true sphere.
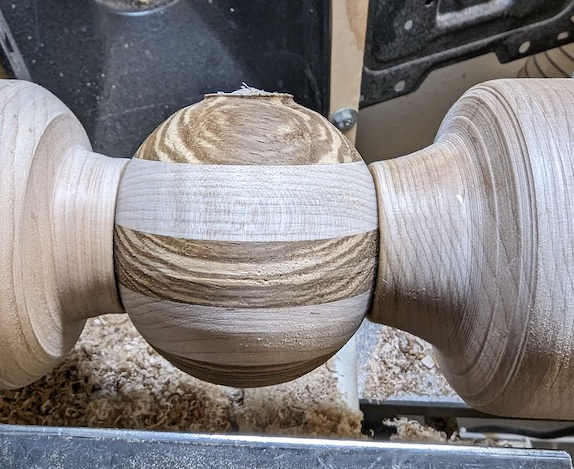
Using a parting tool, I removed almost all of both of the nubs. (If I had cut all the way through, I might have had an ornament fly across the room.) I then removed the ornament from the lathe, and using a Japanese cut-off saw, I removed the remainder of each nub. I then remounted the ornament using two homemade jam chucks. I made sure that when I remounted the ornament; the nubs were perpendicular to the lathe center. Then using a gouge, I continued to shape the ornament into a sphere.
Once I completed the shape, I applied butcher block oil to the ornament.
The last step was to turn a topper and insert it into the ⅜” hole that I had drilled while hollowing the top of the ornament.
This ornament was a very simple segmented design. Give it a try!