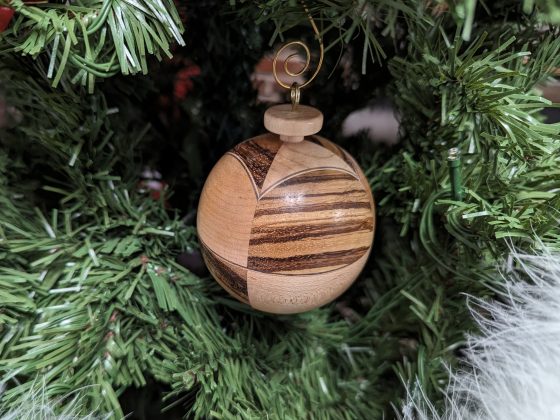
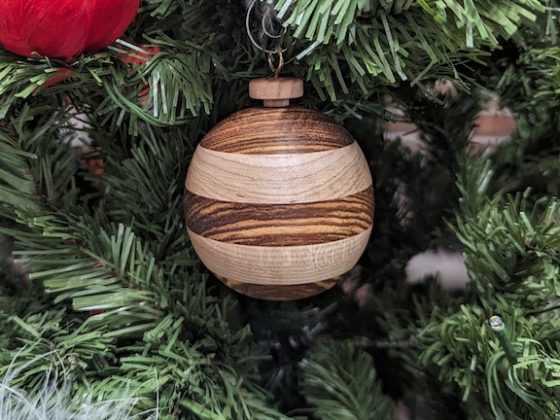
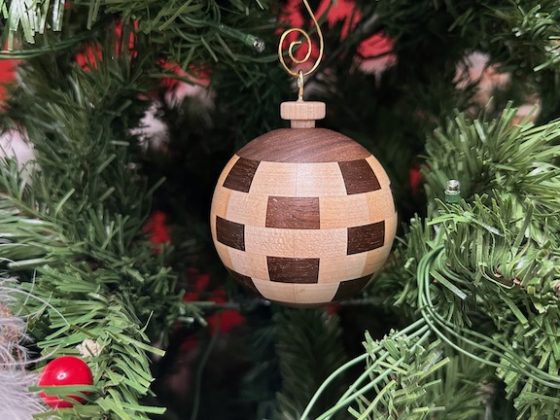
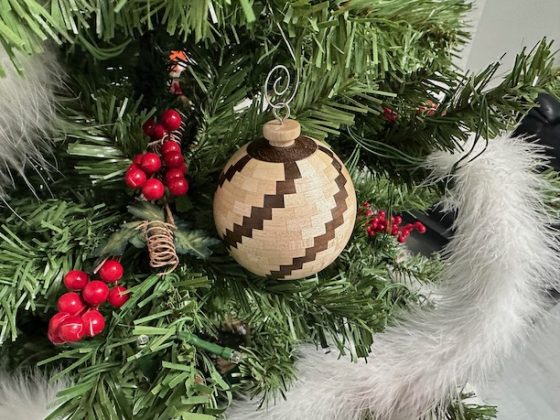
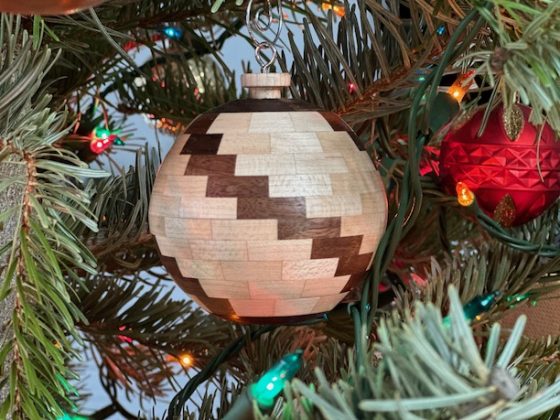
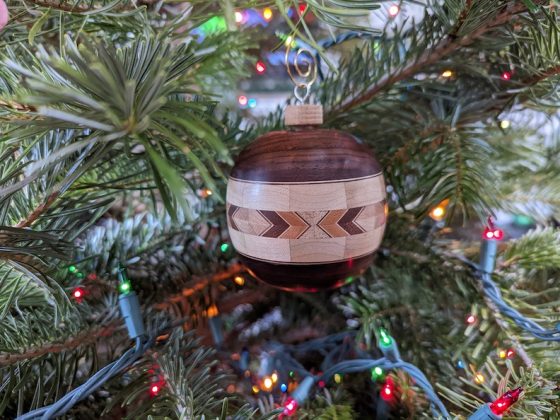
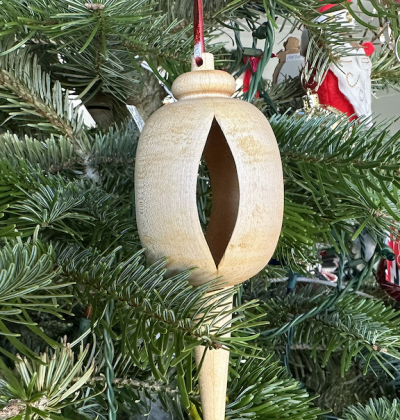
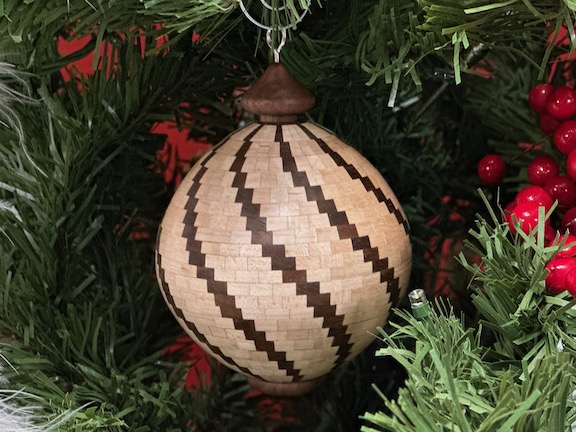
This is the 3rd Swirl design I have turned. Each one has been a bit more complicated. The Swirl 795 is made of 795 pieces of wood: 22 rings (each containing 36 segments), 2 solid rings, and a topper. The biggest thing I learned making this ornament was that accuracy really matters. If your rings are only 1/64″ too thick, it can create a major design change. The goal was that the ornament be sphere shaped, just like Swirl 123 and Swirl 283. As you can see by the picture, it did not turn out to be spherical. I will explain what happened later in the article.
The first thing I did was determine the size of the rings. For this ornament, I used a commercial software package called SegmentPro. I love how SegmentPro makes it easier for you to visualize the pattern in your ornament by providing a pre-turned model from a single-line profile drawing that you input. It also allows you to rotate the model in order to view the pattern from all directions. That being said, I did have some trouble with the dimensions it calculated for a few of the rings. (I think my problem was that I didn’t make my initial profile drawing precise enough.)
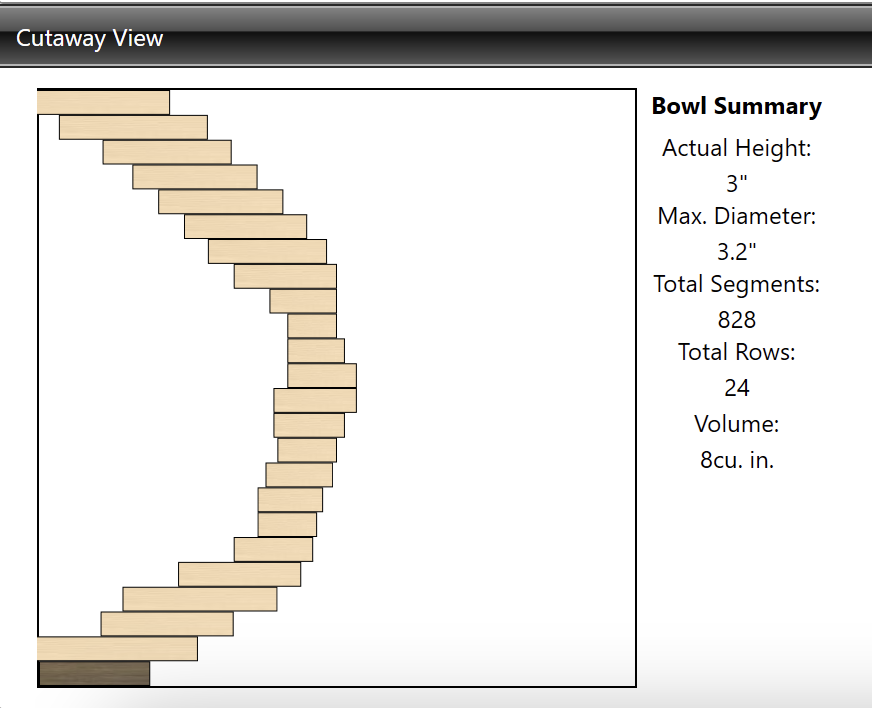
I used the ring configuration data obtained from SegmentPro (Figure 1) as a starting point. I then drew my desired shape (1/4″ thick) on a piece of graph paper and adjusted SegmentPro’s measurements when necessary to arrive at my completed design layout (Figure 2).
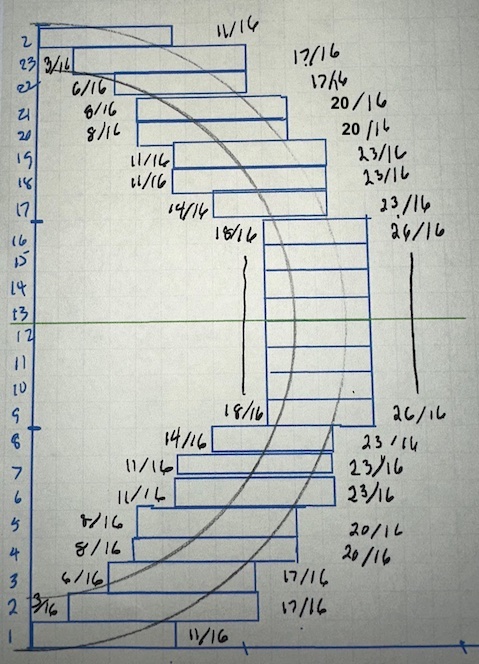
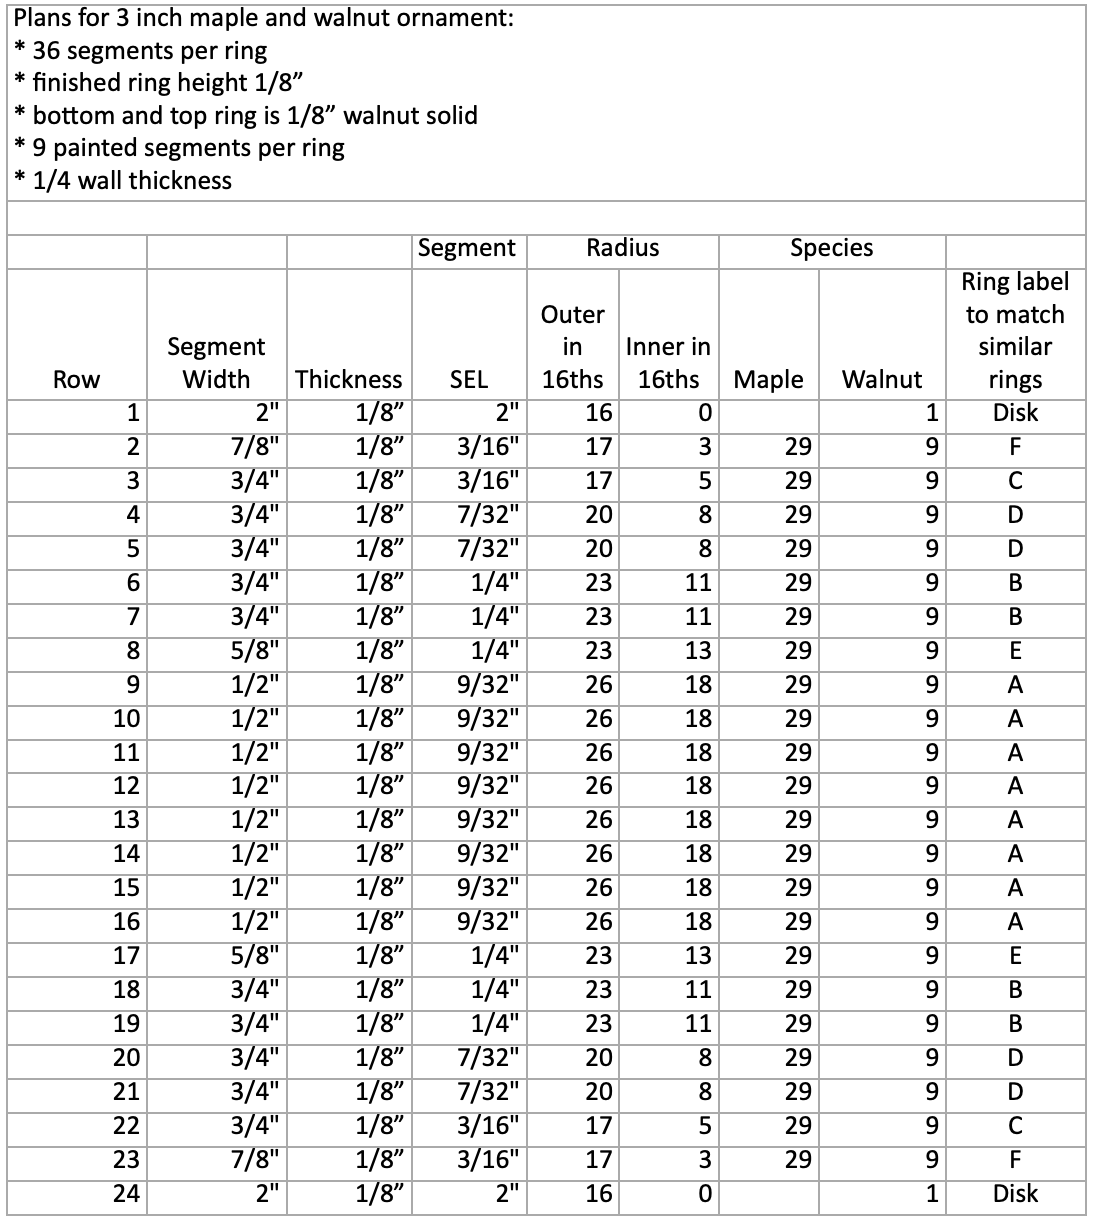
Then, I took the information from the design layout and used a spreadsheet to create the ring dimensions shown in Table 1. There are a few definitions that you need to understand in order to use the data in the table.
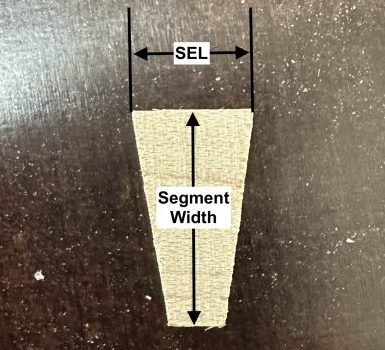
Segment Thickness = This is the thickness of each segment; thus, the thickness of the ring.
Segment Width = This is the width of the strip of wood from which you will be cutting the segments.
SEL = The SEL is the length of the front of the segment (also referred to as Segment Length.)
I prepped the wood by creating the necessary strips and then began cutting segments. I cut the segments using my homemade wedgie sled, my homemade ramp (to allow the segments to slide away from the blade), and a my homemade stop block. (See the article Using a wedgie sled for more details on cutting segments) Since the Segment Lengths (SEL) are so specific, the stop block is a must-have to ensure repetitive cuts of the same lengths.
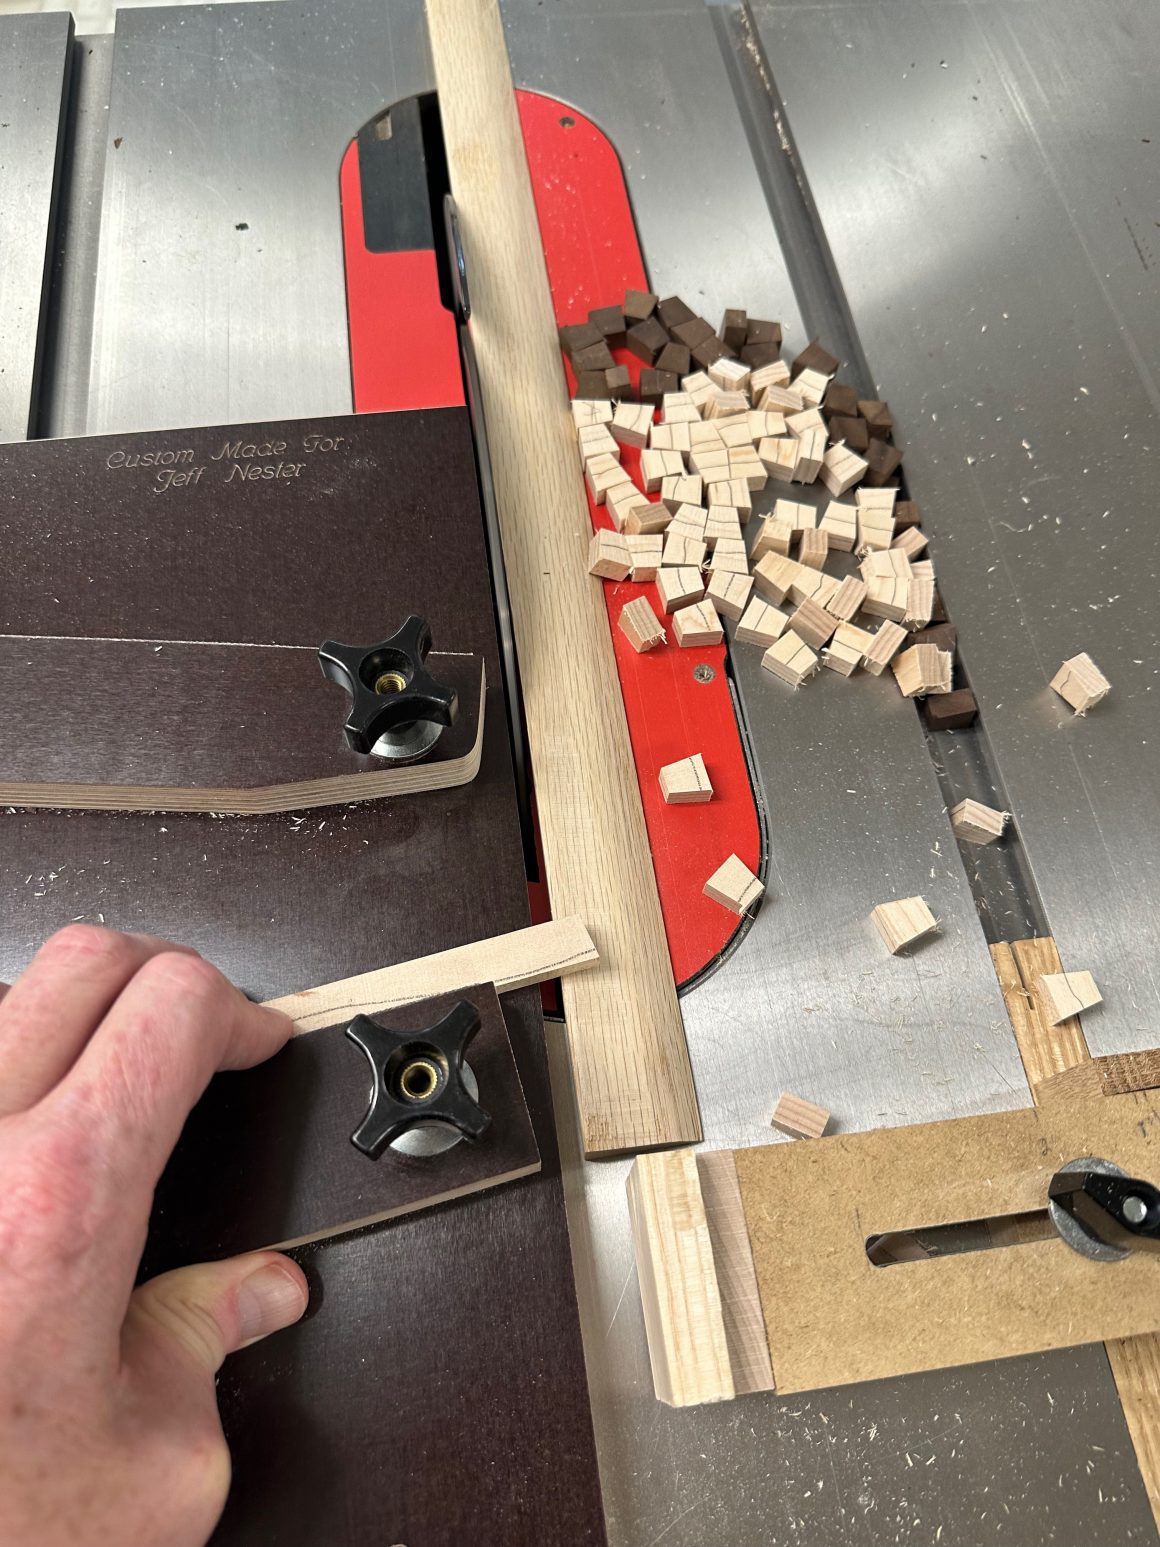
To set up my stop block, I moved the ramp out of the way and slid my stop block up near the blade. I then placed the appropriate iGaging Setup Blocks between the blade and the stop block. When adjusting the stop block, I made sure not to apply excessive pressure that might bend the blade. Once the distance was set, I moved the stop block back toward the front of the saw and placed my ramp back into position.
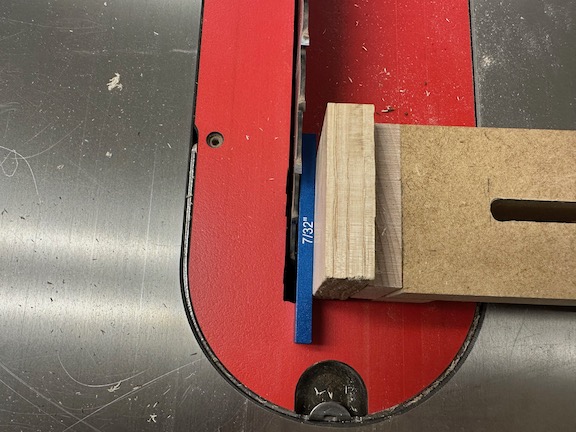
NOTE: Setting the distance between the blade and the stop block to the SEL is incorrect. I discovered this when making larger segmented ornaments. Since the segments are so small in this design the error is using this method is insignificant. See How to Use a Wedgie Sled for more details.
It took hours to cut all of the needed segments; so to keep from losing a finger, I would cut a group of segments and glue them up before continuing to cut more segments. For more information on the gluing technique I used, see my Segment Gluing Technique article.
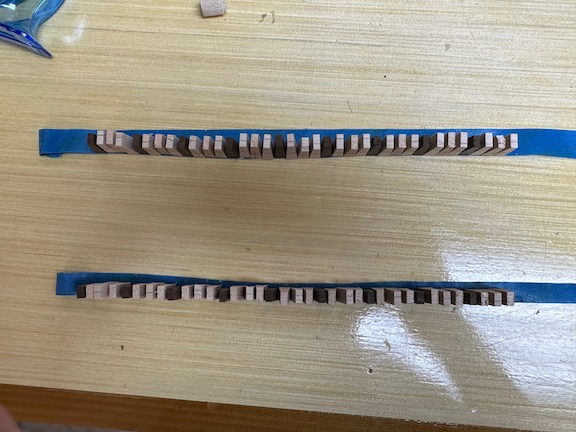
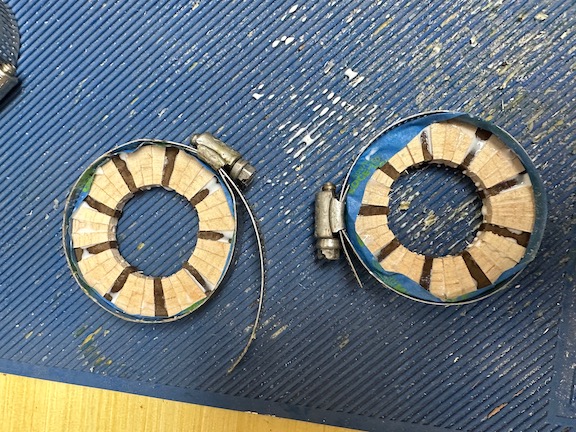
After all the rings had dried, I ran them through the thickness sander to make them all the same thickness. Sanding these rings was where I introduced the error that caused the “major design change” I referenced in the beginning of this article. My design called for 1/8″ thick rings. When I sanded them I noticed they were a bit thick – maybe 1/64″. Instead of running them back through the sander, I decided that it would be fine for them to be a bit thick. When you do the math, 1/64″ times 22 rings is almost 3/8″. That is no longer a small error, especially when your individual rings are only 1/8″ thick.
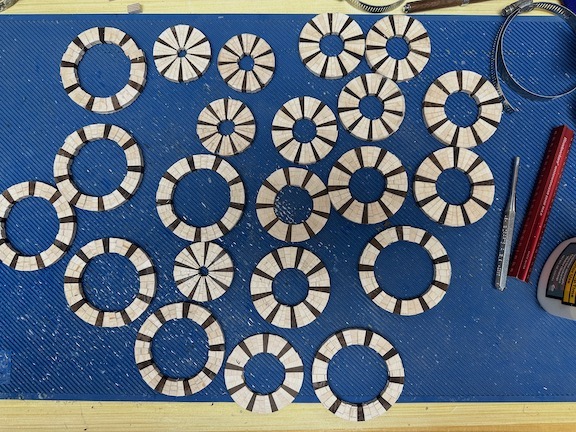
Since the top and bottom rings would be solid walnut, I needed a way to mount these to the lathe. In order to do that, I created end blocks. The end blocks are made of scrap wood glued to the solid walnut disks. Once the glue was dry, I turned a tenon on one end with the piece between centers. Then I mounted the tenon into a chuck and flattened the walnut face (or so I thought) to prepare it for the first segmented ring.
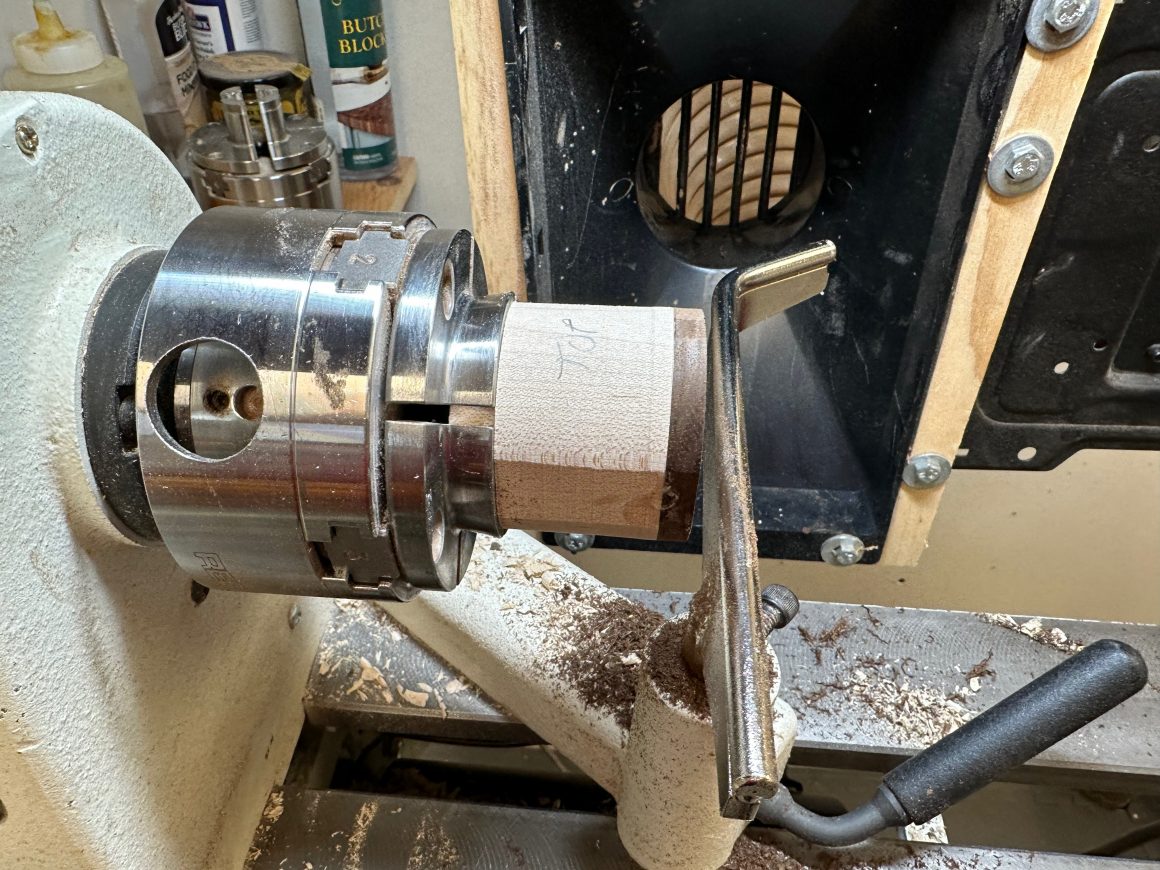
When gluing up the rings I used 11 segmented rings and 1 walnut disk that was attached to an end block. It is really important when you glue these rings together to do two things:
- Center each ring on the previous ring
- Rotate each ring so that the walnut segment is halfway through the walnut segment on the previous ring
I then repeated the process to create the bottom.
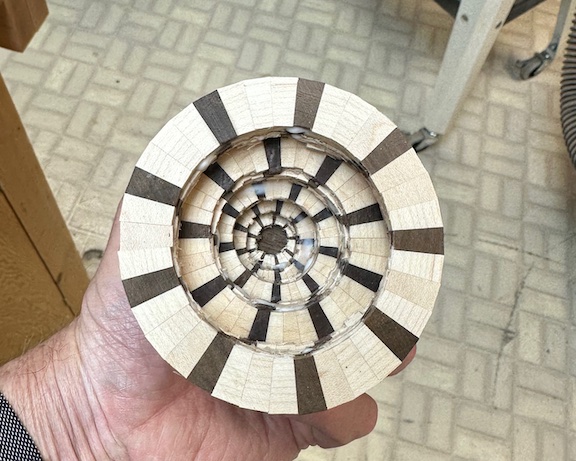
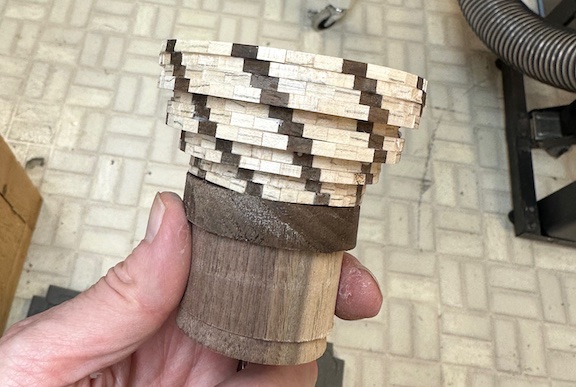
Next, I mounted the top half of the ornament to the lathe using the chuck and forced the bottom half against the top half using the tail stock. (Note that the top and bottom halves were not glued together at this point.) The pressure was sufficient to hold the two halves together while I turned the outside to about 90% of its final shape. This is when I started to see that I was going to need a major design change. Notice in Figure 12, there is no way that I was going to be able to get a sphere out of these segments and still have a walnut ring left at the top or bottom.
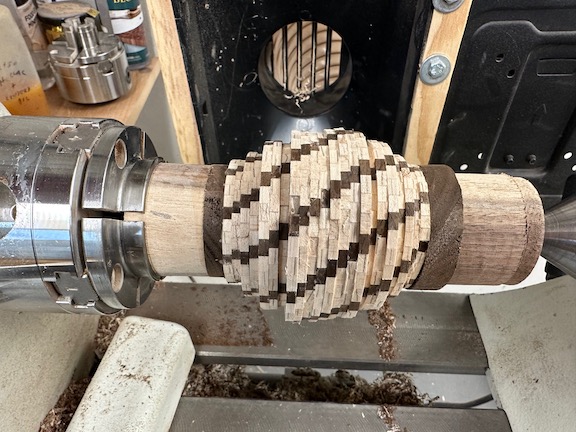
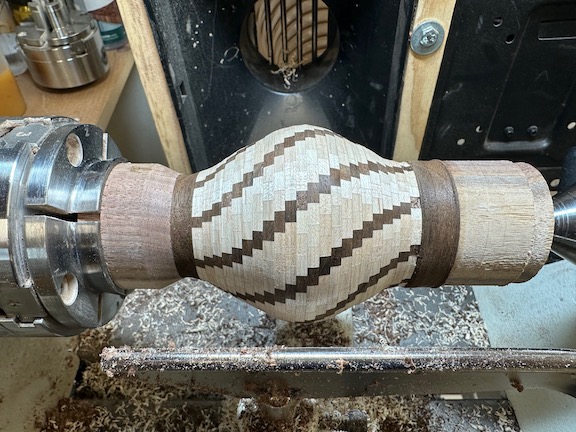
Now that the outside shape was mostly finished, it was time to hollow out the insides of the top and bottom. The ornament is hollowed out to reduce its weight, so it can hang properly on the tree. Once the top section was hollowed, I used a 3/8″ drill bit to drill a hole through the top of the ornament to hold the topper.
Hollowing and drilling the top went well. Unfortunately, the bottom did not. The ornament broke off the walnut ring while I was hollowing it. Later, at a meeting of my local AAW chapter, I asked several people why this had happened. A few opinions and ideas were shared. Upon examining the break closely, it appeared that there had not been sufficient glue in that joint. Two of the suggestions given were:
- Since it is difficult to get a perfectly flat surface on the walnut face, it was recommended that I use five-minute epoxy for gluing the walnut face to the first ring. The reason is that epoxy will fill any gap that is in the joint. Note: Since the segmented rings are a bit flimsier than the solid ring, they get pressed more tightly together in the gluing process and so Titebond glue works fine for them.
- Hollow the inside before shaping the outside. This will provide a larger area to absorb the vibration while turning the inside.
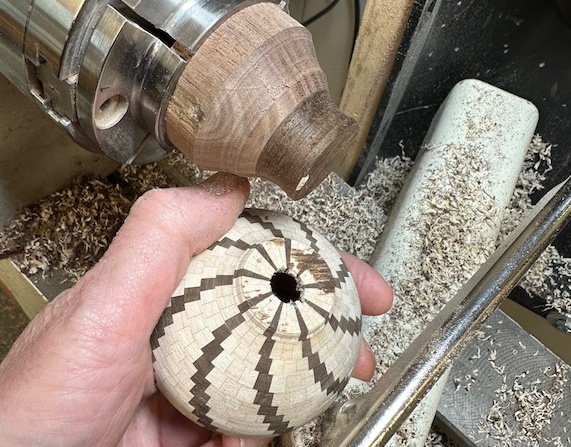
To continue, I glued the bottom half of the ornament back to the walnut end block as well as I could. I had a little bit of wobble, but not so much that I could not continue. I proceeded to finish hollowing out the bottom.
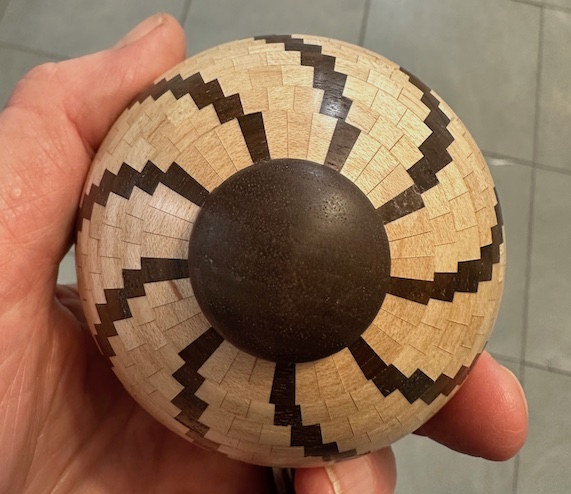
Next I glued the two ornament halves together, using the lathe as a clamp. After the glue dried, I began turning the rest of the outside shape. At that point it was confirmed that I was in trouble. The walnut on the bottom was going to be cut completely off. When I came in to make the bottom I broke through the ornament. Now it was time for that “design change.” I decided to cut out the damage as best I could and put a bottom stopper in the hole. I used a 1/2″ drill bit and attempted to clean up the hole but broke a few pieces of segments off. Notice how thin the wood was at the bottom.
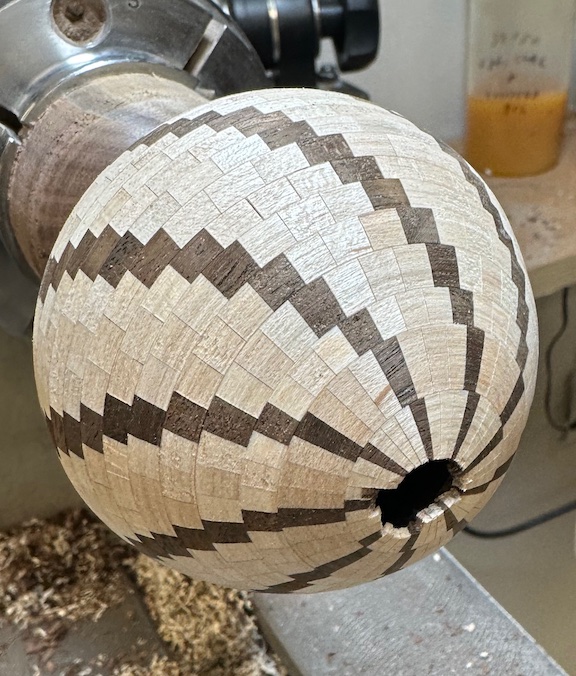
Here is a picture of design change #1, a stopper on the bottom.
Once I finished creating the shape it was clear that my traditional topper was not going to look right. I played around with several shapes and settled on this one that had a similar shape as the ornament. It kind of looks like a Hershey’s Chocolate Kiss.
I was disappointed in the look of the ornament at first. It was not what I had been working towards. I shared the photo in Figure 17 with some friends and to my surprise they all liked the “New Design” shape better than the spherical design.
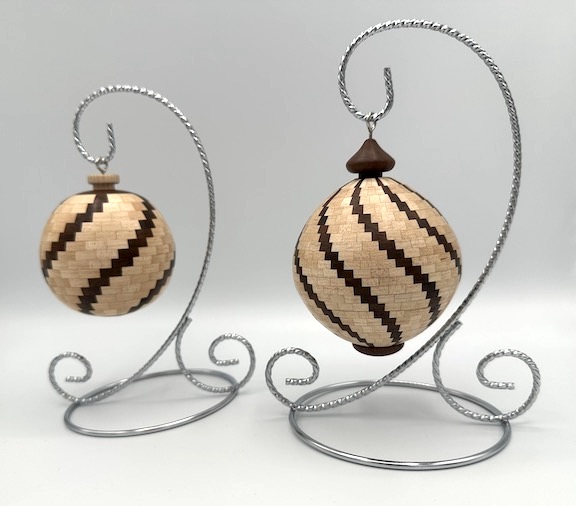
In the end my ornament was a success. I’m not sure I can ever reproduce the shape since it was the result of several mistakes but I have grown to like the shape as well. I spent about 15 hours making this ornament. I believe if I started over I could do it in about 11 hours since the math has already been done.

