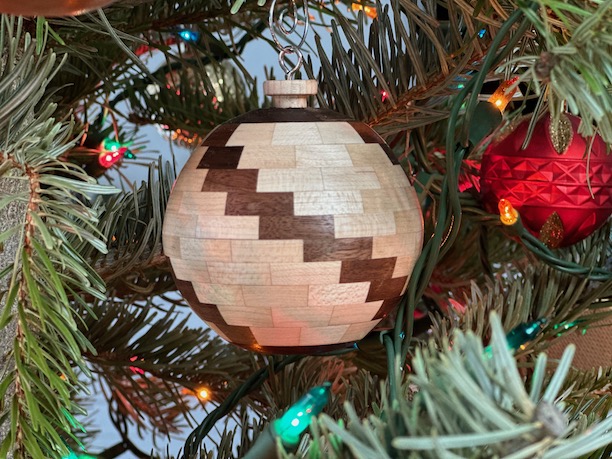
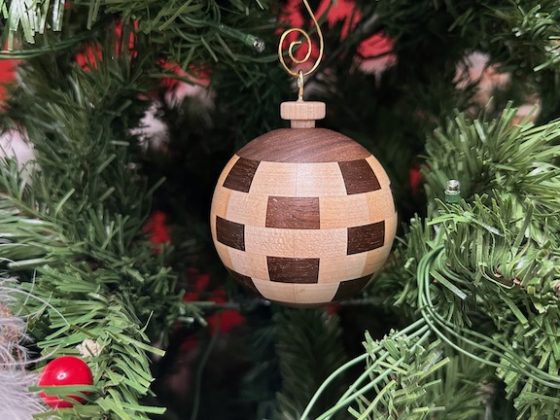
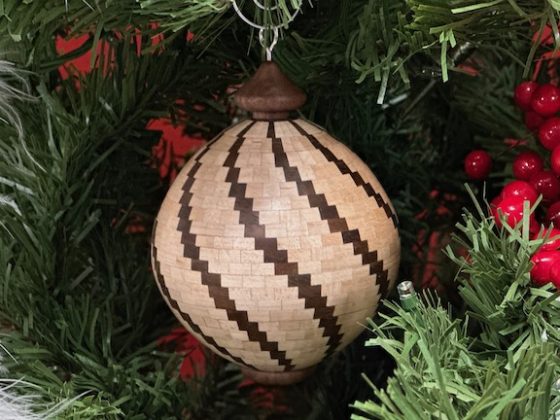
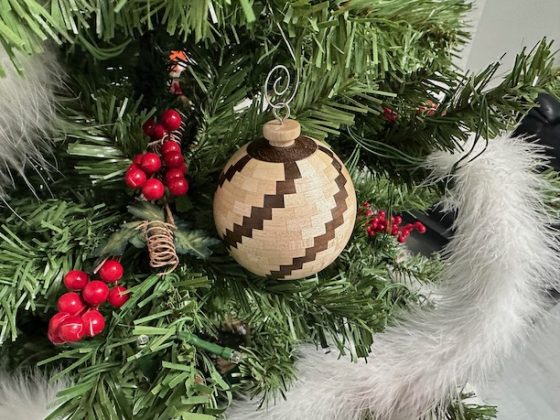
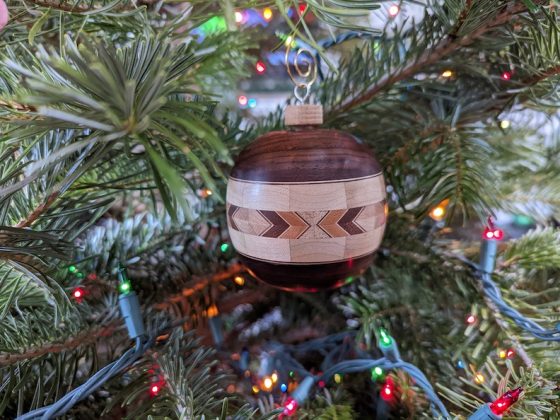
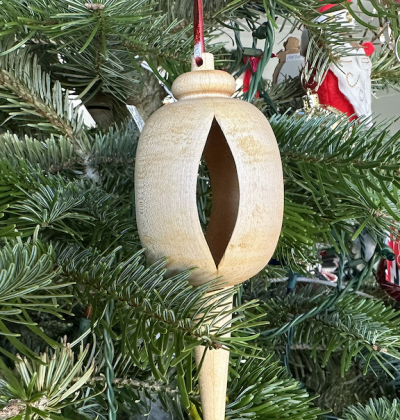
This is the first of three ornaments I made using maple and walnut segments. This piece is made from 123 segments of wood. There are 12 segments per ring and 10 segmented rings with a solid piece of walnut on the top and bottom (making a total of 12 rings.) The 123rd piece is the topper on top.
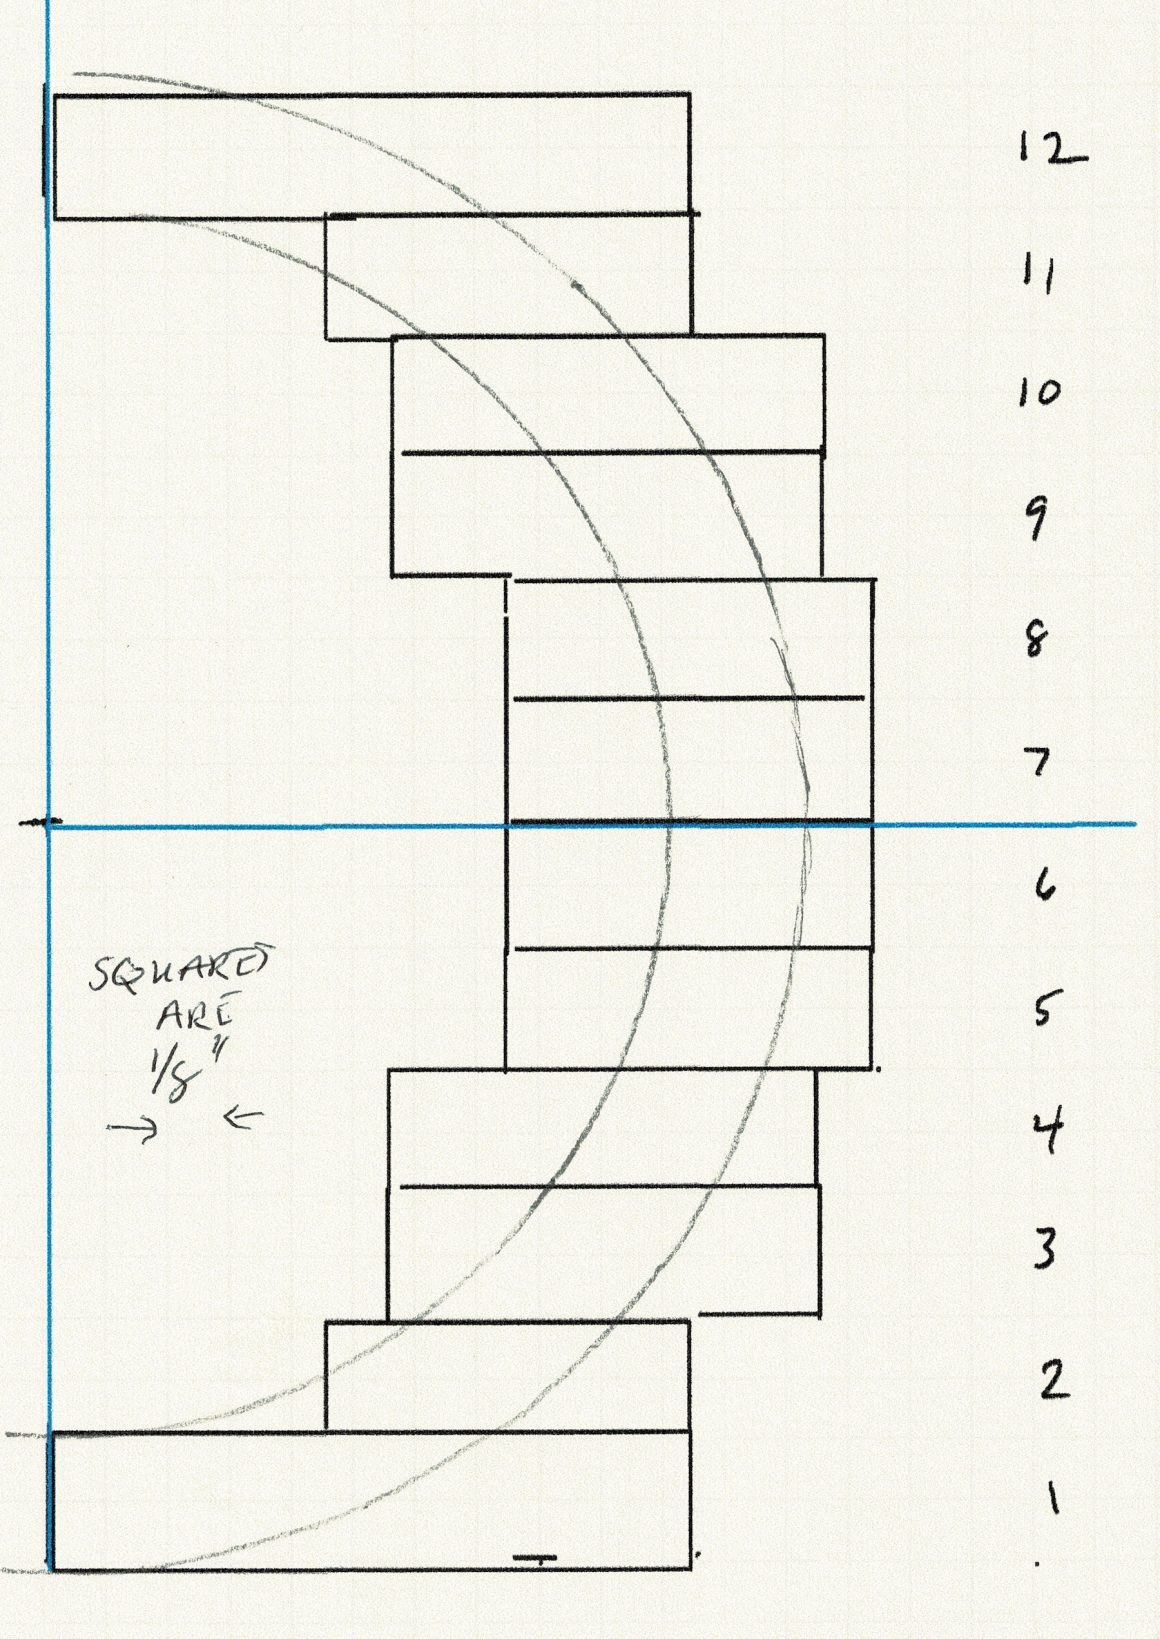
Before beginning the work, I determined the correct diameter and segment size for each row. I did this by drawing out the shape I was going to make and determining the size of each segment face and ring diameter. See Figure 1 for the diagram.
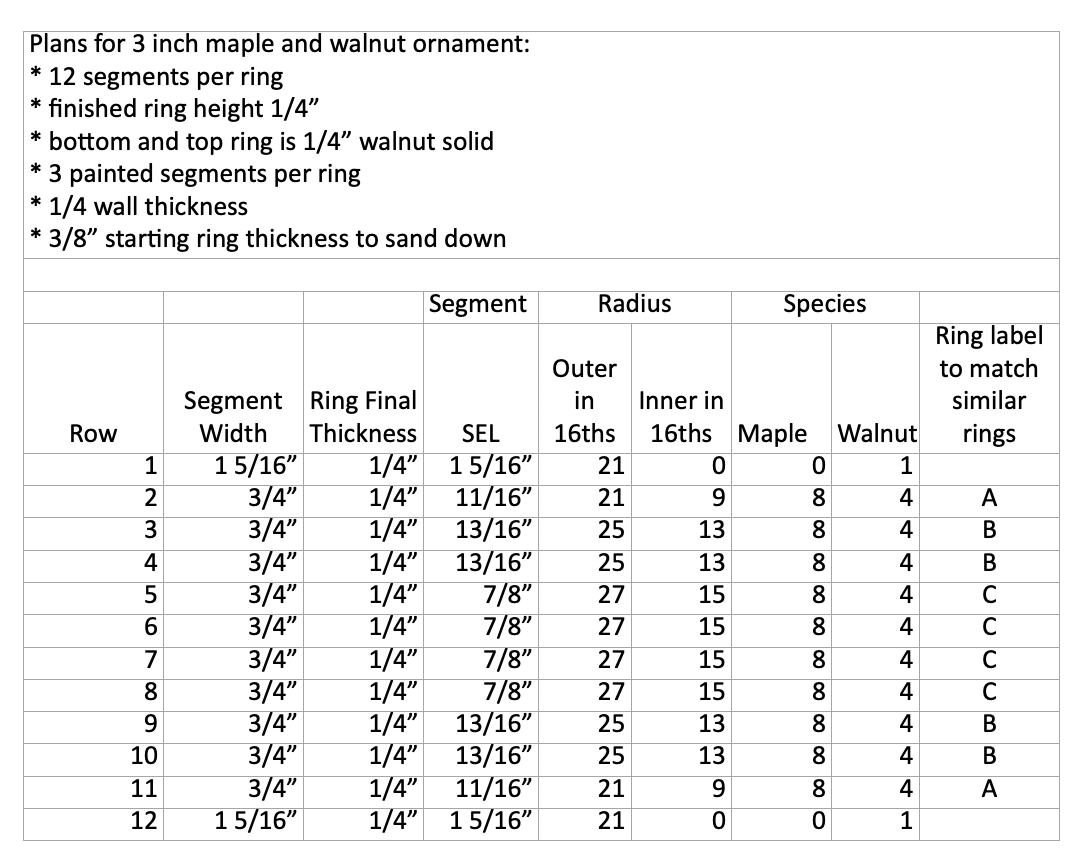
The details for each row are shown in Table 1. There are a few definitions that you need to understand in order to use the data in the table.
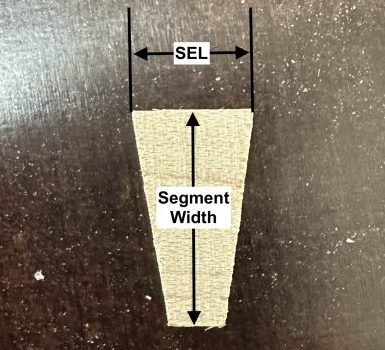
Segment Thickness = This is the thickness of each segment; thus, the thickness of the ring.
Segment Width = This is the width of the strip of wood from which you will be cutting the segments.
SEL = The SEL is the length of the front of the segment (also referred to as Segment Length.)
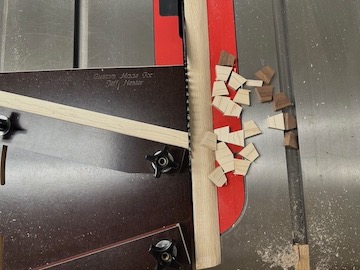
To cut the segments I used my wedgie sled and a homemade ramp. (For more details see the article Using a wedgie sled) The ramp is mounted beside the saw blade using magnets and helps move the segments away from the blade. When the segments get cut off they slide down the ramp onto the table saw. Even though the ramp is in place, there are a bunch of segments that still end up against the back wall of my shop when the blade catches them perfectly and sends them flying.
The pattern I used for this ornament was 3 maple segments separated by a walnut segment. The sizes of the segments varied, but the pattern remained the same throughout all 10 rings. I used hose clamps to apply clamping pressure to the rings for drying.
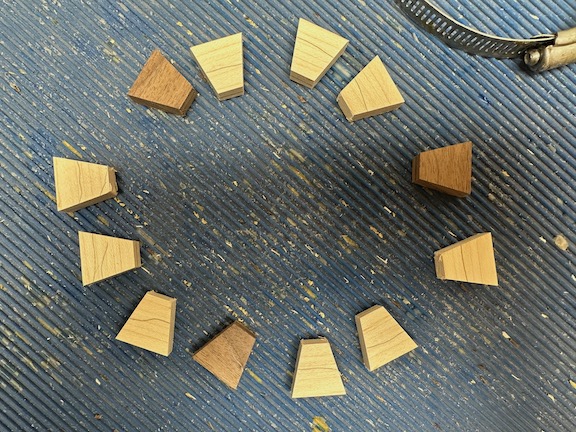
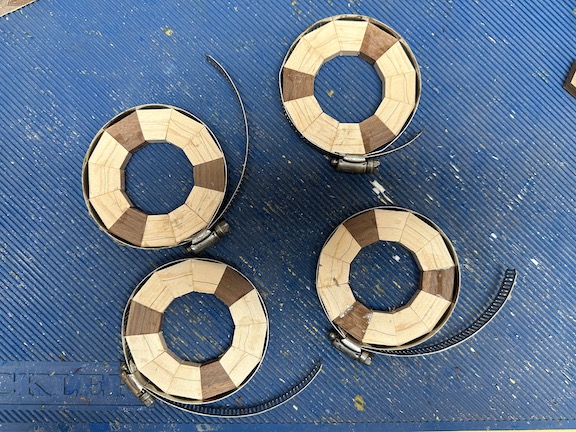
I have recently started using Titebond’s Speed Set glue. This is a new glue, and it only requires 15 minutes of clamping time. I love it, but you have to work fast before it sets. (For more details on my glueing technique, look at my Segment Glueing Technique article)
Once the rings were dried I put them through my thickness sander. Since these rings are small I placed them so that they were touching each other and then chased the last one through by placing a piece of sacrificial wood on the belt.
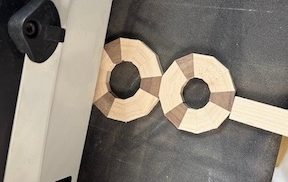
In order to mount the ornament to the lathe, I made 2 end-pieces by glueing a piece of scrap wood to each walnut disk.
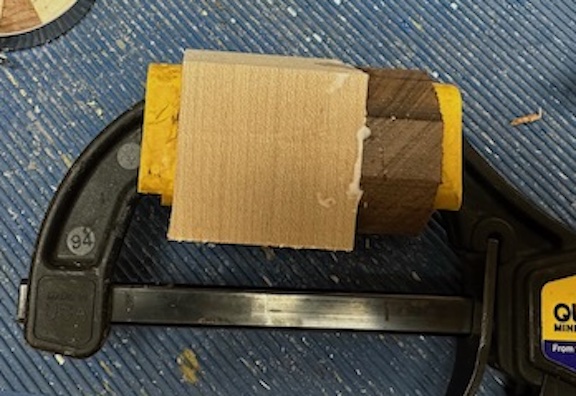
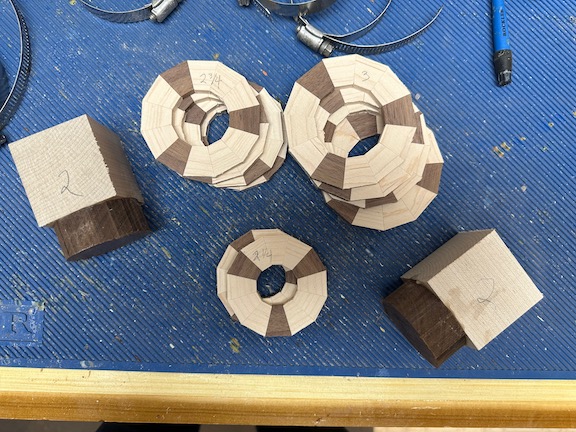
Figure 7 shows all the rings which will be used to make the ornament plus the two end pieces.
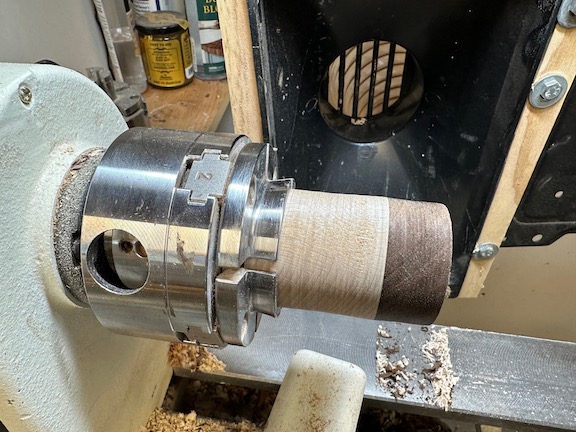
I turned the end blocks round between centers and turned a tenon on the sacrificial end. Then using the tenon, I re-mounted the piece to the lathe using a chuck. Since the walnut will be the base ring of my ornament, I flattened its face.
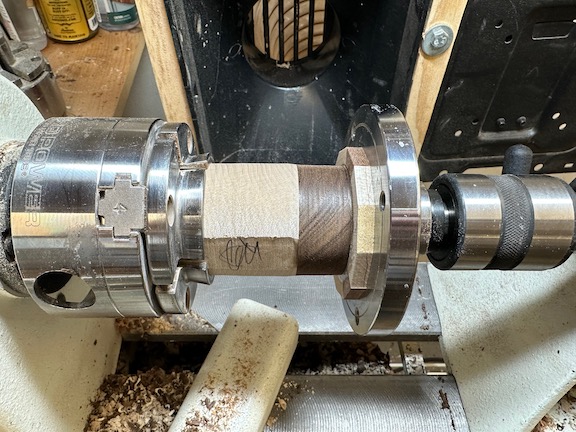
Now it was time to glue the rings together for the top half of the ornament. (Keeping the top and bottom separate make it possible to hollow out the sections.) Using the lathe as a clamp, I glued one ring at a time, letting each dry for about 5 minutes. Before glueing each ring, I rotated it so that its walnut segments overlapped the ones on the previous ring by 1/2″. This is what creates the “Swirl” pattern. (See Figure 10) When a ring diameter was significantly different from the previous one, I removed it from the lathe and laid it on the lathe bed to make it easier to center the rings by looking down on them. I glued them and held them together for 30 seconds and then remounted them on the lathe to apply clamping pressure. (See Figure 11)
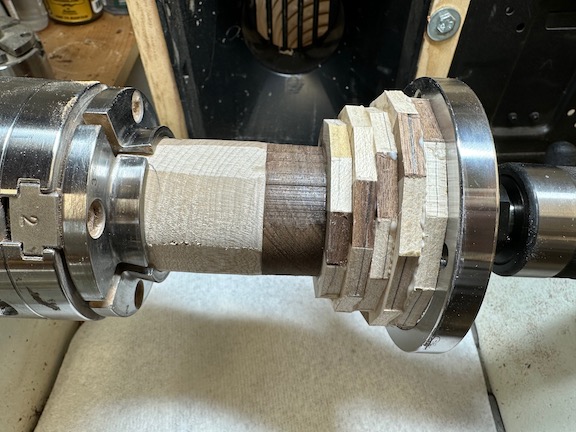
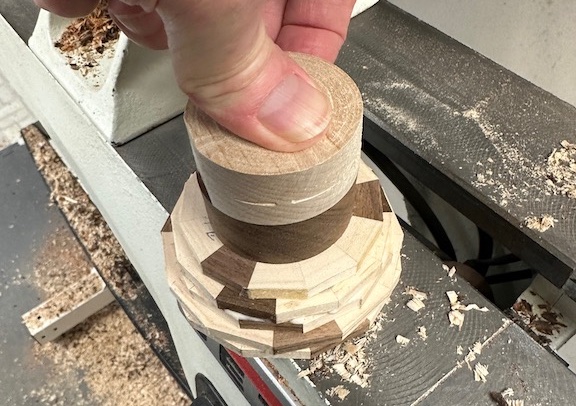
I repeated the steps described above for the bottom half of the ornament. (Be careful to make sure you are continuing the pattern correctly – it’s easy to get confused.) Both halves needed to dry for a few hours.
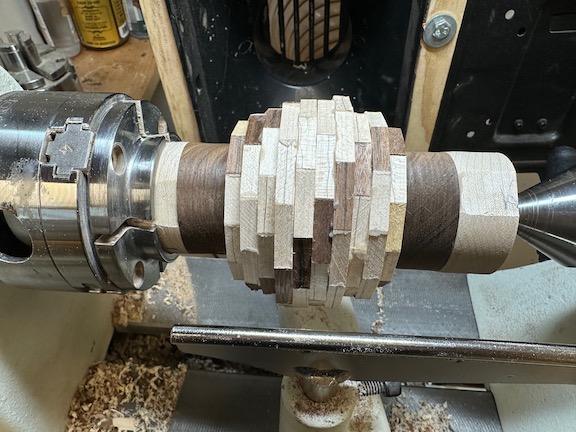
Then I mounted the top half to the lathe using the chuck and forced the bottom half against the top half using the tail stock. The pressure was sufficient to hold the two halves together while the outside shape was being turned. (Note the 2 halves are not glued together at this point.)
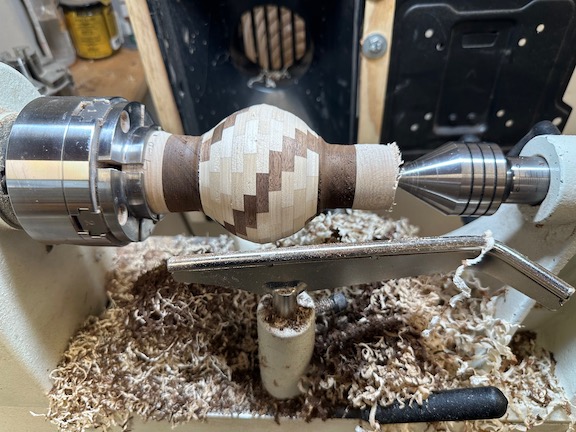
Once the outside shape was approximately 90% completed, I separated the two halves and hollowed out their insides to reduce the weight. Since the inside of the completed ornament will never be seen, it doesn’t have to be pretty.
After hollowing out the halves, I drilled a 3/8″ hole through the top half. This hole will be used to insert the topper which will hold an eyelet for the ornament hook.
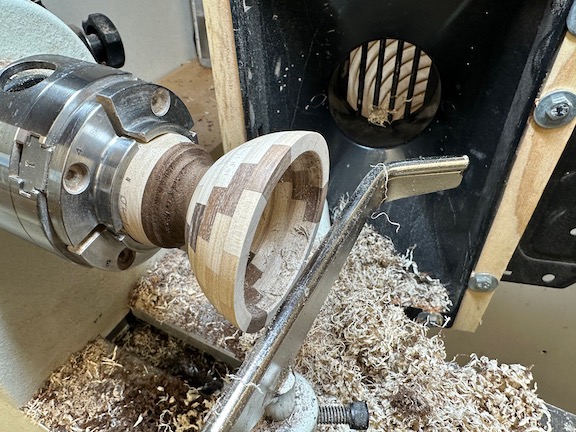
Next I glued the two halves together, again using the lathe as a clamp.
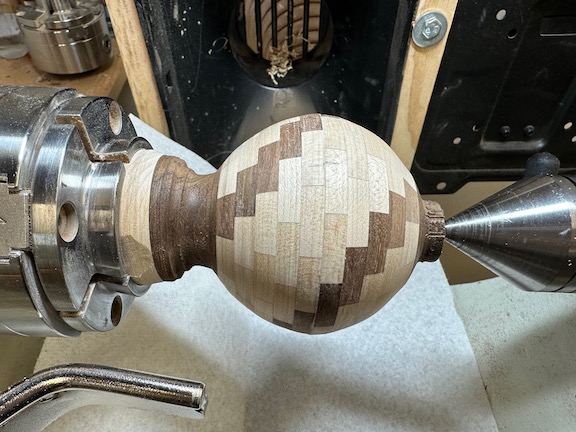
After the glue dried, I finished turning the outside shape and then turned the topper. I used a 1/16″ drill bit to put a small hole in the topper to accept an eyelet.
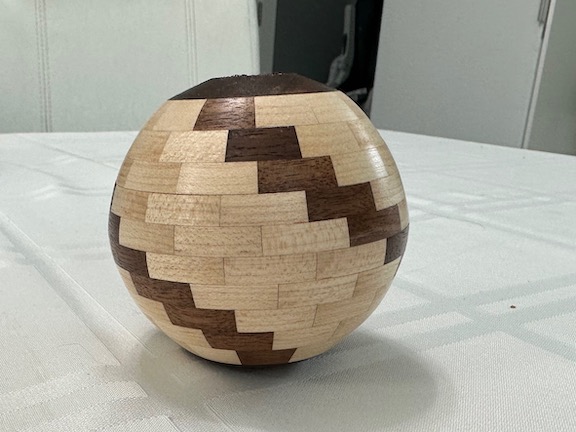
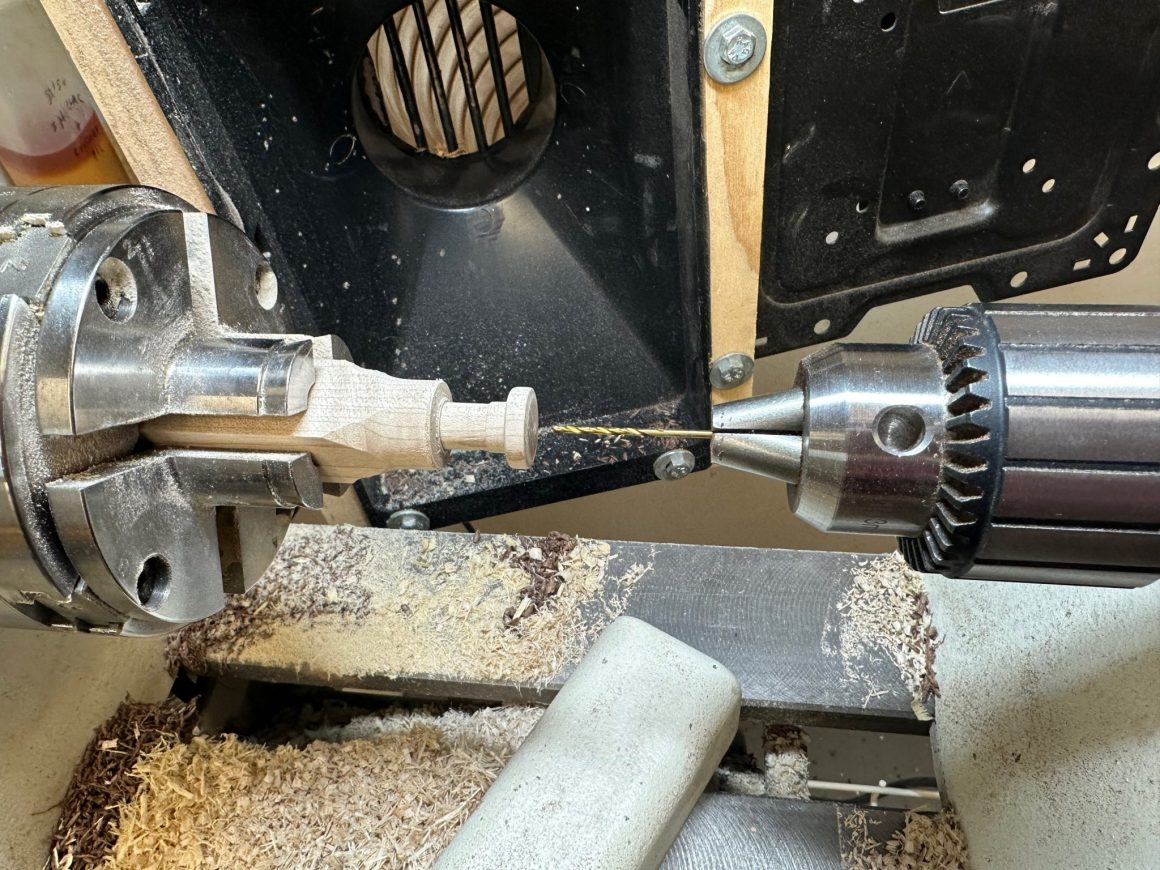
I inserted and glued the topper into the 3/8″ hole that I had drilled earlier. Then I threaded a small eyelet into the 1/16″ hole to make the ornament ready for hanging on the tree.
I was really pleased with how the ornament turned out. It looks great on the tree!
