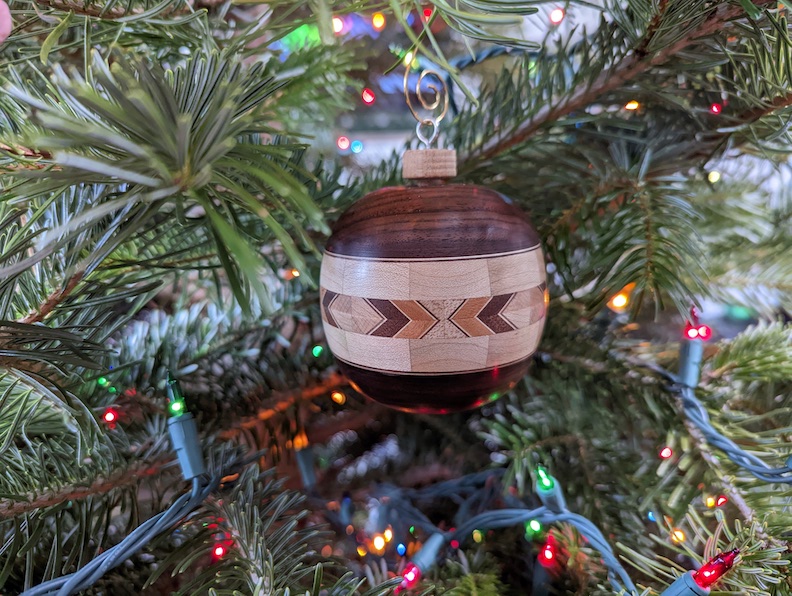
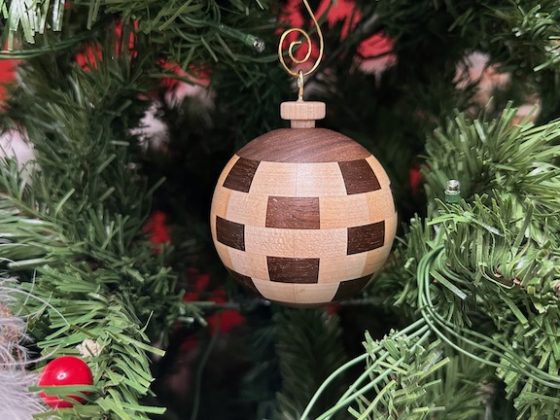
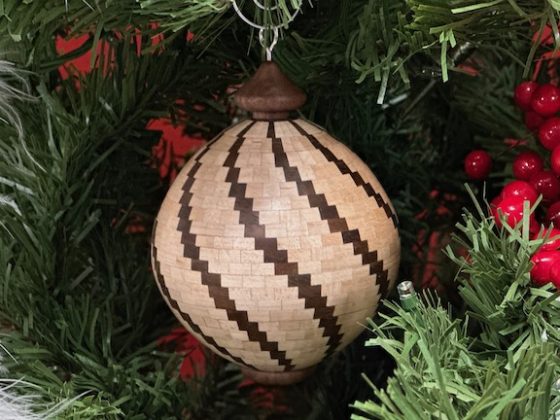
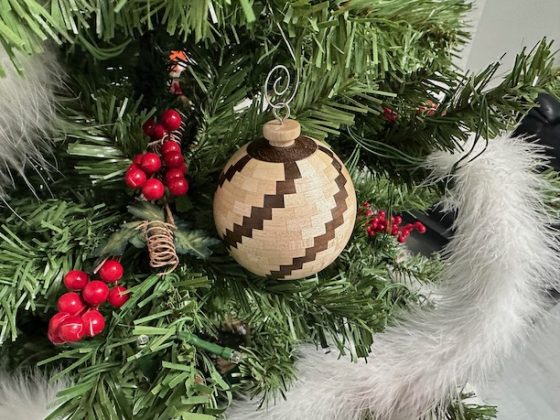
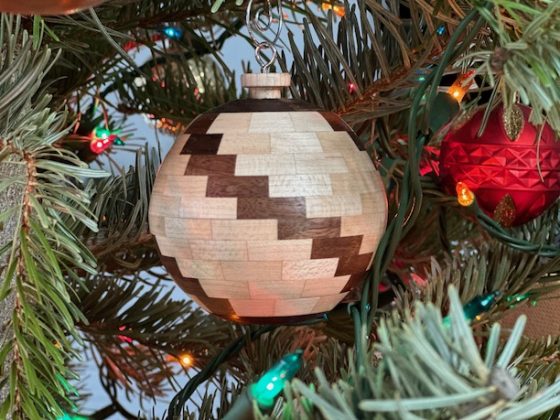
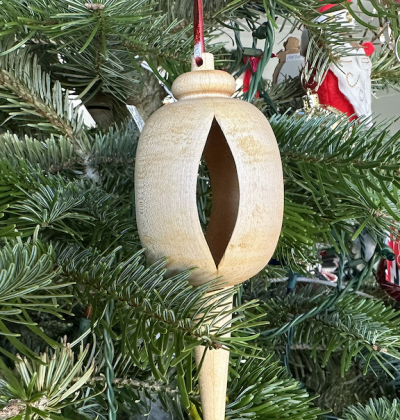
This ornament was made from 99 pieces of wood. I used walnut, maple, wild cherry, maple veneer, and walnut veneer. In order to make the ornament lightweight it was built in two sections and hollowed out before it was put together.
The segments were built as shown in the following pictures:
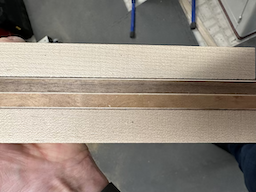
First, I created a dry fit of the feature ring. The ring was made of maple, walnut veneer, maple veneer, walnut, maple veneer, cherry, maple veneer, walnut veneer, and then maple again.
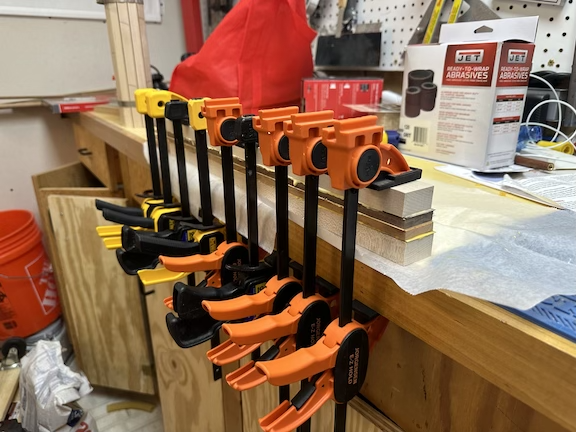
I used a lot of clamps to get the feature block as tight as I could. A woodworker can never have too many clamps!
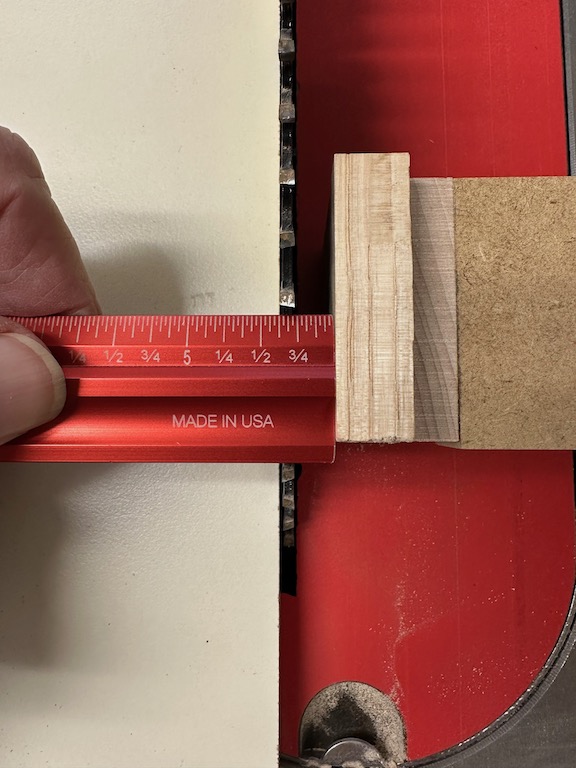
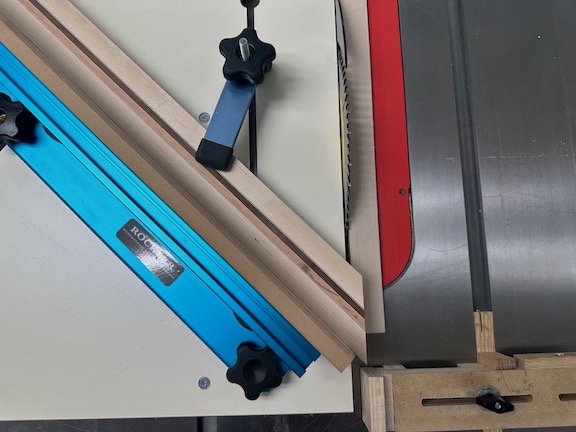
To cut the feature ring segments, I used my Rockler cross-cut table and a homemade stop block. I set the stop block at 3/16″. I set the cross-cut sled to 45°. Notice in the picture the orientation of the feature block that is being cut.
I cut 16 pieces of wood and then laid them together to make sure I had all the pieces I needed and that the orientation of the arrows were correct.
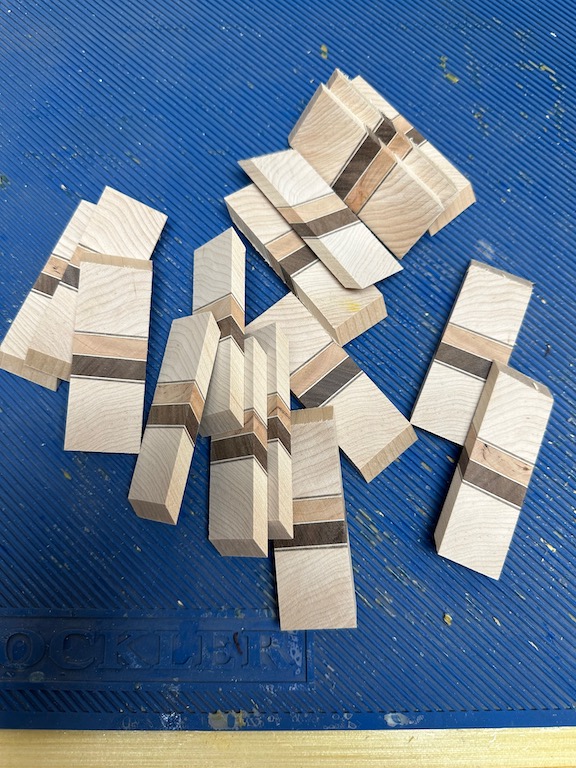
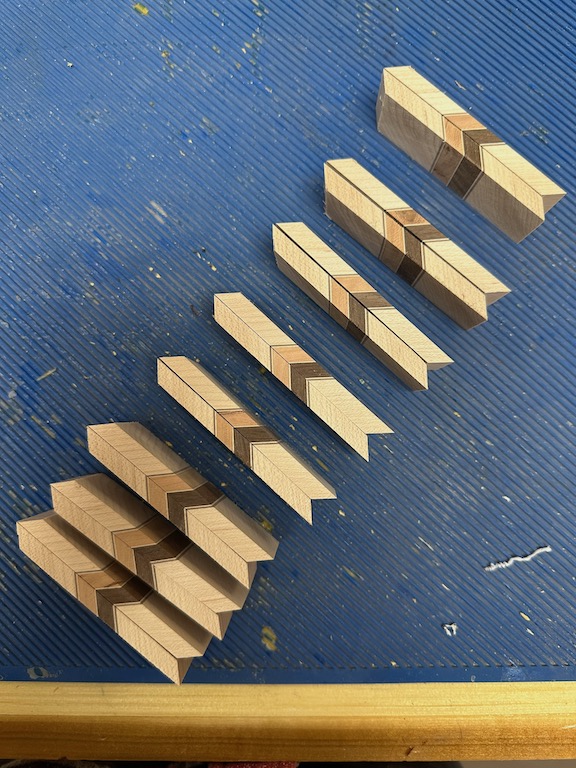
I glued 2 of the cut pieces together flipping one over to make the arrow pattern. Then I made a second arrow pattern in the same manner.
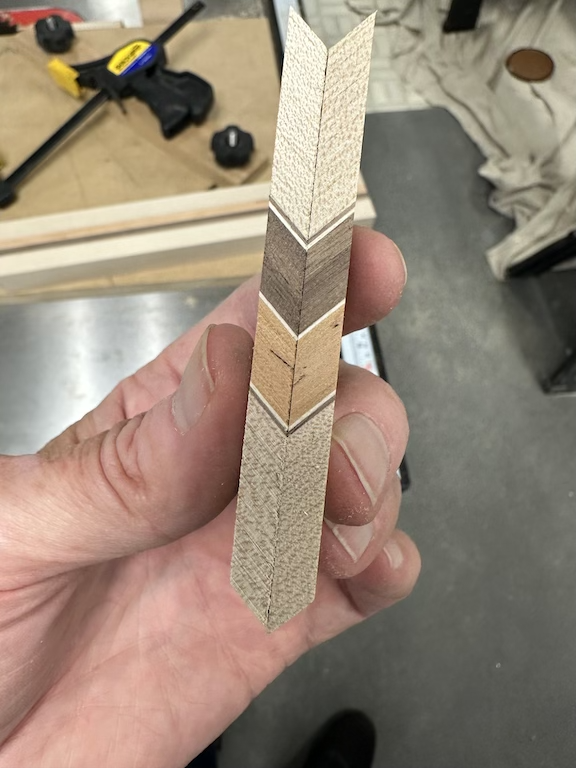
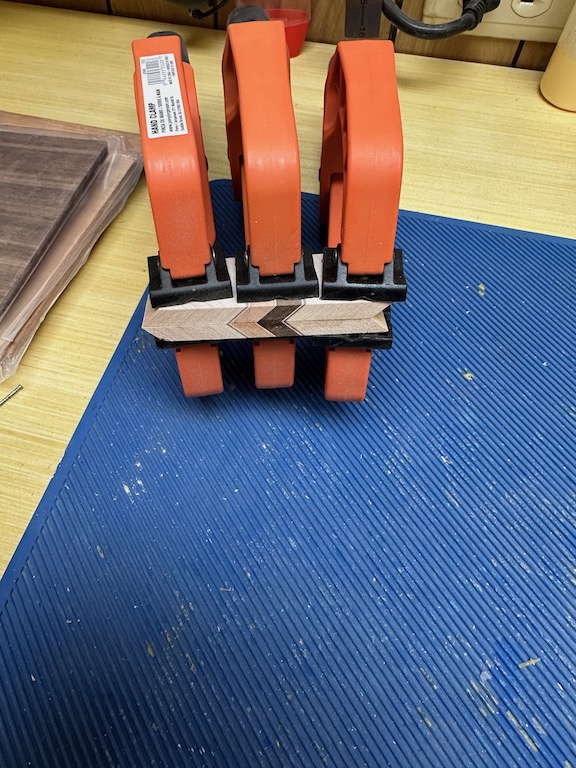
Once the glue was dry, I made a straight cut about 1/8″ beyond the arrow point. This left enough maple to give a gap between the points. I repeated this process on the second piece and then glued them together as shown.
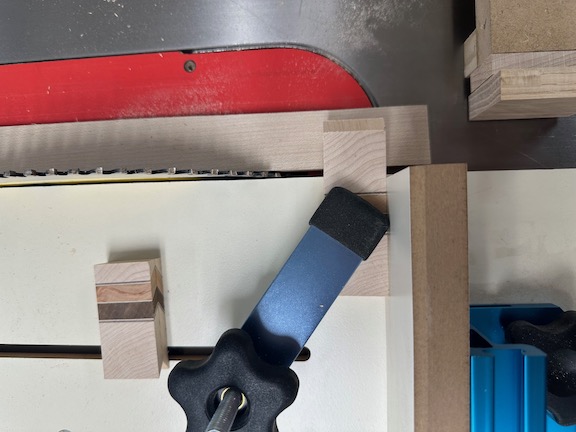
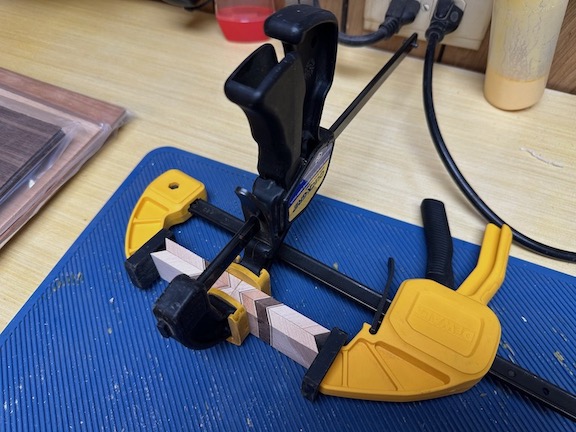
I repeated the process a total of four times to make the needed pieces to complete the feature ring.
I then made the feature ring by taking 4 of the glued up pieces and cutting 45° angles on each end. I glued them together to produce the square feature ring shown in the picture.
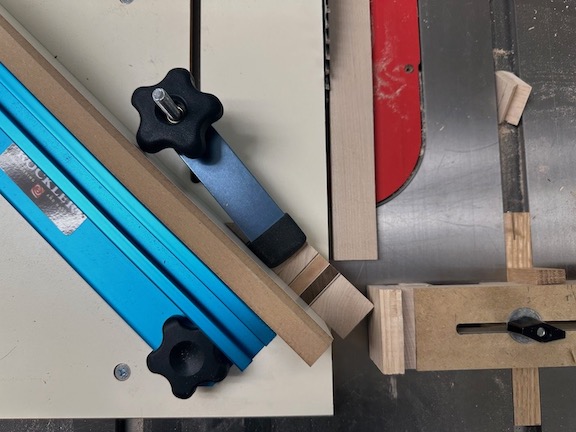
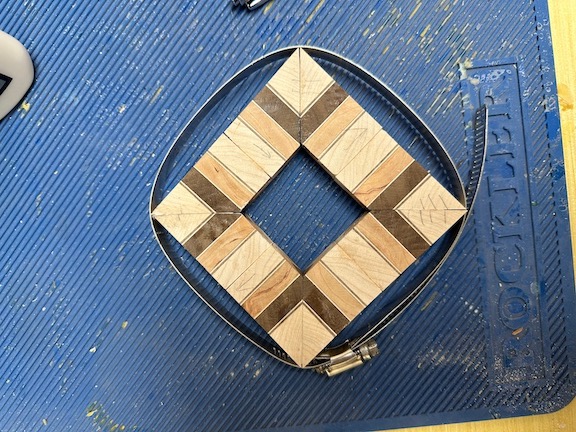
This picture shows the two segmented rings that will go on both sides of the feature ring and the feature ring. I cut the segmented rings using a wedgie sled set for a 12 piece ring. (See the article Using a wedgie sled for more details)
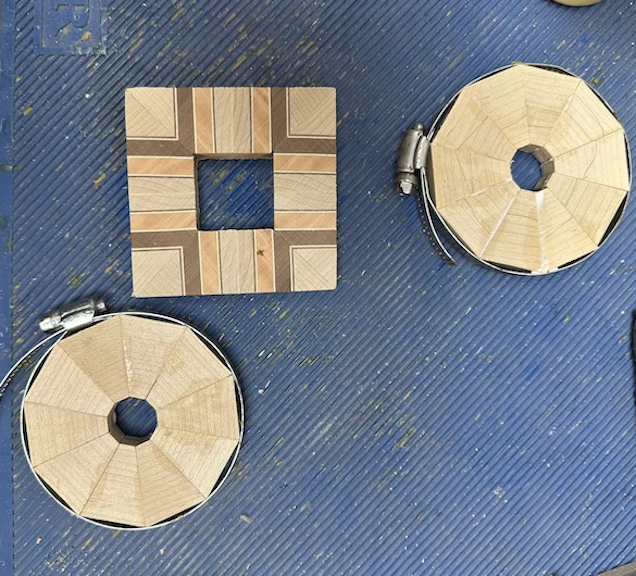
I then used the lathe to hold the rings while I glued them together. The glue-up was done in two separate pieces – the top half of the ornament and the bottom half of the ornament. (The top and bottom were not glued together at this time so that the ornament could be hollowed out.) Note that I put maple and walnut veneer between the solid walnut and the maple segmented ring. Once the glue dried, I turned a tenon on each walnut end and then drilled a 3/8″ hole all the way through the top half so that the topper could be attached later.
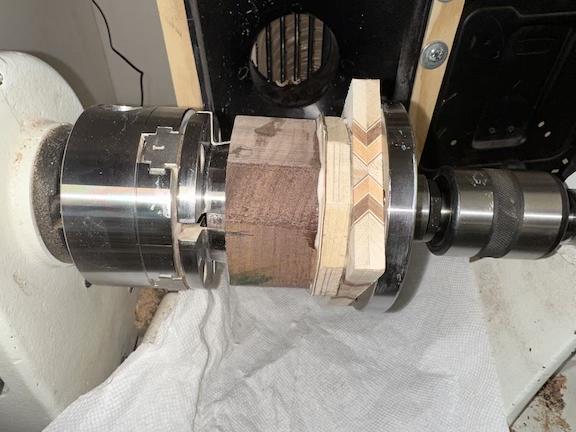
I used the lathe to force the two halves together (I didn’t glue the halves together yet).
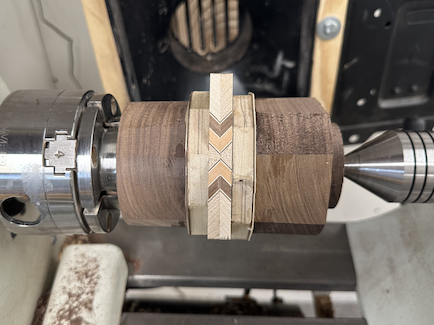
Next I turned most of the shape. Note: the halves are still not glued together.

I hollowed out the top.

I hollowed out the bottom.

I glued the top and bottom together and finished turning the ornament. Notice that I still had a tenon on the headstock side. This was removed in the next step.

I cut the ornament off the tenon but it needed to be cleaned up. I made a homemade jam chuck. I then placed a piece of neoprene between the ornament and the jam chuck to prevent the ornament from slipping in the jam chuck. On the other end, I used a live center inserted in the 3/8″ hole. Holding the ornament this way allowed me to finish cleaning up the top of the ornament.
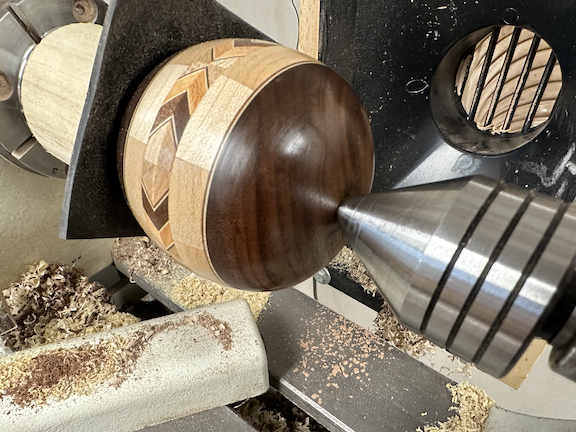
Finally, I turned a maple topper that fit into the hole that I had drilled before and glued it in.

0 comments
just wandering about the piece BEHIND the chuck? but nice work !
Are your referring to the black to the left of the chuck? If so that is just the lathe. If it is something else ask again and tell me which photo. Glad you like the piece.
Maybe you are referring to the black vacuum pick up behind the wood. I use it when I am sanding. It is a funneling device that is mounted on a TV swing mount.