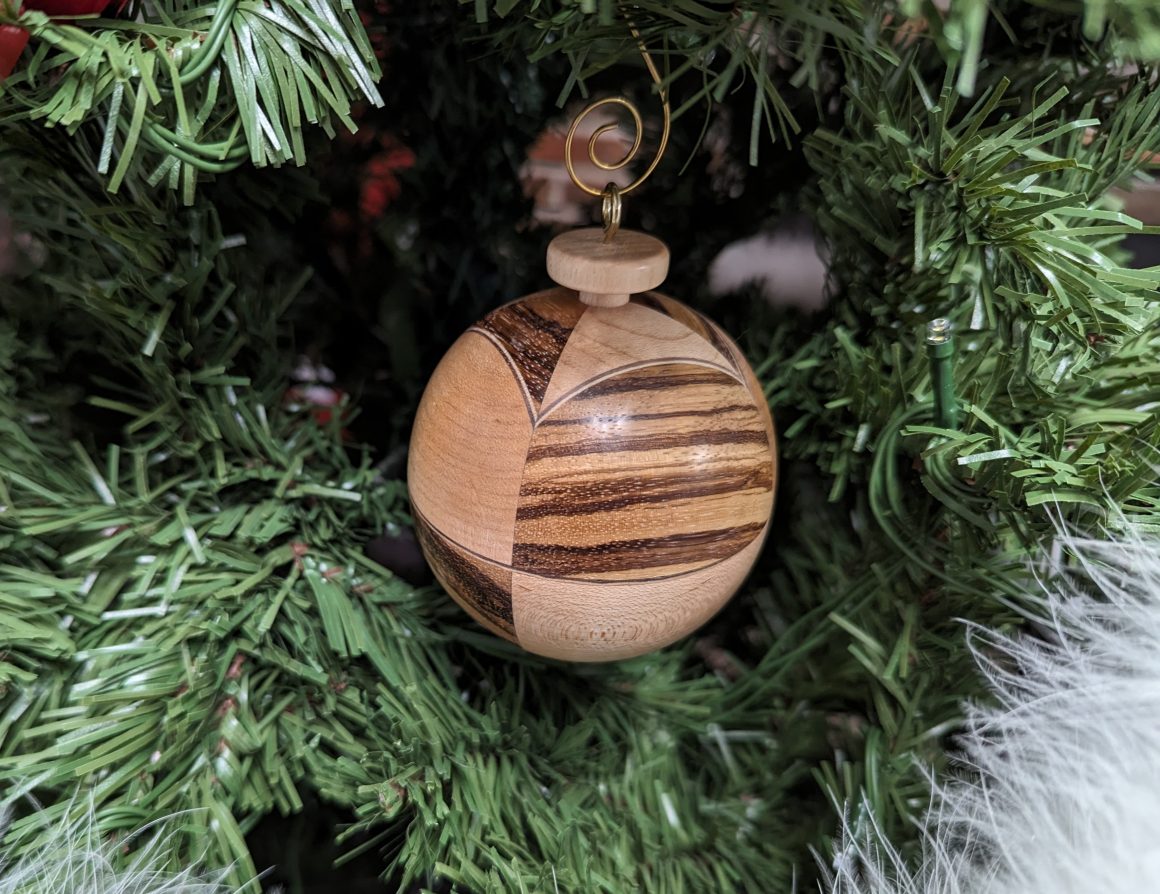
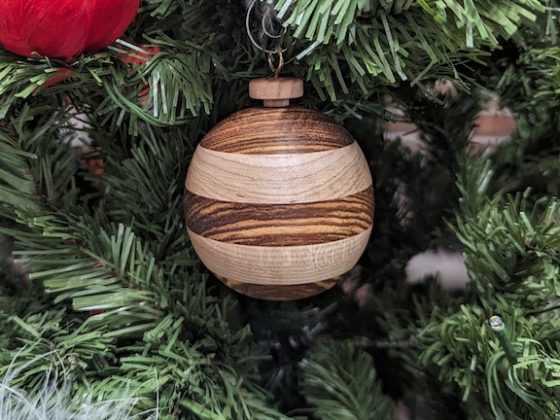
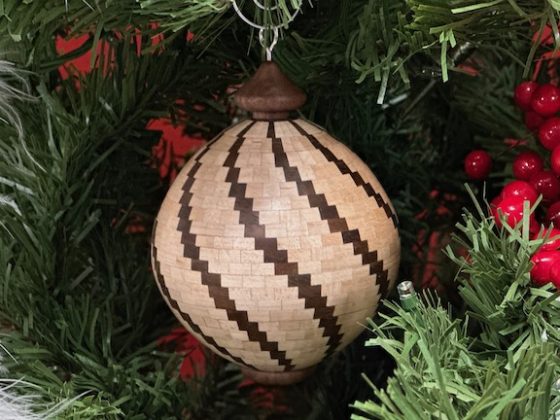
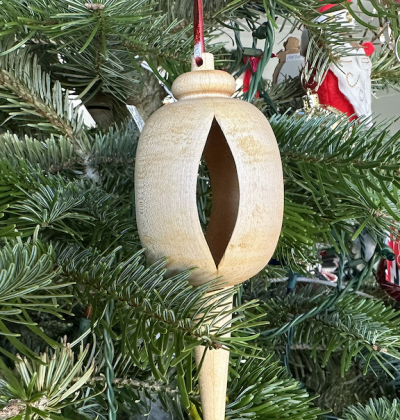
When completed, the zebrawood and Maple 41 ornament is composed of 41 pieces of wood. I have made several versions of the ornament. I have used zebrawood and maple, walnut and maple and just maple with veneer. They are all gorgeous.
This article will walk through the zebrawood and maple ornament construction.
I created the wooden blank by gluing together maple and zebrawood, with a strip of maple veneer and a strip of walnut veneer in between. After gluing them together, I cut the blocks into triangles and then assembled the rings that made up the ornament. I guessed at the dimensions of the wood strips on the first two tries to make this ornament and both attempts failed. After the failures, I created the following layout before beginning my third attempt:
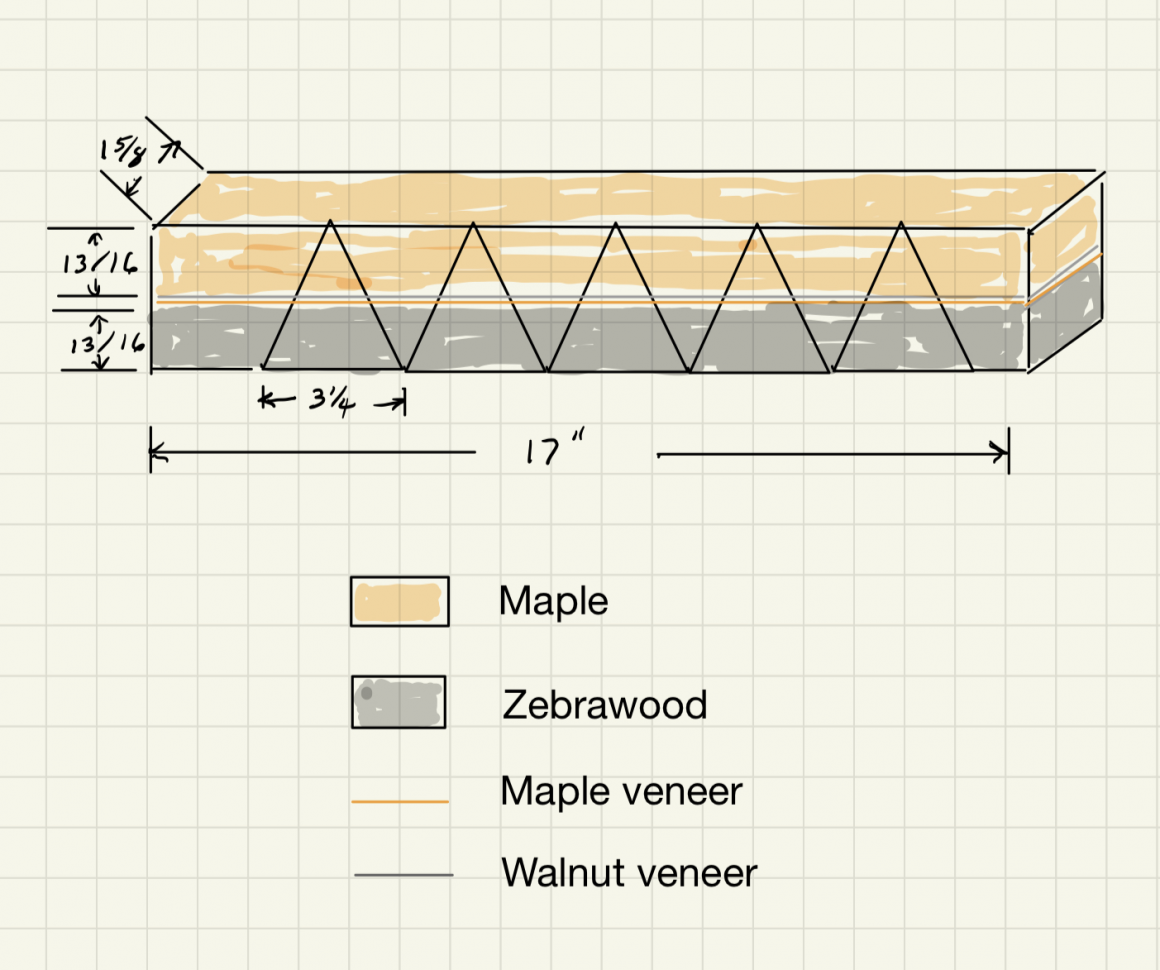
In Figure 1 you can see that I had to cut strips of maple and zebrawood that were 13/16 x 1 5/8 inches by 17″ long. I then cut a strip of maple and walnut veneer 1 5/8 x 17 “.
In Figure 1, I show the triangles that I cut from the wood. (Described below)
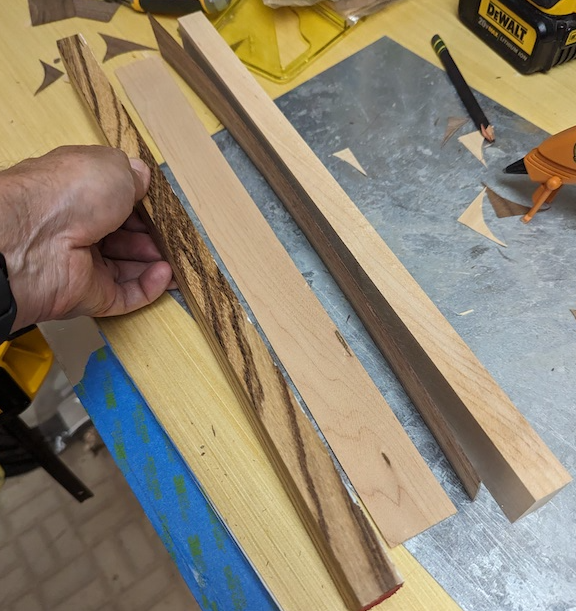
First, I prepped the wood, then I glued it together using the pattern in Figure 1.
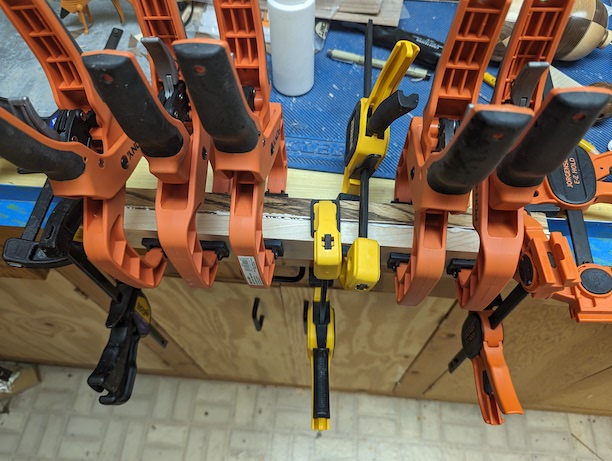
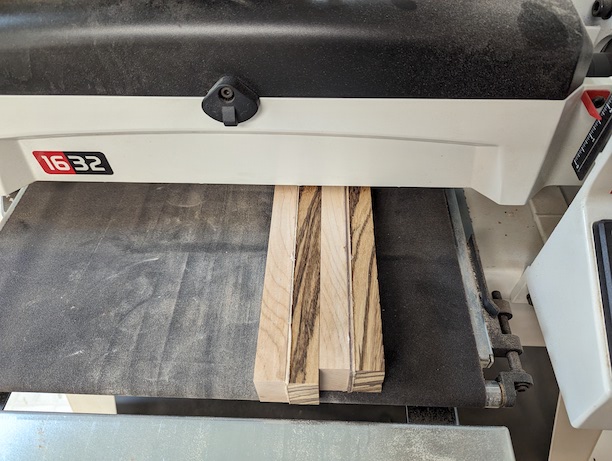
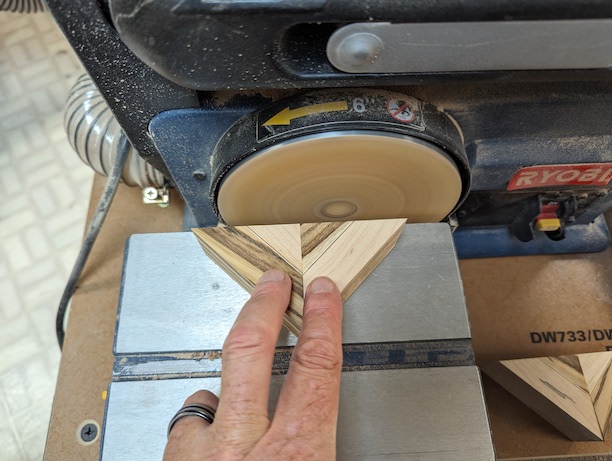
Since I was going to cut segments from this glue up, I made sure that the board was flat. To do this, I ran the board through my drum sander till the edges were smooth. ( The picture in Figure 4 shows two boards being run through the sander. I had prepped enough wood for two ornaments.)
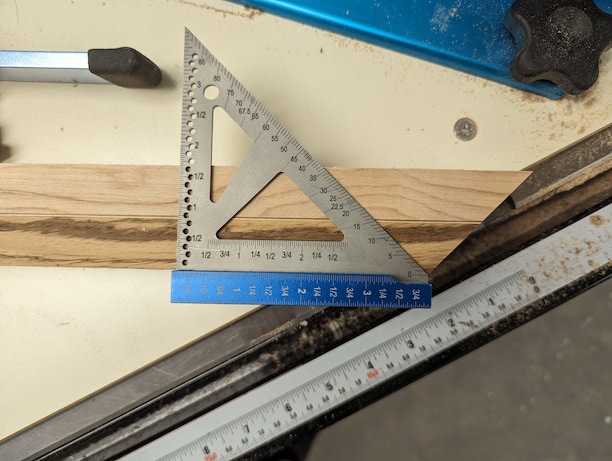
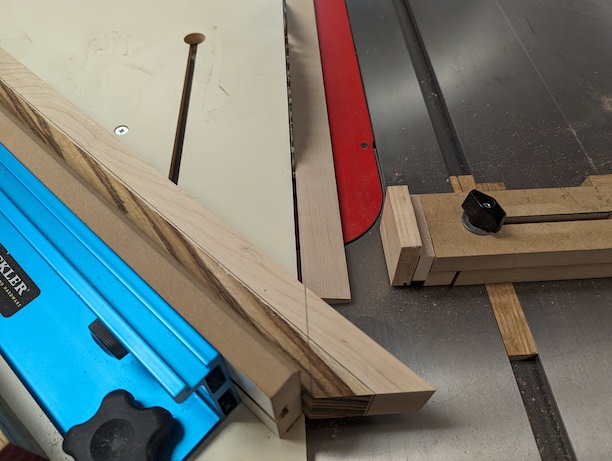
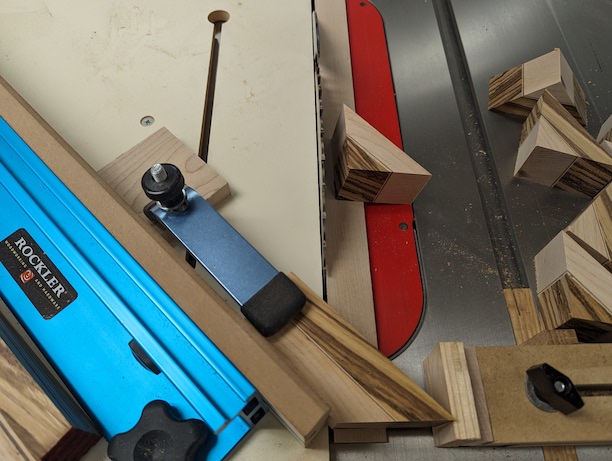
Next I cut my segments. I used my cutoff sled set to 45°. The first pass put a 45° edge on the board. I then flipped the board over and used a metal triangle to mark the line needed to set my stop gauge. After setting the stop gauge, I cut the first segment. For each additional segment, I flipped the board over and pushed the pointed end of the board over to the stop block before cutting. I cut the first 6 segments using my hand to hold the board in place. I cut the 7th and 8th segments using a hold-down clamp installed on my cutoff sled. (See Figure 7)
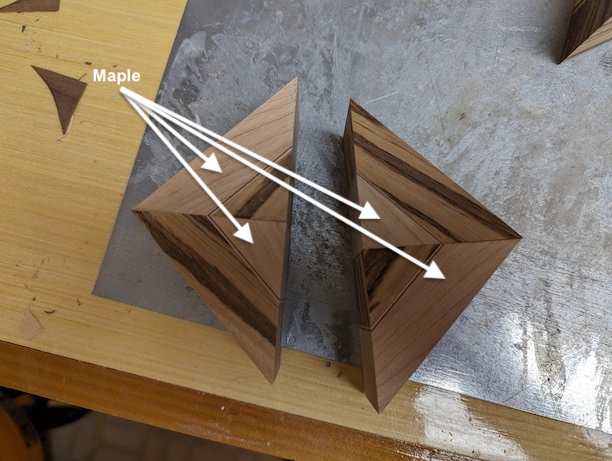
I then cleaned up the burrs that were on the segments and glued them together in pairs of two. Notice the pattern: Maple is on the outside of one segment and on the inside of the second. Make sure that the pattern is correct
Once the pairs of segments had dried for 15 minutes, I used a disk sander to ensure that the edges were perfectly flat before gluing the two pairs together. (I used Titebond Speed Set for my glue ups and have found that 15 minutes is sufficient time to cure before doing the sanding.)
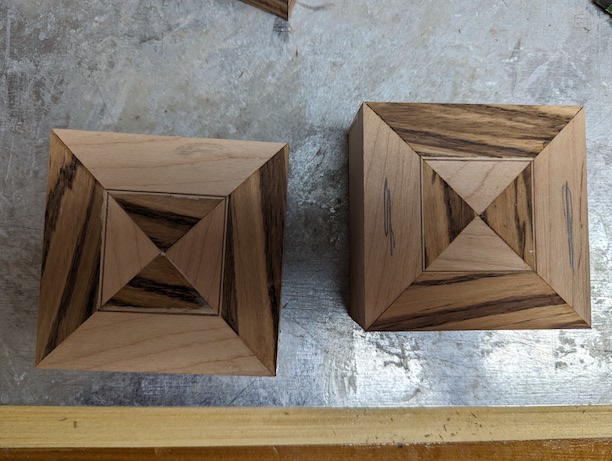
I got two squares by gluing up the 8 segments, 4 in each square. I had to be very careful with the orientation of the segments to ensure that I got the pattern shown in Figure 10.
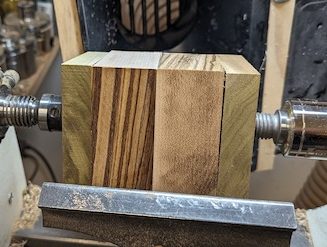
One block will become the top half of the ornament and the other the bottom. I hot glued a sacrificial block of popular to one side of each block. Then forced them together on the lathe with no glue between the top and bottom. The ornament design has the zebrawood segments oriented 90° out of sync from the top and bottom. When I forced the two halves together, I carefully oriented the blanks so that when I turned the block into a cylinder, the pattern was correct.
Note: I no longer use hot glue to attach the sacrificial end blocks. The hot glue made a mess of my cutting tools. When the tool got into the glue it melted and re-formed on my tools making for a difficult clean up.
Also, the hot glue doesn’t always hold! I have had two ornament blanks fly off while hollowing them.

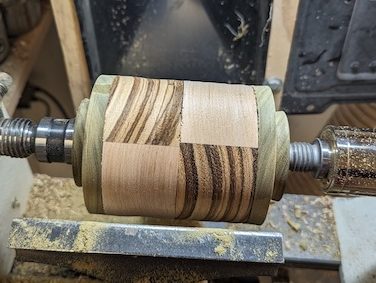
The next step is to turn the block into a cylinder and turn tenons on both ends. These tenons will be used to hollow the ornament.
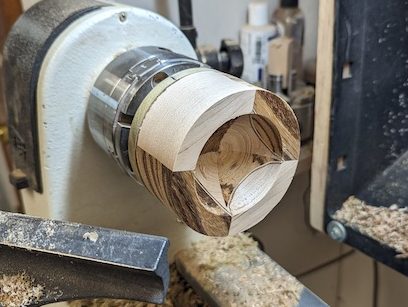
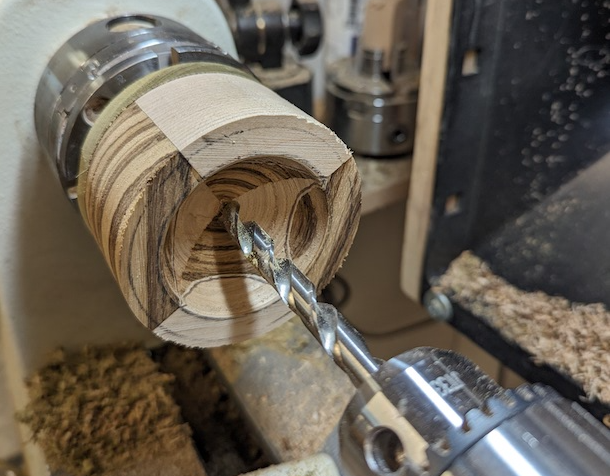
I then separated the two halves and I individually mounted each one to a chuck and hollowed it out. Notice that the ornament wall looks extremely thick. The outside diameter has not been turned down to 3″ at this time. When hollowing, I drew a 2.5″ circle on the end as a guide to show what needed to be hollowed. On the side that will be the top, I drilled a 3/8″ hole all the way through. This will be used to place the topper later.
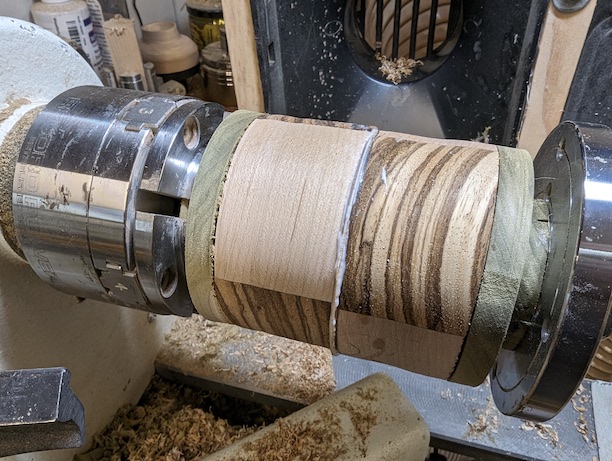
Next, I cut two circles of veneer using the ornament half as a pattern. I cut one out of walnut veneer and one out of maple veneer. I then placed the two pieces of veneer between the top and bottom halves, applying glue between each layer. I made sure that the zebrawood orientation was correct before applying clamping pressure with the lathe. The lathe makes a great clamp.
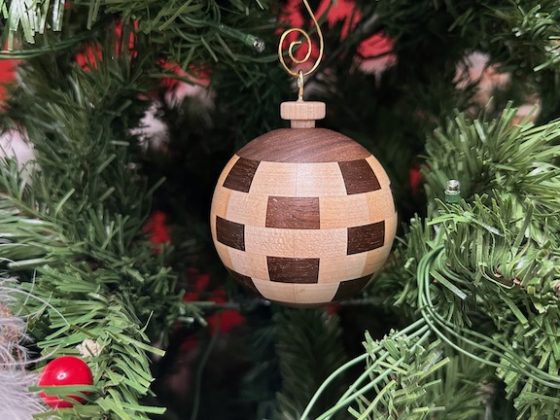
After the glue dried, I turned the cylinder down to a 3″ diameter and using the hexagon method, turned a sphere. For instructions on using the hexagon method see my blog entry Checkerboard 63: how to use the hexagon method to turn a sphere Once the sphere was completed, I turned a simple topper to place an eyelet in and glued it into the 3/8″ hole that was drilled in Figure 15. In the end, I am was very pleased with the outcome.